Craving a quick and healthy snack or side dish? Air fryer broccoli is the answer! Not only does this recipe offer a delicious, crispy bite, but it’s also packed with nutrients while being incredibly simple to prepare. Air frying locks in the flavor and crispiness without adding tons of extra oil, making this a great alternative to traditional roasting or sautéing.

Ingredients List
Here’s what you need to make sure your air fryer broccoli comes out perfect every single time:
- 1 large head of broccoli (about 4 cups), cut into 1-inch florets
- 2 Tablespoons avocado oil or olive oil
- ½ teaspoon garlic powder
- ¼ teaspoon salt (add more to taste)
- ¼ teaspoon black pepper (add more to taste)
- A sprinkle of crushed red pepper flakes (optional, for a bit of spice)
- 1 slice of lemon, for serving (optional)
This minimal ingredient list gives you that perfect blend of flavors – savory, garlicky, spicy (if you like it), with a refreshing zing from the lemon.
Required Kitchen Tools
Before getting started, it’s always a good idea to make sure you have the right tools ready.
- Air Fryer : The star of the show! Using an air fryer delivers that crispy texture in minutes, and it’s much healthier than traditional frying.
- Mixing Bowl : You’ll need a medium-sized mixing bowl to season your broccoli evenly.
- Tongs or Spatula : To toss the broccoli halfway through cooking for even browning.
- Cutting Board & Knife : For trimming and chopping your broccoli into florets.
Having these kitchen tools on hand will make the preparation process smooth and hassle-free. Plus, cleanup will be minimal, which is always a win!
Step-by-Step Instructions
Now let’s dive into preparing your perfectly roasted air fryer broccoli. It’s super easy and takes just a few minutes from start to finish.

Step 1: Prepare the Broccoli
Start by thoroughly washing your broccoli under cool running water. After that, chop the broccoli into bite-sized 1-inch florets. Try to keep the florets a uniform size so they cook evenly.
Step 2: Season the Broccoli
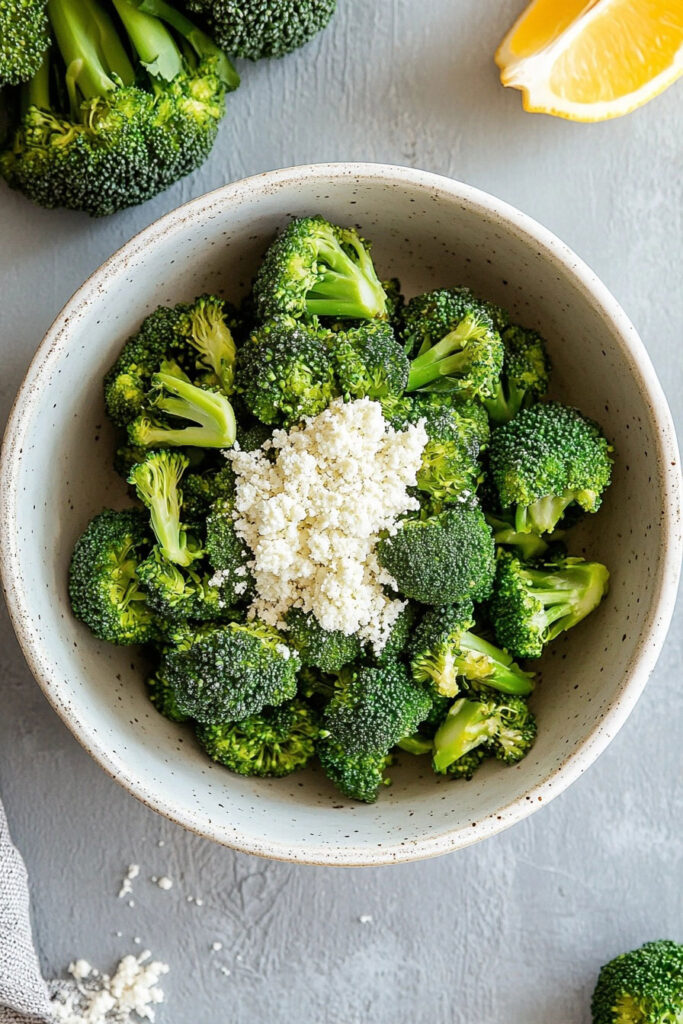
In a mixing bowl, toss the broccoli florets with olive or avocado oil. Make sure to coat each floret lightly but evenly. Next, sprinkle on the garlic powder, salt, pepper, and crushed red pepper flakes (if you like a bit of heat). Toss everything together to ensure that all the broccoli is well-seasoned.

Step 3: Preheat and Cook in the Air Fryer
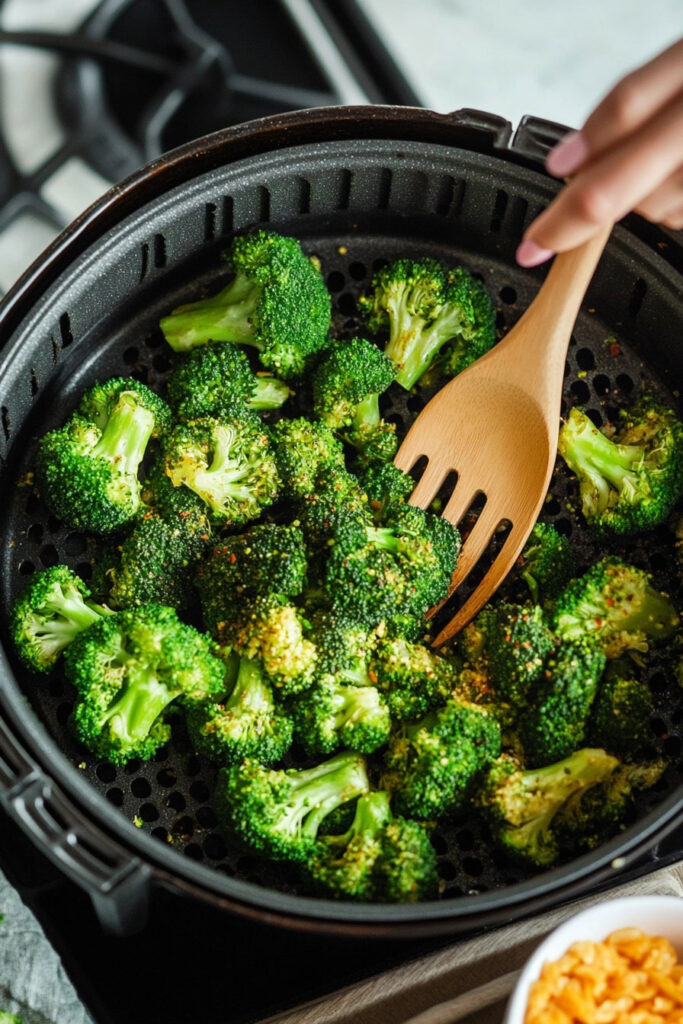
Preheat your air fryer to 360°F (if your model requires preheating). Once preheated, add the seasoned broccoli to the air fryer basket. Make sure to spread the florets in a single layer so they cook evenly. Cook the broccoli for 6-8 minutes, shaking or tossing the basket halfway through to ensure even browning.
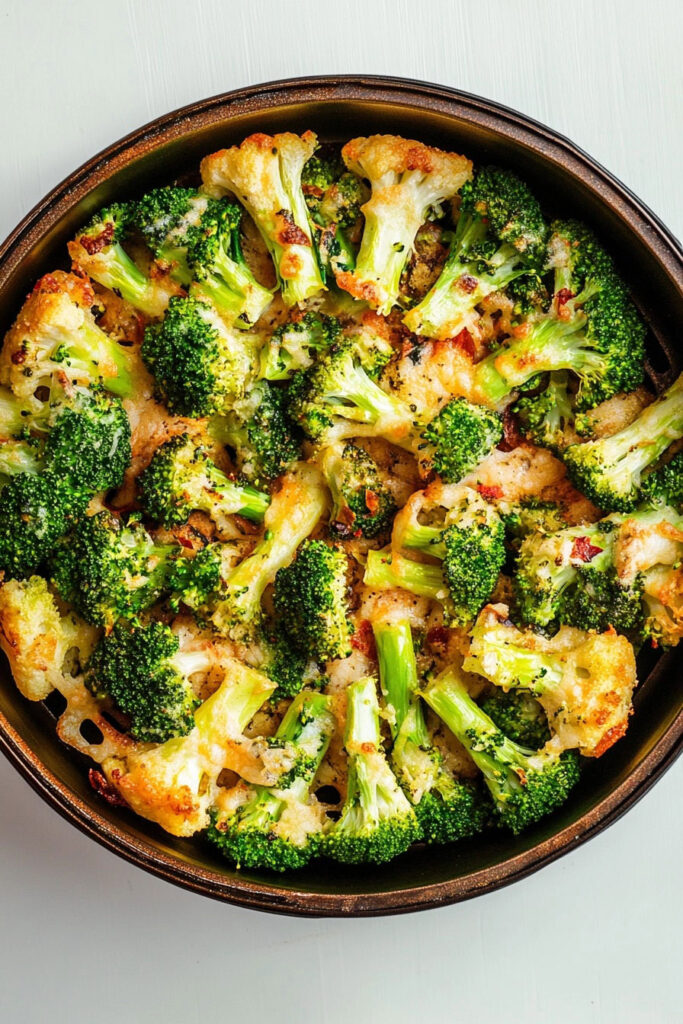
For a slightly charred, crispy finish, keep an eye on the last 2 minutes of cooking. The broccoli should be vibrant green with a crispy edge.
Serving and Storage
Step 4: Serve with Fresh Lemon (Optional)
Once the broccoli comes out of the air fryer hot and crisp, transfer it to a serving dish. For an extra burst of freshness, squeeze a slice of lemon over the broccoli just before serving. The citrusy tang complements the garlic and spices beautifully, making it irresistible!
You can serve air fryer broccoli as a side dish, snack, or even mix it into salads, grain bowls, or pasta for added texture.

Storage Tips
Leftovers? No problem! Store any leftover broccoli in an airtight container in the refrigerator for up to 3 days. To reheat, pop it back in the air fryer for 2-3 minutes at 360°F – this will bring back its crispiness. Avoid using the microwave, as the broccoli tends to become soggy.
Conclusion
And there you have it – a quick and healthy recipe for crispy, flavorful air fryer broccoli! This recipe is easy to customize by adding different seasonings or a sprinkle of cheese before serving. Whether you’re looking to boost your veggie intake or serve up a scrumptious side, air fryer broccoli fits any occasion. Plus, with minimal cleanup, it’ll quickly become one of your go-to healthy dishes!


