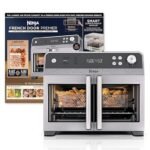
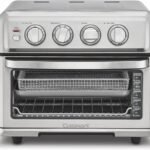
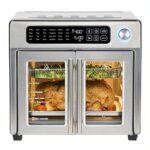
Craving crispy, savory chicken cutlets but want a healthier alternative to frying? Look no further, because air fryer chicken cutlets are here to save the day. Using an air fryer gives you that delicious, golden crust without all the excess oil, making these chicken cutlets not only tasty but also a better option for your waistline. Perfect for lunch, dinner, or meal prep, these cutlets are easy to make and pair well with a variety of sides, from mashed potatoes to fresh salads. Let’s dive right into it!
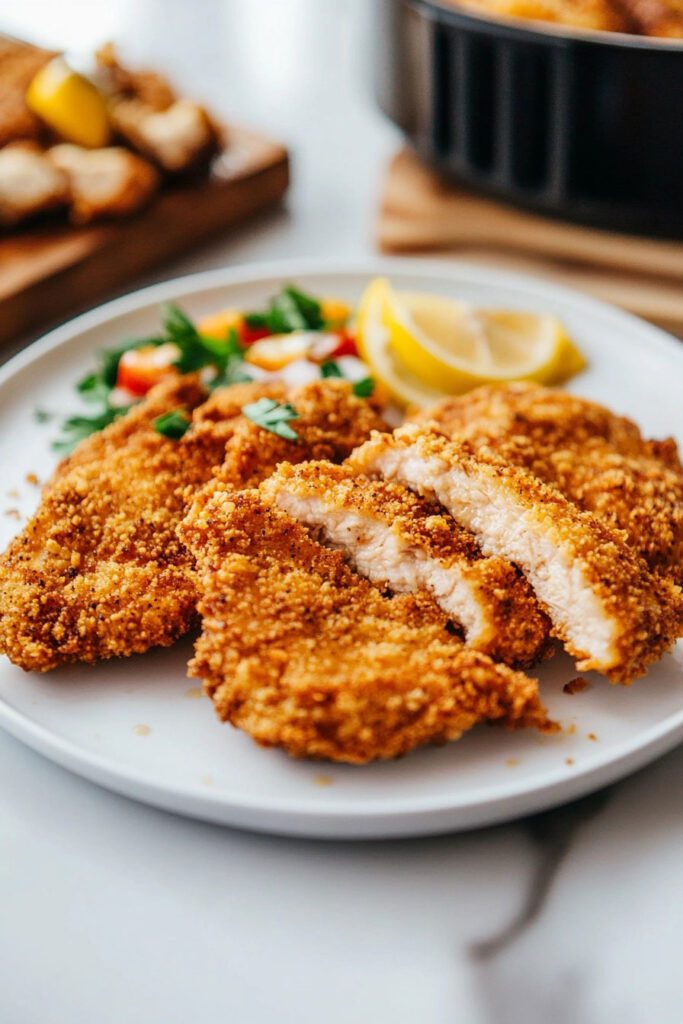
Ingredients List
To make Air Fryer Chicken Cutlets , you’ll need the following ingredients:
- 4 chicken cutlets (skinless, boneless chicken breasts sliced thinly lengthwise)
- 1½ tablespoon all-purpose seasoning
- 2 eggs
- 1 cup panko breadcrumbs (substitute with regular breadcrumbs if desired)
- ½ cup all-purpose flour
- ½ tablespoon garlic granules (or garlic powder)
- Salt and black pepper (to taste)
These simple pantry ingredients will help you create the ultimate crispy, juicy chicken cutlets in less time than traditional frying.
Required Kitchen Tools
Here’s a list of essential tools you’ll want to have ready to make the process smooth and efficient:
- Three Shallow Bowls – For separating the flour, egg, and breadcrumb mixtures.
- Whisk – To beat the eggs.
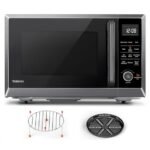
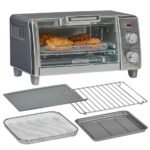
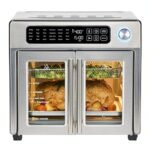
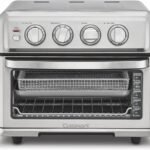
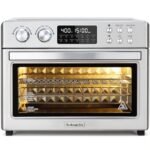
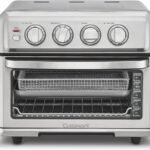
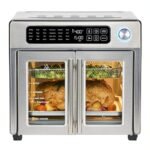
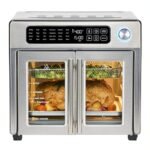
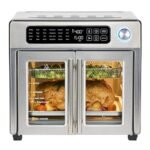
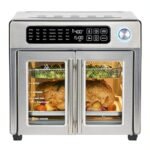
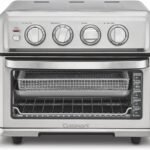
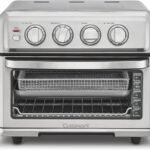
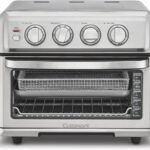
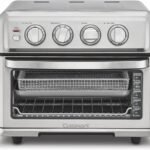
- Air Fryer – Ensure it’s large enough to fit the cutlets without overcrowding.
- Meat Thermometer – To check if the chicken has reached the recommended internal temperature of 165°F (74°C).
- Cooking Oil Spray – Helps achieve that beautiful golden crust.
Preparation and Breading the Chicken
Now that we’ve gathered all the ingredients and tools, it’s time to prepare the chicken cutlets and bread them. This part is crucial, as it ensures that the cutlets cook evenly and develop that crispy, delicious crust we love!
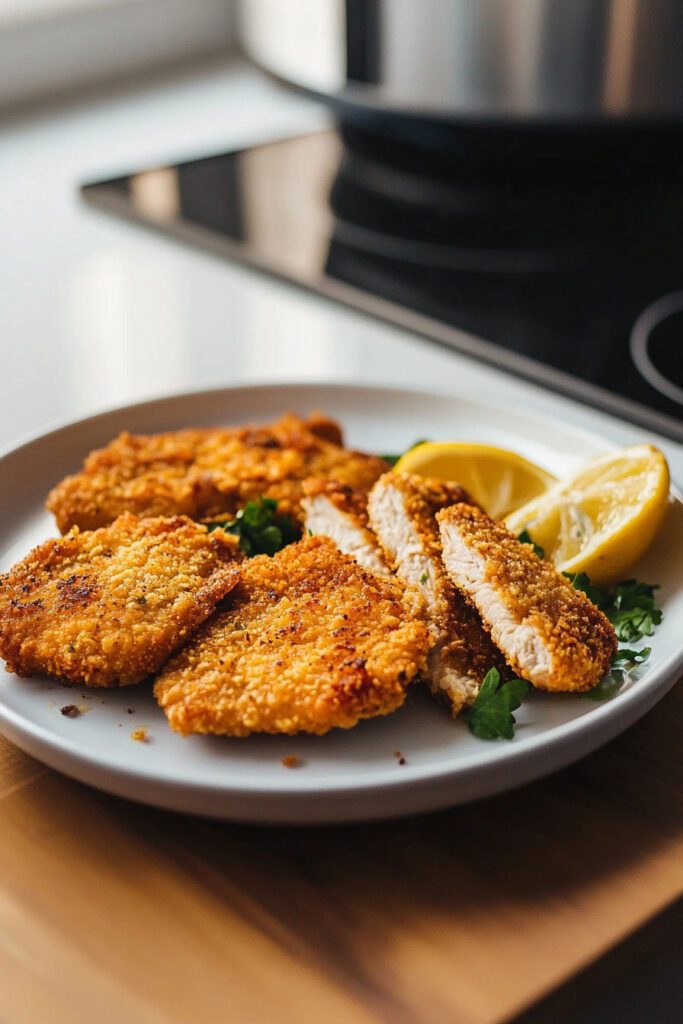
Step-by-Step Instructions for Prepping the Chicken
- Prepare the Chicken Cutlets: Start by cutting 2 large chicken breasts lengthwise into thin cutlets if they aren’t already pre-cut. Each breast should give you two cutlets. Pat the chicken dry with paper towels. Having excess moisture on the surface can prevent the coating from sticking evenly and becoming crispy. If needed, gently pound the chicken to even thickness—about ¼ to ½ inch thick—so they cook uniformly.
- Season the Chicken: Generously season both sides of the cutlets with salt and black pepper. This is important because while you’ll be adding more seasoning later, you want to ensure the chicken itself is well-seasoned.
Breading the Chicken:
Now it’s time to coat the chicken cutlets in a delicious, flavorful crust. We’ll be using a three-step dredging process: flour, egg, and breadcrumbs.
- Set Up Your Breading Station: Get 3 shallow bowls or plates ready:
- Bowl 1: Add ½ cup all-purpose flour .
- Bowl 2: Crack 2 eggs into the second bowl, and whisk them with a fork or whisk until fully combined.
- Bowl 3: In the third bowl, mix together 1 cup panko breadcrumbs , 1½ tablespoon all-purpose seasoning , ½ tablespoon garlic granules , and a pinch of salt and pepper. Stir well to make sure the seasoning is evenly distributed throughout the breadcrumbs.
- Dredge the Chicken: Working with one cutlet at a time:
- Coat in Flour: Lightly dredge the chicken in flour, ensuring all sides are evenly coated. This layer helps the egg mixture adhere to the chicken.
- Dip in Egg: After dredging in the flour, dip the floured chicken into the beaten eggs. Allow any excess egg to drain off, but make sure the whole surface is covered.
- Press into Breadcrumbs: Finally, press the chicken into the breadcrumb mixture, ensuring it’s fully coated on all sides. For extra crunch, press the crumbs gently into the chicken.
- Rest the Breaded Chicken: Place the breaded chicken on a plate and allow it to sit for a couple of minutes. This helps the coating to adhere better during the air-frying process.
Once all the cutlets are fully coated in breadcrumbs, you’re ready to move on to air frying.
Air Frying the Chicken Cutlets
Now that your chicken cutlets are perfectly breaded, it’s time to cook them in the air fryer. This method makes the chicken crispy on the outside and juicy on the inside without the need for deep-frying.
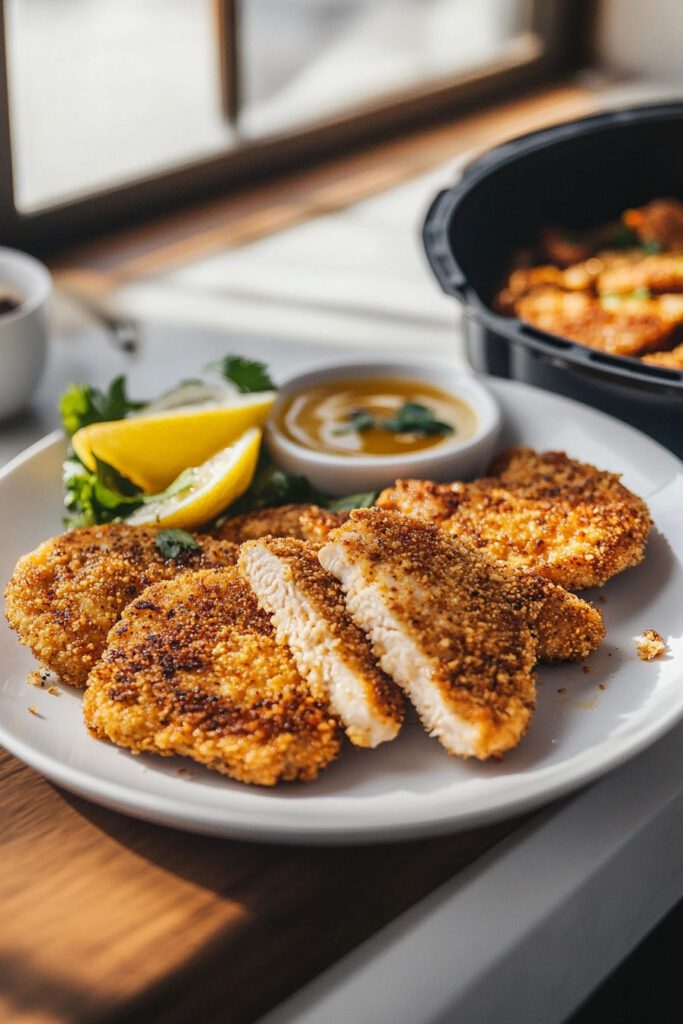
Air Frying Instructions
- Preheat the Air Fryer: Preheat your air fryer to 190°C (385°F) for 3-5 minutes. Preheating is essential because it helps the cutlets cook evenly right from the get-go, giving them that beautiful golden brown crust.
- Prepare the Air Fryer Basket: While the air fryer is preheating, lightly spray the basket with cooking oil . This prevents the breaded chicken from sticking and ensures a crispier texture. It’s important to avoid overcrowding the basket to allow air to circulate around the cutlets.
- Arrange the Chicken Cutlets: Place the breaded chicken cutlets in a single layer inside the air fryer basket. Aim to leave a little space between each piece so they can cook evenly. You may need to cook the cutlets in batches if they don’t all fit at once.
- Spray the Cutlets with Oil: Generously spray the tops of the cutlets with cooking oil. This step is key to achieving a crispy, golden-brown finish. Make sure to cover all areas, but don’t overdo it—just a light mist will do.
- Cook the Cutlets: Air fry the chicken cutlets for 12-15 minutes , flipping them halfway through the cooking time. After about 6 minutes, flip each cutlet over, spray the top with more cooking oil, and continue cooking. The exact cooking time may vary depending on your air fryer model and the thickness of your chicken, so keep an eye on them.
- Check for Doneness: To ensure the chicken is fully cooked, it should have an internal temperature of 165°F (74°C) when measured with a meat thermometer. Another visual clue is that the juices should run clear, and the inside of the cutlet should be white, with no pink remaining.
- Repeat if Necessary: If you’re cooking in batches, repeat the process for the remaining chicken cutlets. Don’t skip spraying the air fryer basket with oil again between batches to prevent sticking.
That’s it! In just about 15 minutes, you’ll have perfectly crispy, golden air fryer chicken cutlets that taste like they’ve been fried but without all the calories and mess.
Serving and Storing the Chicken Cutlets
Now that your crispy, golden-brown chicken cutlets are ready, it’s time for the best part—serving them up! These cutlets are super versatile and pair well with a variety of sides or sauces.
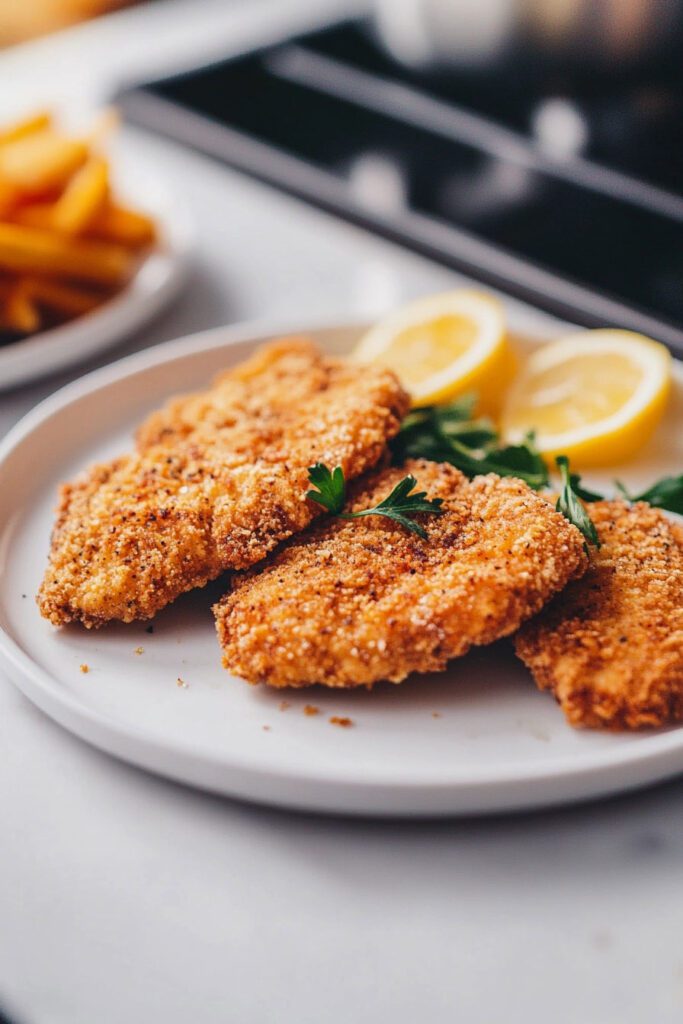
Serving Suggestions
- Classic Sides: Serve your air fryer chicken cutlets alongside mashed potatoes, steamed veggies, or a fresh side salad for a complete meal. Add a wedge of lemon for a pop of brightness that complements the seasoning on the chicken.
- Sandwich Style: For a delicious chicken sandwich, place one of the cutlets in a crusty roll or brioche bun. Add fresh lettuce, tomato, and some mayo or your favorite sauce—whether it’s honey mustard, ranch, or a spicy aioli—for a restaurant-worthy chicken sandwich.
- Dipping Sauces: Looking for something to dip your cutlets into? Serve them with ketchup, barbecue sauce, honey mustard, or even a creamy garlic sauce for added flavor.
- Over Pasta: You can also slice the chicken and serve it over a bed of spaghetti with marinara sauce and Parmesan cheese for a chicken parmesan spin, minus the frying!
Storage Tips
These cutlets will be so tasty that it may be hard to have leftovers, but if you do, here’s how to store and reheat them.
- Refrigerator: If you have leftover chicken cutlets, store them in an airtight container in the fridge for up to 3 days . Make sure they’re completely cool before refrigerating to maintain their crispiness.
- Reheating: For reheating, skip the microwave, which can make the coating soggy. Instead, preheat your air fryer to 180°C (350°F) and reheat the cutlets for about 3-5 minutes . This will help restore their crispy texture.
- Freezing: If you want to freeze the cutlets, let them cool completely, then place them in a freezer-safe bag or airtight container with parchment paper between each cutlet. These can be frozen for up to 3 months . When you’re ready to eat, reheat in the air fryer straight from frozen for about 8-10 minutes , or until crispy and heated through.
Conclusion
Making air fryer chicken cutlets is a quick, easy, and healthier way to enjoy that crispy, juicy goodness of fried chicken without all the oil. With a simple seasoning mix, a crunchy breadcrumb coating, and just 15 minutes in the air fryer, you can enjoy this comforting dish any time of the week. Plus, with the easy storage and reheating options, these cutlets are fantastic for meal preps or quick weeknight dinners.
So, grab your ingredients, fire up your air fryer, and get ready for a meal that’s packed with flavor and crunch!

