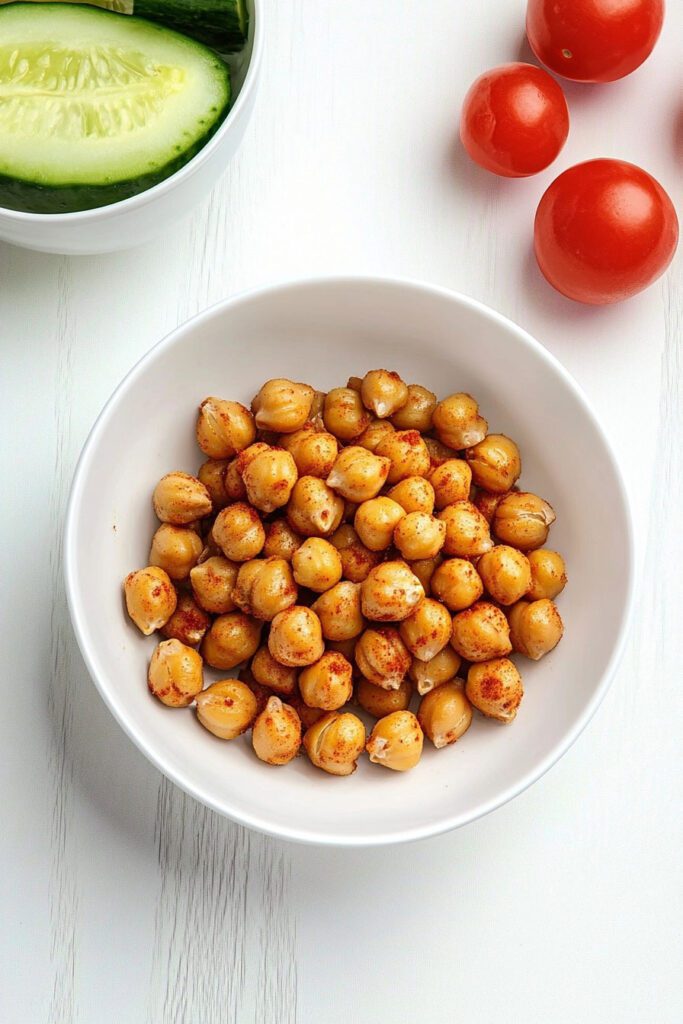
Craving a savory snack that’s crispy, flavorful, and healthier? Look no further than Air Fryer Chickpeas ! These seasoned chickpeas are simple to make, packed with plant-based protein, and utterly satisfying. Whether you’re looking for a quick on-the-go snack or a crunchy topping for salads and soups, this air fryer version delivers a perfect crisp with minimal oil. What makes them even better? We’re utilizing aquafaba, the chickpea liquid, as a natural binder to infuse all the delicious seasonings.
Ingredients List
Air Fryer Chickpeas Ingredients:
- 1 can chickpeas – drained and rinsed; chickpeas are loaded with fiber and protein, making them a nutritious base for your snack.
- ½ tablespoon aquafaba – the liquid from the chickpea can (this magical liquid helps make the seasonings stick and provides an extra layer of crispiness).
- ¼ teaspoon garlic salt – a blend of garlic powder and salt for that savory kick.
- ¼ teaspoon smoked paprika – adds a smoky depth of flavor that’s irresistible.
- ½ teaspoon onion powder – provides a mild sweetness and rounds out the flavor.
Kitchen Tools Required
To make these air fryer chickpeas effortlessly, you only need a few kitchen tools. Here’s what I recommend having on hand:
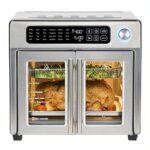
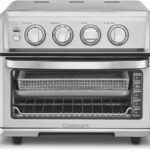
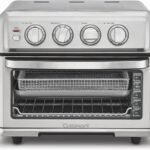
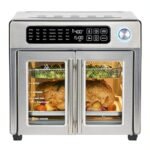
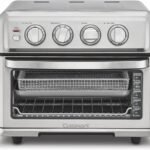
- Air Fryer – The key tool for achieving the perfect crispy texture with little to no oil.
- Colander – For draining and rinsing the chickpeas.
- Kitchen Towels – Essential for drying the chickpeas thoroughly before cooking; this helps ensure maximum crunch.
- Mixing Bowl – A small to medium-sized bowl for seasoning the chickpeas post-air frying.
- Measuring Spoons – For accurately measuring your seasonings and aquafaba.
Prepping the Chickpeas
The secret to super crispy air fryer chickpeas is in the prep, and it starts right after you open the can! The process is simple, but every step makes a difference in achieving that perfect crunch.
Step-by-Step Chickpea Preparation:
- Preheat the Air Fryer:
Set your air fryer to 400°F (200°C) to get it ready while you prep the chickpeas. - Drain & Rinse:
Open the can of chickpeas and pour them into a colander. Set aside ½ tablespoon of the liquid (known as aquafaba), as we’ll use this later to help coat and season the chickpeas. Rinse the chickpeas under cold water to remove any remaining liquid and foam. - Dry Thoroughly:
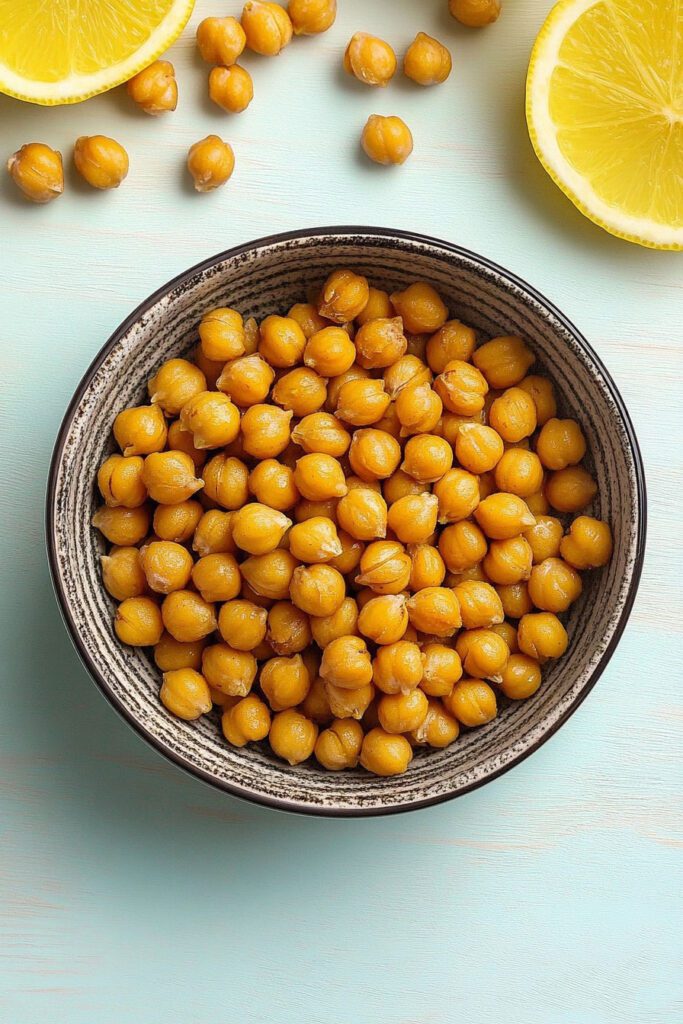
For the ultimate crunch, we want the chickpeas to be as dry as possible. Lay them out on a clean kitchen towel and place another towel on top. Gently roll them under the towel with your hands to dry them off completely. You might see some thin, translucent skins peel off—don’t worry, this is natural. Feel free to discard any skins that come off, but you don’t need to remove them all. - Set Chickpeas Aside:
While waiting for your air fryer to fully preheat, set the dried chickpeas aside. Dry chickpeas = crispy chickpeas! So make sure they’re not soggy.
This prep ensures that your chickpeas hit the air fryer at the perfect state.
Air Frying the Chickpeas
Now that your chickpeas are prepped and your air fryer is preheated, it’s time to get these bad boys nice and crispy. Air frying is a game-changer, allowing you to achieve that crunchy, snackable texture without deep-frying. Follow these steps to get that perfect golden-brown finish!
Step-by-Step Air Frying Instructions:
- First Fry:
Place your dried chickpeas into the air fryer basket in an even layer. Be careful not to overcrowd them—it’s essential that the chickpeas aren’t stacked so they cook evenly. Air fry the chickpeas at 400°F for an initial 5 minutes . - Stir and Continue Frying:
After the first 5 minutes, pull out the basket and give the chickpeas a quick stir or shake to ensure they’re cooking evenly on all sides. Return them to the air fryer for another 5 minutes . - Final Frying Stage:
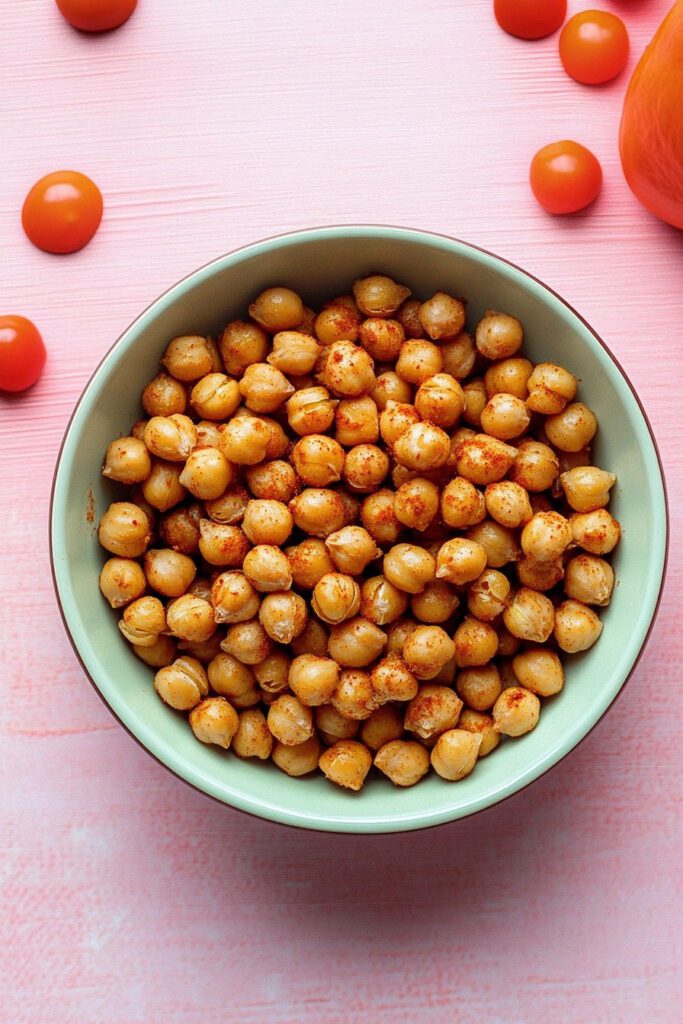
After the second 5-minute round of air frying, check on the crispiness. Feel free to taste-test one! If they’re not quite crispy enough yet, give them a final round of 5-7 minutes , shaking the basket halfway through. Adjust the time slightly depending on how crunchy you like your chickpeas. - Check for Doneness:
Once the chickpeas reach your desired level of crispiness, remove them from the air fryer and prepare for seasoning. Remember, they crisp up a little more as they cool, so keep that in mind when deciding when to stop cooking.
By the end of this process, your kitchen will smell amazing, and you’ll already be reaching for a sample!
Seasoning and Serving
Now that your chickpeas are crispy and ready, it’s time to add some serious flavor. This is where the reserved aquafaba comes in handy, as it helps the spices stick firmly to each chickpea. Let’s bring it all together!
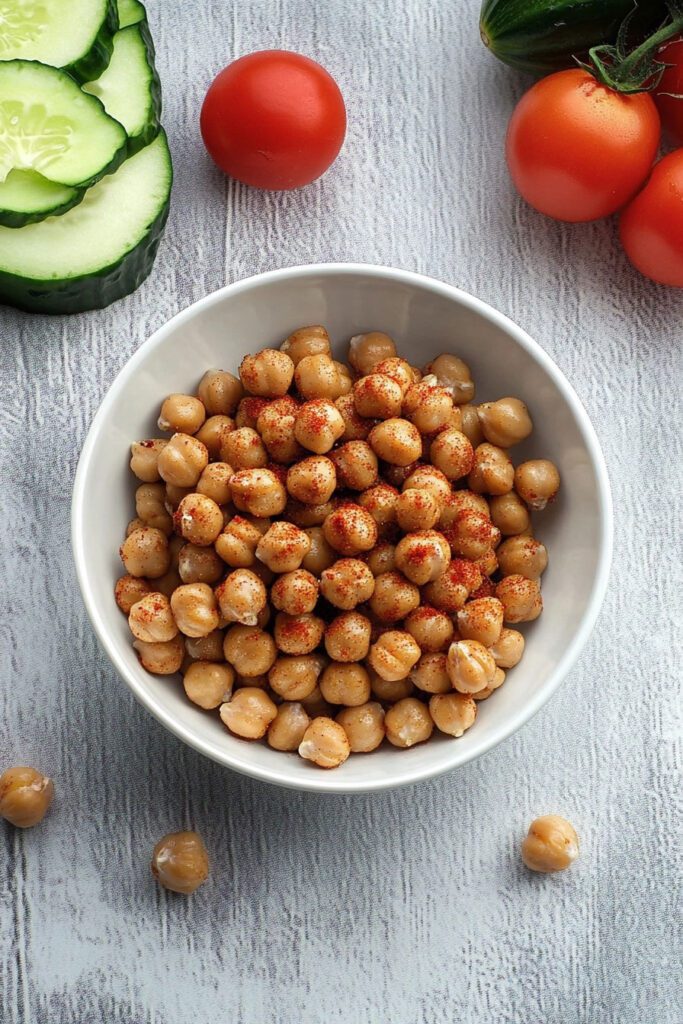
Step-by-Step Seasoning Process:
- Toss in Aquafaba:
While the chickpeas are still warm, transfer them to a medium-sized mixing bowl. Drizzle the reserved ½ tablespoon of aquafaba over the chickpeas. Stir well to ensure they’re lightly coated in the liquid, which will help the spices adhere better. - Add the Seasoning:
In a small bowl, mix your seasonings: ¼ teaspoon garlic salt , ¼ teaspoon smoked paprika , and ½ teaspoon onion powder . Combining these spices beforehand guarantees that every chickpea gets evenly flavored. Once mixed, sprinkle the seasonings over the chickpeas, stirring as you go to ensure each chickpea gets a nice coat of flavor. - Give Them a Taste!
After seasoning, your air fryer chickpeas are ready to be snacked on. If you love bold flavors, feel free to sprinkle on a little extra seasoning to suit your taste buds.
Tips for Serving:
- Best Eaten Fresh: Air fryer chickpeas are crispiest when eaten right away, straight from the bowl. Over time, they may lose a bit of their crispiness, so they’re a perfect last-minute snack.
- Re-Crisping Leftovers: If you have leftovers (if you can resist!), you can always toss them back into the air fryer for 1-2 minutes at 400°F to restore their crisp before enjoying again.
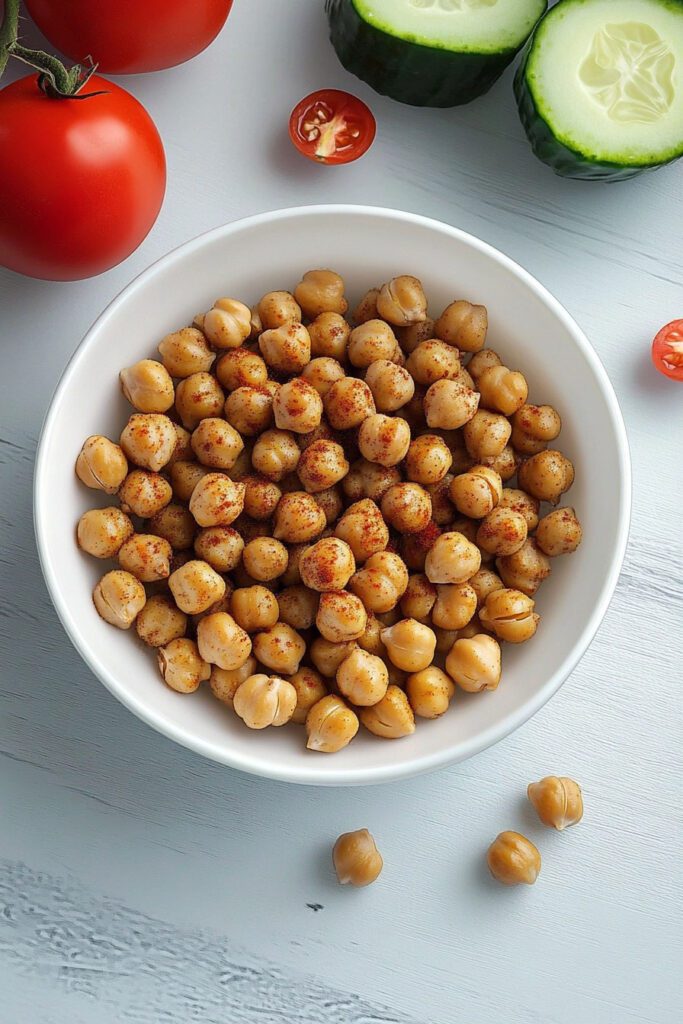
Storage Tip:
If you do have to store them, let the chickpeas cool completely and store them in an airtight container. They can last for 2-3 days but are best when fresh.
Enjoy Your Delicious Air Fryer Chickpeas!
These crispy, seasoned air-fried chickpeas are versatile and make a fantastic snack, salad topper, or side dish. Whether you’re craving something salty or just need a quick protein boost, this simple recipe gives you the crunch and flavor you’re after. Plus, you can easily customize the seasonings or even sweeten them with cinnamon and sugar for a unique twist. Enjoy!

