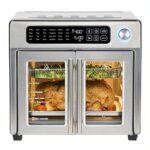
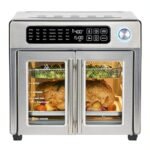
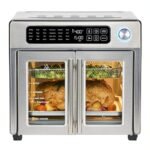
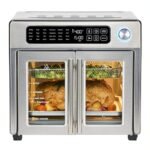
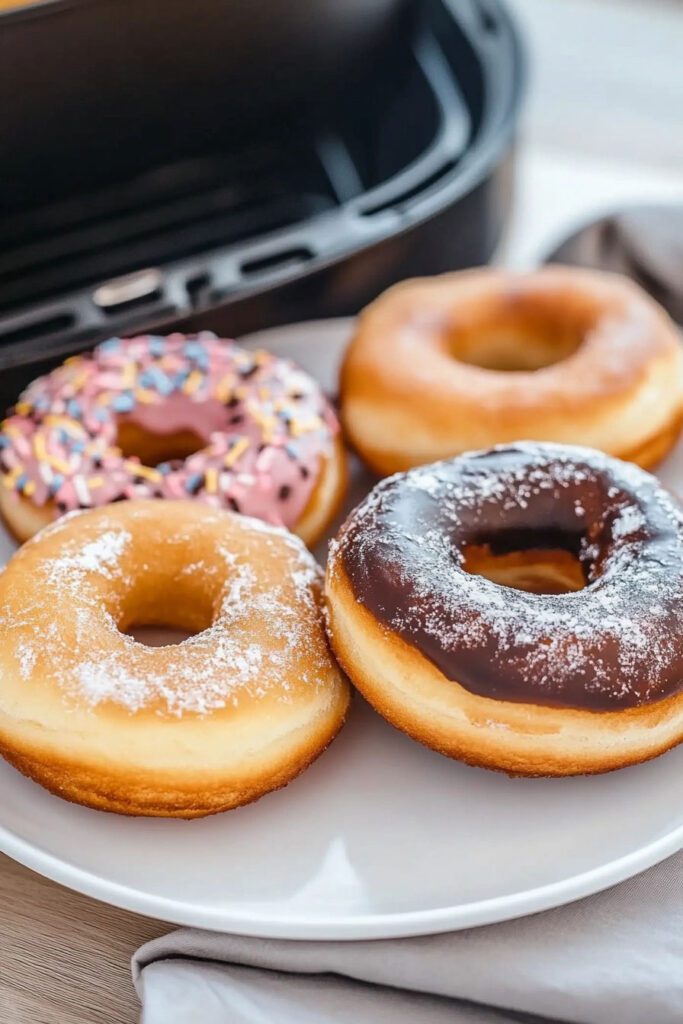
Craving something sweet and delicious but don’t want to deal with the mess of deep-frying? Well, you’re in for a treat! Air Fryer Donuts are just as fluffy, soft, and indulgent as their deep-fried counterparts, but they’re a healthier option with way less oil. Plus, they’re super easy to make right from the comfort of your kitchen.
Using everyday ingredients you likely already have on hand, and just a little time for the dough to rise, you’ll have homemade donuts ready in no time. These donuts are perfect for breakfast, brunch, or really anytime you want a sweet treat. Plus, I’ll walk you through a simple vanilla glaze that gives these donuts just the right amount of sweetness. Let’s get started!
Ingredients List
For the Dough:
- 1 cup lukewarm milk (about 100°F)
- 2 1/2 tsp active dry yeast (or instant yeast)
- 1/4 cup granulated sugar, plus 1 tsp
- 1/2 tsp salt
- 1 egg
- 1/4 cup unsalted butter, melted
- 3 cups all-purpose flour
- Oil spray (Coconut oil works best for the air fryer)
For the Glaze:
- 6 Tbsp unsalted butter
- 2 cups powdered sugar
- 2 tsp vanilla extract
- 4 Tbsp hot water (or as needed)
These ingredients are pantry staples, making this recipe even simpler. Now, let’s move on to how you can make these heavenly Air Fryer Donuts step-by-step.
Dough Preparation and Shaping
Once you’ve gathered your ingredients, it’s time to get started on the dough. Don’t worry; making donut dough is much easier than you might think. After mixing the ingredients and allowing the dough to rise, you’ll shape it into perfect donuts ready for the air fryer!
Dough Preparation
Step 1: Activate the Yeast
In the bowl of a stand mixer fitted with the dough hook, stir together 1 cup of lukewarm milk , 1 tsp of sugar , and the yeast . Let the mixture rest for about 10 minutes until it becomes frothy and bubbly . This is crucial as it ensures your yeast is alive and active. If you don’t see any bubbles, your yeast might be too old, or the milk could have been too hot, so it’s best to start over in that case.
Step 2: Mix the Dough
Once your yeast is ready, add 1/4 cup of sugar , 1/2 tsp salt , 1 egg , and melted butter to the bowl. Then, gradually add 2 cups of all-purpose flour , and mix everything together using the stand mixer on low speed until well combined.
Now, slowly add the remaining cup of flour while the mixer is still running. Keep mixing until the dough no longer sticks to the sides of the bowl. In the end, you want a soft, smooth dough that’s not too sticky. Increase the speed to medium-low and let the mixer knead the dough for about 5 minutes . After this stage, your dough will be elastic and smooth to the touch—just perfect for donut-making!
Step 3: Let the Dough Rise
Transfer the dough to a well-greased bowl . Cover it with plastic wrap and let it rest in a warm place (I like to use the inside of my oven with just the light on). Allow the dough to rise until it doubles in size , which usually takes around 1 to 1.5 hours .
Pro tip: A well-risen dough will spring back slowly when you gently press your finger into it, leaving a slight indentation.
Shaping the Donuts
Once your dough has fully risen, it’s time for the fun part—shaping your donuts!
Step 1: Punch Down and Roll the Dough
Lightly flour your work surface, then turn your risen dough out onto it. Gently punch down the dough to release the built-up air. Using a rolling pin, roll the dough out to about 1/2-inch thickness . Try to keep the thickness consistent across the rolled dough for even cooking.
Step 2: Cut Out the Donuts
Next, using a donut cutter—or if you don’t have one, a 3-inch round cutter for the donut’s outer edge and a 1-inch cutter for the center hole—cut out your donuts. You can even save the donut holes and cook them alongside the larger donuts for mini treats! You should end up with around 10-12 donuts depending on how thickly you rolled the dough.
Step 3: Second Rise
Place your cut donuts and donut holes on a lightly floured piece of parchment paper . Cover them gently with a piece of greased plastic wrap or a clean kitchen towel , and let them rise for another 30 minutes , or until they’ve puffed up and almost doubled in size again.
Air Frying and Glazing the Donuts
Now that your donuts have risen again and are beautifully puffy, it’s time to air-fry them to golden perfection. Unlike traditional frying, you’ll be using a fraction of the oil, making these treats a lighter and healthier option. Let’s air fry these donuts!
Air Frying the Donuts
Step 1: Preheat the Air Fryer
Before anything else, preheat your air fryer to 350°F . Preheating helps the donuts cook evenly and get that slightly crisp exterior. It should take 3-5 minutes for your air fryer to heat up.
Step 2: Spray the Basket
Once the air fryer is preheated, spray the air fryer basket with a non-stick spray. I’ve found that using coconut oil spray works best, but any oil spray will do the job. Make sure to do this step; otherwise, your donuts might stick to the basket.
Step 3: Load the Donuts
Gently transfer your risen donuts into the air fryer basket, making sure to leave a bit of space in between each donut for even cooking. Depending on the size of your air fryer, you may need to cook in multiple batches—don’t try to overcrowd the basket!
Step 4: Spray and Cook
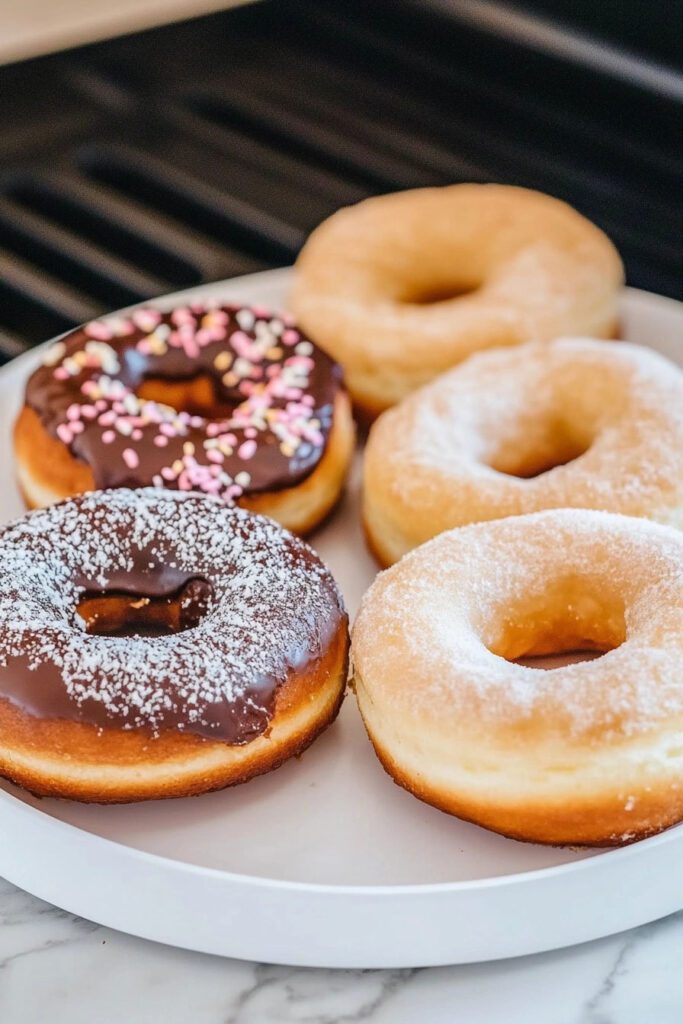
Once your donuts are in the basket, spray the tops of the donuts with oil spray . This helps them develop a nice golden color. Now, air-fry the donuts for about 4 minutes , or until they are golden brown . If your donuts aren’t fully browned after 4 minutes, give them another minute, but be careful not to overcook.
After the first batch is done, repeat the process with the remaining donuts and donut holes. You’ll be thrilled with how beautifully golden and fluffy they turn out.
Making the Glaze
While your donuts are air-frying, you can whip up the super simple vanilla glaze for that perfect sweet finish. This glaze only takes a minute to mix together but gives the donuts such a satisfying sweetness.
Step 1: Melt the Butter
In a small saucepan over medium heat, melt 6 tablespoons of unsalted butter . Once melted, remove from heat.
Step 2: Mix in Sugar and Vanilla
To the melted butter, whisk in 2 cups of powdered sugar and 2 teaspoons of vanilla extract . The mixture will be thick at this point, but don’t worry—we’ll thin it out a bit.
Step 3: Add Hot Water
Finally, whisk in 4 tablespoons of hot water (adding it 1 tablespoon at a time) until the glaze is smooth but not too runny. You’re looking for a consistency that will coat the donuts nicely without dripping off too much. You can adjust the consistency by adding a bit more hot water if necessary.
Step 4: Dip the Donuts
Once your donuts are air-fried and still slightly warm, dip them in the glaze . Use two forks to carefully turn each donut as you dip, ensuring they’re fully coated. Then, place the glazed donuts on a wire rack set over a baking sheet to allow any excess glaze to drip off.
Let the glazed donuts sit for about 10 minutes to allow the glaze to harden and create a deliciously shiny finish!
Serving and Storing Your Air Fryer Donuts
Congratulations! You’ve made it to the final step with your golden, glazed Air Fryer Donuts. By now, your kitchen should be filled with the heavenly aroma of freshly made donuts that are perfectly crisp on the outside and fluffy on the inside. Let’s go over how to serve them for maximum enjoyment and the best ways to store leftovers (if there even are any!).
Serving Suggestions
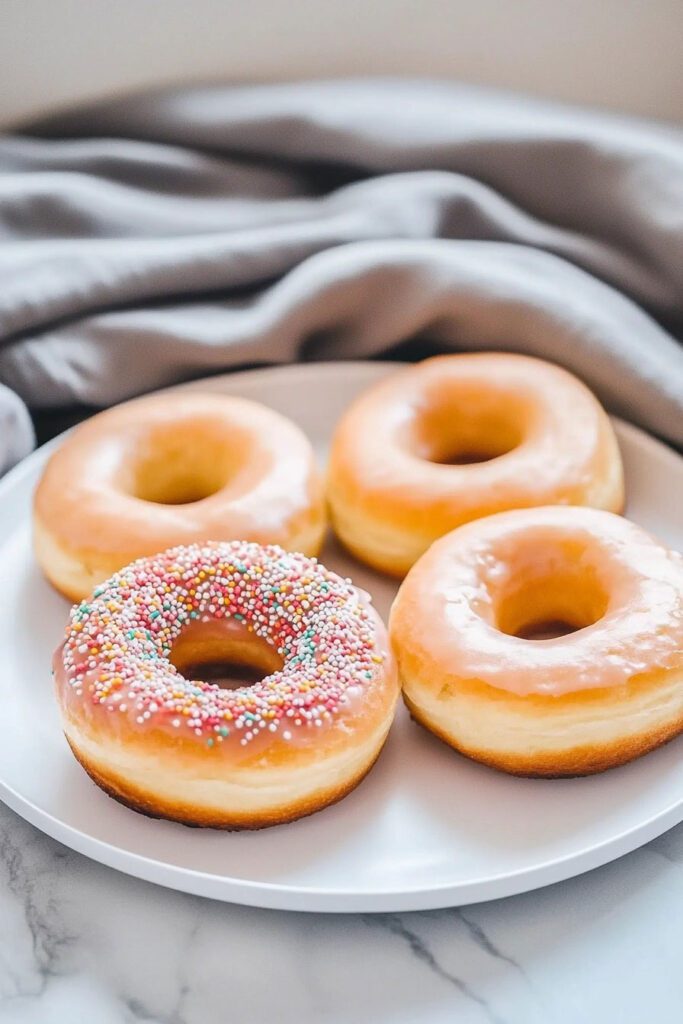
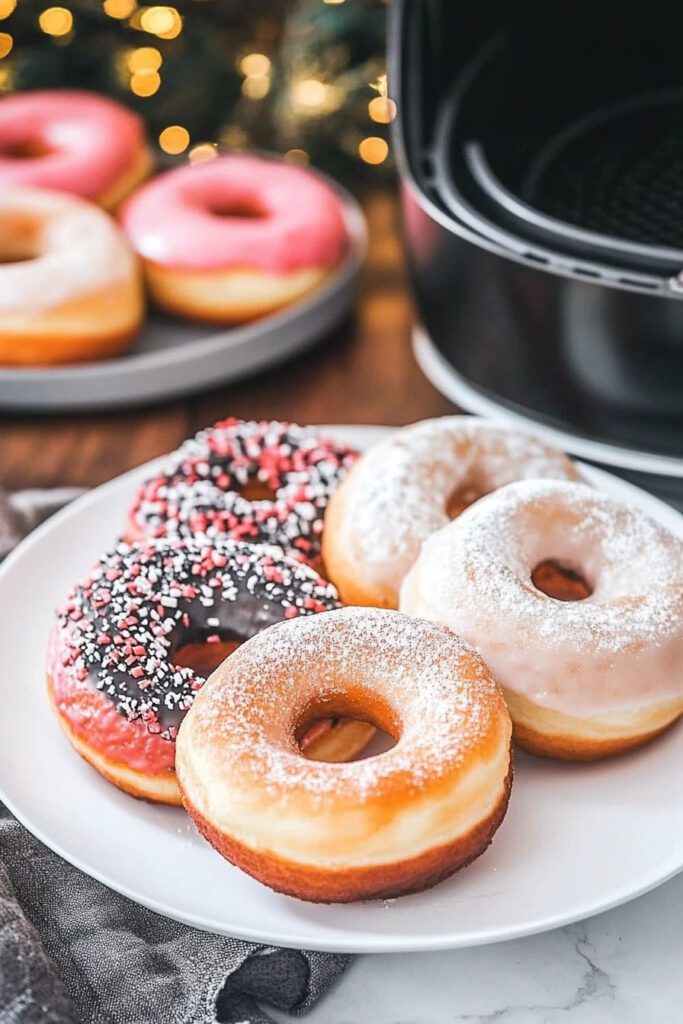
Now that your donuts are beautifully glazed, you can serve them as-is for a classic sweet treat, or you can take things up a notch with a few optional extras for added flavor and style:
Topping Ideas:
- Sprinkles: Want to make your donuts fun and festive? Add a handful of colorful sprinkles while the glaze is still wet, so they stick.
- Chocolate Drizzle: Melt some chocolate chips and drizzle them over the glazed donuts for a decadent twist.
- Crushed Nuts: For some added crunch, sprinkle some crushed pistachios, almonds, or hazelnuts over the top.
Pairing Suggestions:
- Serve these donuts with a hot cup of coffee or a latte —they’re a match made in heaven!
- Drizzle a bit of caramel or chocolate sauce over the donuts for an added touch of sweetness.
- If you enjoy fruity flavors, pair the donuts with a fresh fruit salad or a dollop of jam on the side.
Serve these donuts while they’re still slightly warm for that melt-in-your-mouth experience. Trust me, your family (or guests) will be begging for seconds!
Storing and Freezing Instructions
While these donuts are best enjoyed fresh on the same day, you can still store or freeze any leftovers to enjoy later. Here’s how to keep them tasting great:
Storing Leftover Donuts:
- At Room Temperature : If you have leftover donuts, store them in an airtight container at room temperature for up to 2 days . You can place a sheet of wax or parchment paper between the donuts to prevent them from sticking to one another.
- Reheating : To bring them back to life, you can warm them in the microwave for 10-15 seconds or give them a quick reheat in your air fryer at 350°F for 1-2 minutes. This will help them regain some of their texture and freshness.
Freezing Donuts:
- To Freeze : If you want to enjoy your treats later, freeze unglazed donuts by placing them on a baking sheet, then transferring them to a freezer-safe bag . They can be frozen for up to 1 month .
- To Thaw : When you’re ready to enjoy them again, just thaw them at room temperature for about an hour, then reheat briefly in the air fryer or microwave.
- Glaze After Thawing : If you freeze unglazed donuts, it’s best to add the glaze after reheating , so it doesn’t get soggy in the freezer.
Conclusion
And there you have it: delicious, homemade Air Fryer Donuts that are crispy, fluffy, and perfectly glazed. This recipe is a game-changer because it eliminates the hassle and excess grease of traditional deep-frying yet still delivers that wonderful texture and flavor we all love in donuts. Plus, you can customize them with all sorts of fun toppings and fillings.
Whether you’re making these for a weekend brunch, a fun family treat, or simply because you’re craving something sweet, these Air Fryer Donuts are bound to be a hit! And the best part is, even if you have leftovers, they store and reheat wonderfully.

