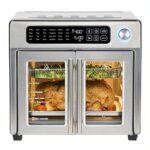
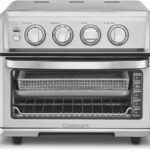
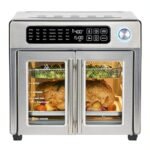
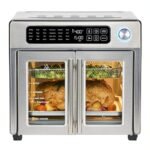
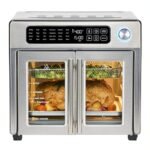
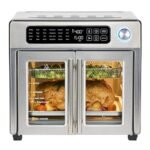
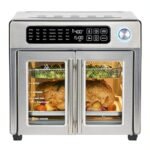
There’s something undeniably comforting about fried chicken, but what if I told you that you could get the same crispy texture and mouth-watering flavor without the guilt? Welcome to the world of air fryer chicken wings! Whether you’re cooking up wings, legs, thighs, or even chicken breast, this recipe guarantees golden, crunchy chicken without all the oil. Plus, the secret? Buttermilk, a bit of spice, and flawless seasoning that seeps into every juicy bite. Let’s dive into how you can achieve perfectly fried chicken in your air fryer.
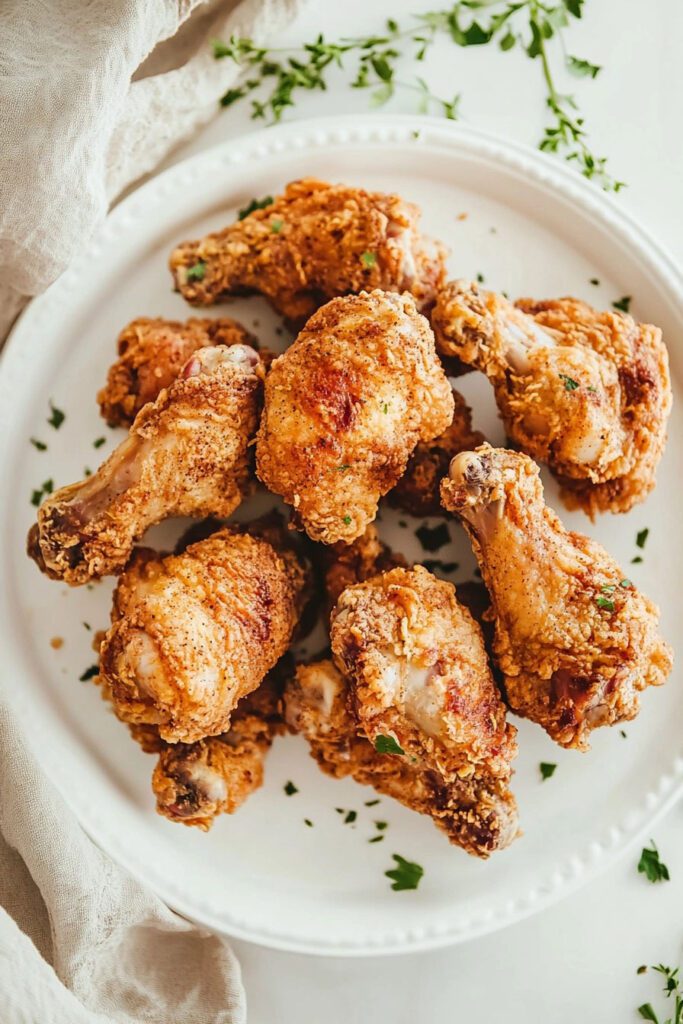
Ingredients for the Perfect Air Fryer Chicken
To make this crispy air fryer chicken, here’s what you’ll need:
- 2 pounds of chicken wings (or use legs, thighs, or chicken breast – choose your favorite cuts!)
- 2 cups buttermilk
- 2 large eggs
- 1 teaspoon paprika (adds that smoky flavor)
- 1 teaspoon hot sauce (for a little kick)
- 1 teaspoon salt (or to taste)
- 1 teaspoon pepper (or to taste)
- 2 teaspoons baking powder (for extra crispiness)
- 1 ½ teaspoons baking soda
- 1 cup all-purpose flour
Step 1: Prepping the Chicken
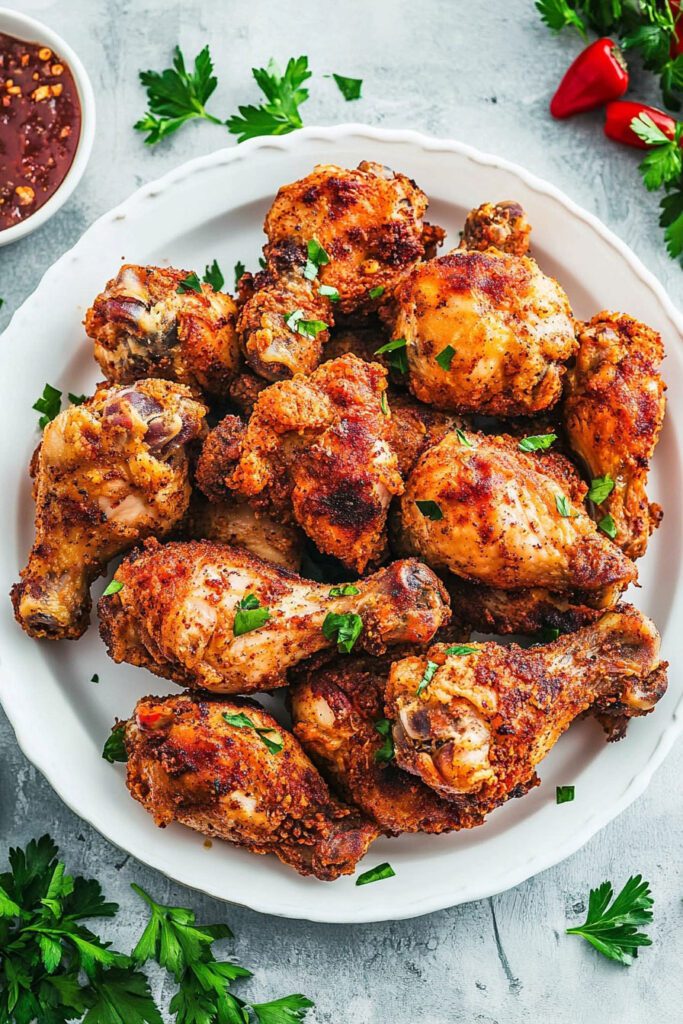
The first step in creating air fryer fried chicken perfection is prepping the chicken. Wash each piece thoroughly under cold water and then pat it dry with paper towels. This will help in getting that ultimate crispiness we’re after. Whether you’re using chicken wings, legs, thighs, or breast, be sure that your chicken is dry—this helps the flour coating stick better.
If you’re looking for maximum flavor, I recommend letting the chicken rest for a bit while you prepare the buttermilk mixture.
Step 2: Preparing the Buttermilk Mixture
Now, let’s infuse that juicy chicken with some irresistible flavor. The buttermilk mixture acts not only as a tenderizer but also gives your chicken a beautiful tang and moisture on the inside while keeping it crispy on the outside.
Here’s how to make it:
- Grab a large mixing bowl – this is where all the magic happens.
- Add 2 cups of buttermilk to the bowl. Buttermilk helps tenderize the meat, making it incredibly juicy.
- Crack in 2 large eggs and whisk them together with the buttermilk.
- Time to add some flavor! Mix in 1 teaspoon of paprika and 1 teaspoon of hot sauce . Adjust the hot sauce if you like your chicken spicier (or omit it if you’re not into spicy).
- Season with 1 teaspoon salt and 1 teaspoon pepper – feel free to adjust to your taste.
- Finally, whisk in the 2 teaspoons of baking powder and 1 ½ teaspoons of baking soda . This combination is the secret to that next-level crunch when your chicken gets air-fried!
Now that your buttermilk mixture is ready, the magic begins. We’re going to coat the chicken in a way that delivers perfectly crispy results every single time.
Step 3: Dredging the Chicken
This part is where we build up the layers of flavor and crunch! For truly crispy air fryer chicken, we’ll coat the chicken pieces not once, but twice. Trust me, this double dredging method ensures every bite is as crunchy as possible.
Follow these steps for the perfect dredge:
- Prepare your flour coating : In a shallow dish or plate, add 1 cup of all-purpose flour . Feel free to season the flour with a bit of salt, pepper, or additional spices like garlic powder for even more flavor.
- First Dredge : Take each piece of chicken and dredge it in the flour, making sure it’s thoroughly coated on all sides. Shake off any excess flour – you want a light, even layer.
- Buttermilk Dip : Once your chicken is floured, dip it into the buttermilk mixture you prepared earlier. This will act as the glue for the second layer of flour.
- Second Dredge : After the buttermilk dip, coat the chicken in flour once more. This double-coating technique guarantees a thicker, crispier exterior when air-fried.
- Set your chicken aside : After dredging, place your coated chicken pieces on a plate or wire rack. Let them rest for about 5-10 minutes while you heat up your air fryer. This short resting period makes sure the flour sets and you get that crispy finish.
At this point, your chicken is breaded and ready for the air fryer. But before we cook the chicken, let’s make sure we’re using the right method for that golden, crispy exterior!
Step 4: Serving and Storage Tips
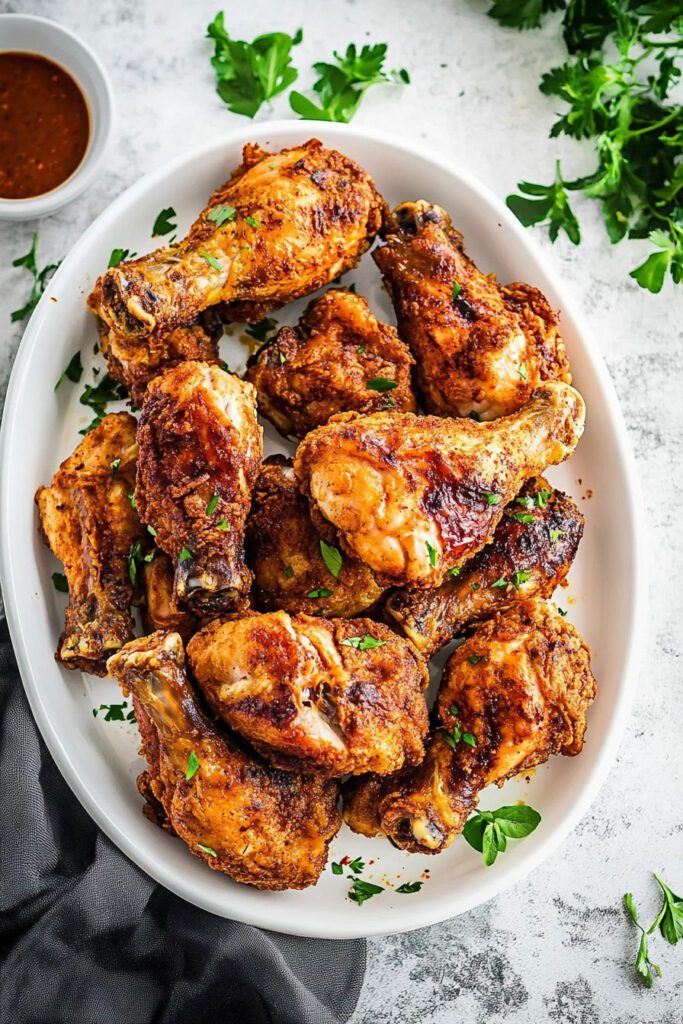
Congratulations! You’ve just made the crispiest, juiciest chicken right in your air fryer. Now, let’s talk about how to serve it and keep any leftovers as tasty as that very first bite.
Serving Suggestions
The beauty of air fryer chicken is its versatility. Here are a few serving ideas to take your meal to the next level:
- Classic Combo : Serve your crispy chicken with some homemade mashed potatoes, slaw, or a fresh green salad. Don’t forget your favorite dipping sauces—ranch, BBQ, or honey mustard all pair perfectly!
- Buffalo Style : Toss the cooked chicken wings in buffalo sauce, and serve them with blue cheese dressing and celery sticks for a pub-style treat.
- Southern-Style Meal : Pair your air-fried chicken with a side of buttermilk biscuits and some mac-n-cheese for a classic Southern-style meal.
- Healthy Twist : For a lighter, more wholesome meal, serve the chicken alongside some roasted vegetables or a quinoa salad.
Now that you’ve wowed everyone with your air fryer creation, let’s make sure you know how to store any leftovers properly.
Storing Leftovers
In the Fridge:
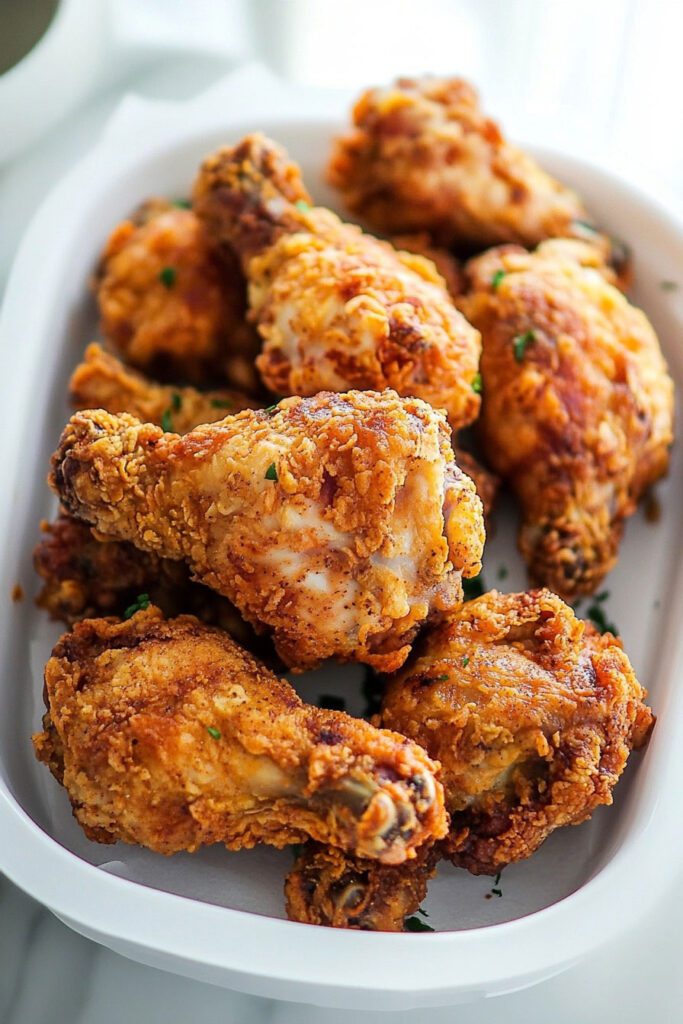
If you have leftovers (which is entirely possible but not likely), they can be stored in an airtight container in the refrigerator for up to 3-4 days. To reheat them while keeping the crunch, simply pop the chicken back into the air fryer at 350°F for about 5-7 minutes. This will bring the crispiness right back!
Freezing the Chicken:
Want to save some for later? You can freeze air-fried chicken! Allow the chicken to cool completely, then wrap each piece individually in foil or plastic wrap and place them in a freezer-safe bag. Chicken can be frozen for up to 2 months. When you’re ready to enjoy it, thaw in the fridge overnight, and pop it back into the air fryer at 375°F for about 10 minutes to crisp it up again. Fryer
Now it’s time for the ultimate stage—cooking the chicken to crispy, juicy perfection, all while using way less oil than traditional frying. The air fryer is about to do some serious magic! 🍗✨
Here’s how to air fry your chicken for the best results:
- Preheat the air fryer : Set your air fryer to 375°F (190°C) . Preheating ensures that the chicken starts cooking immediately, giving it a nice crispy exterior.
- Arrange the chicken : Place the dredged chicken pieces into the air fryer basket. Be sure not to overcrowd the basket—there should be a little room between each piece to let the hot air circulate around the chicken for even crisping. Depending on your air fryer’s size, you may need to cook the chicken in batches.
- Oil application : Lightly spray or brush the chicken with cooking spray or a little oil before it begins cooking. This will help the flour coating get even crispier!
- Cook the chicken : Air-fry the chicken at 375°F for about 20 minutes . About halfway through (around the 10-minute mark), flip the chicken pieces to ensure even cooking. Before flipping, give the chicken another light spritz or brush of oil to keep the exterior crisp.
- Check for doneness : After the 20-minute mark, check the internal temperature of the chicken using a meat thermometer. You’re looking for an internal temperature of 165°F (74°C) for fully cooked chicken. If it’s not there yet, continue cooking in 5-minute increments until you hit the right temperature.
- Bonus Crisping : If you want them extra crispy, air-fry for an additional 2-3 minutes at 400°F toward the end.
Once done, remove the chicken from the air fryer and let it rest for a few minutes on a wire rack. This helps the coating stay crispy as the internal juices settle.
And there it is—your delicious, golden, and crispy air fryer fried chicken is ready to be devoured!
Conclusion
Air fryer chicken is truly a game-changer! With its crispy outside and juicy inside, it’s hard to believe you’re achieving all that without the need for deep-frying oil. Plus, the buttermilk marinade adds not only flavor but a tender softness to the meat, while the flour and double dredging give it that much-needed crunch. The beauty of this recipe is its convenience—cooking only takes about 30 minutes, yet the results mimic that golden brown fried goodness we all love.
Whether you’re making it for a family dinner, as finger food at a party, or just because you’re craving crispy chicken, this recipe is versatile enough to fit any occasion. And don’t forget—thanks to the air fryer, there’s no messy cleanup or heavy, greasy feel. Just pure, delicious chicken perfection.
Ready to dive into your next batch of air fryer chicken? Let me know how your experience goes. Whether you’re trying chicken wings, thighs, breasts, or even a combo of cuts, you’re in for a crispy treat. Enjoy!

