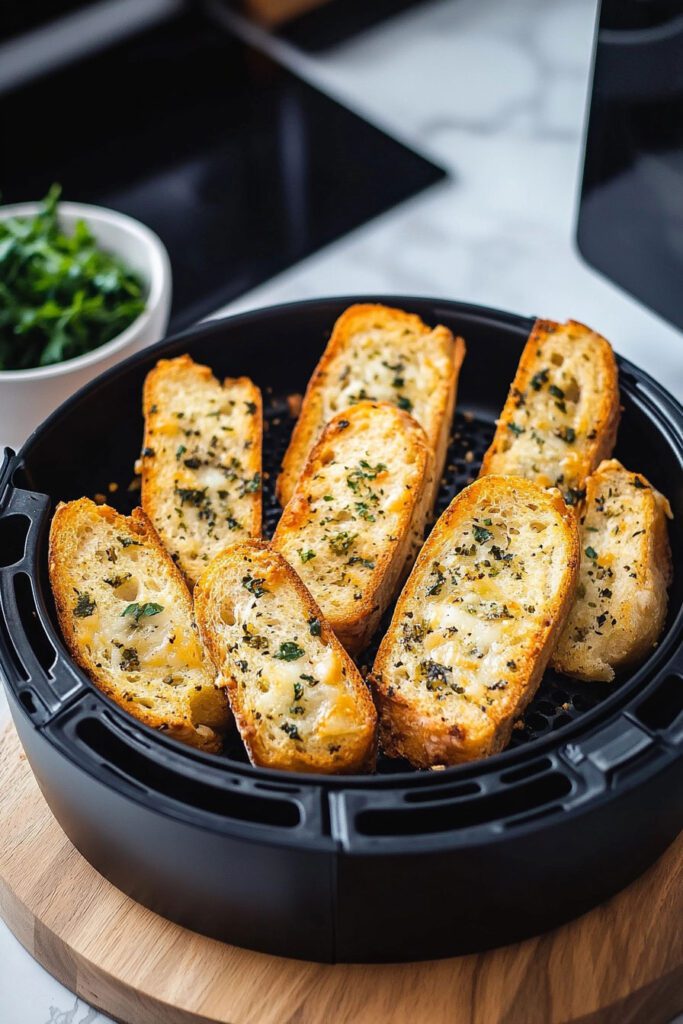
Looking for a quick, delicious, and crowd-pleasing side dish that’s packed with flavor? Allow me to introduce you to Air Fryer Garlic Bread —the perfectly crispy yet soft on the inside, cheesy, and oh-so-garlicky snack or side dish that you can whip up in no time! This comforting garlic bread is made in the air fryer, cutting down on oven time while still delivering irresistibly crispy edges.
Trust me, this recipe is hard to beat when you’re short on time or want to impress guests with minimal effort. Ready in just minutes with a few simple ingredients like a crusty baguette, butter, garlic, herbs, and Parmesan, it’ll become your go-to recipe to enjoy with everything from pasta dinners to soups. Let’s dive into it!
Ingredients List
The beauty of this Air Fryer Garlic Bread recipe lies in its simplicity. With a manageable list of ingredients, you’ll likely already have at home, you can create something that tastes like it came from your favorite restaurant.
- 5 tablespoons unsalted butter (softened)
- 3 teaspoons minced garlic (about 3-4 cloves)
- ¾ cup grated Parmesan cheese (adjust to taste, more is always better!)
- 1 teaspoon dried basil (feel free to substitute with dried oregano or Italian seasoning)
- 2 tablespoons fresh parsley (finely chopped for a fresh, vibrant touch)
- ½ baguette (cut into ½-inch thick slices)
Required Kitchen Tools
With just a few kitchen tools, making garlic bread in the air fryer becomes a cinch. Here’s what you’ll need to keep things quick and easy:
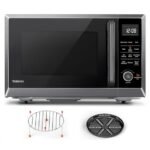
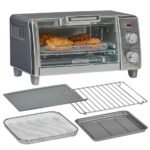
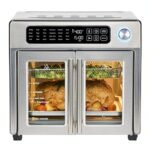
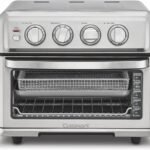
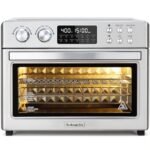
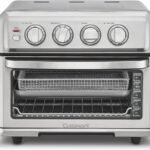
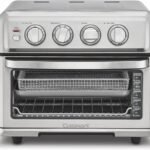
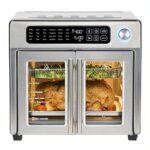
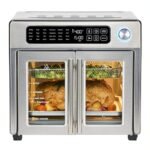
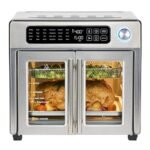
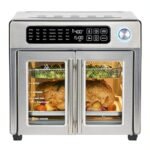
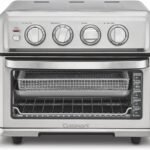
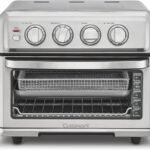
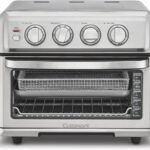
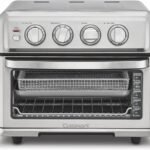
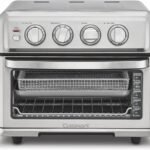
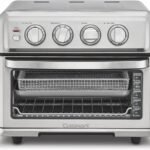
- Air Fryer : The star of the show! The air fryer creates that perfect balance of crisp and tender bread that we all crave. Make sure you can fit your bread slices in a single layer.
- Mixing Bowl : For combining the butter, garlic, cheese, and herbs into that irresistible garlic spread.
- Pastry Brush or Butter Knife : To generously spread the garlic butter cheesy goodness onto each slice of bread.
- Cutting Board & Knife : For slicing your baguette evenly into ½-inch thick slices, ensuring every bite is perfectly proportioned.
- Tongs : Helpful for safely removing the hot garlic bread from the air fryer while keeping your fingers out of harm’s way.
Preparation and Cooking

Now that we have all our ingredients and tools set, it’s time to make some Air Fryer Garlic Bread ! Follow the simple steps below:
Step 1: Slice the Baguette
Place your ½ baguette on a cutting board and, using a sharp knife, slice it into ½-inch thick pieces. The uniform thickness ensures that each slice will cook evenly in the air fryer.
Step 2: Create the Garlic Butter Mixture
In a mixing bowl , combine the softened butter , minced garlic , Parmesan cheese , dried basil , and chopped parsley . Stir the ingredients together very well, ensuring the flavors are evenly distributed throughout the butter. If you’re a huge fan of garlic and cheese, feel free to toss in an extra pinch of each—no rule against that!
Step 3: Spread the Garlic Mixture
Take each sliced piece of baguette and generously spread the garlic butter mixture across the top. Use a pastry brush or butter knife to ensure there’s a nice, even layer. The butter will melt into the bread during air frying, resulting in the perfect combination of flavors.
Step 4: Prep the Air Fryer
Arrange the garlic bread slices in a single layer in the air fryer basket . Don’t overcrowd the slices, as we want the hot air to circulate the basket properly, ensuring crispy edges.
Cooking the Garlic Bread

Step 5: Air Fry to Perfection
Set your air fryer to 350°F (175°C), and cook the garlic bread for approximately 3-5 minutes. The exact time will depend on your desired texture:
- For a softer, chewier texture , air fry for about 3-4 minutes.
- If you prefer golden, crispy edges , aim for 5 minutes.
Make sure to keep an eye on the garlic bread during air frying to prevent overcooking, as it can go from perfectly crisp to burnt quickly. The cheese should melt and create a flavorful, slightly crispy layer on top.
Step 6: Cool and Serve
Once the garlic bread is done cooking, remove it from the air fryer using tongs and place the pieces on a cooling rack or plate. Allow them to cool for just 5 minutes to let the flavors set in. Then, serve warm and enjoy the crisp edges with the rich, garlicky, cheesy center.
Serving Suggestions
This Air Fryer Garlic Bread pairs wonderfully with just about anything. It’s a classic side for pasta dishes , a delectable dipper for soups , and even works as a tasty appetizer with some marinara or olive oil on the side. Feel free to sprinkle some extra parsley on top for presentation, or for a bigger kick, dust with more Parmesan between bites!

Storage and Reheating Tips
If there’s any garlic bread left (unlikely, I know!), you can store it for later:
- Storage : Place the leftover garlic bread in an airtight container or sealable bag. It will last for up to 2 days at room temperature.
- Reheating : To reheat, simply pop it back in the air fryer at 350°F for about 2-3 minutes to restore its crispy texture. Avoid microwaving, as it can make the bread too soft or chewy.
Conclusion
And that’s it! In just a few minutes, you’ll have garlic bread that rivals any restaurant’s. The air fryer makes this recipe incredibly easy and ensures a crispy, golden finish without the need to preheat a full oven. You can customize the herbs and cheese to your liking, and it pairs perfectly with countless dishes from pasta to soups.
So, whether you’re whipping this up for a dinner party, a family meal, or just a cozy night in, you really can’t go wrong with this Air Fryer Garlic Bread .
Enjoy, and happy air frying! 😊

