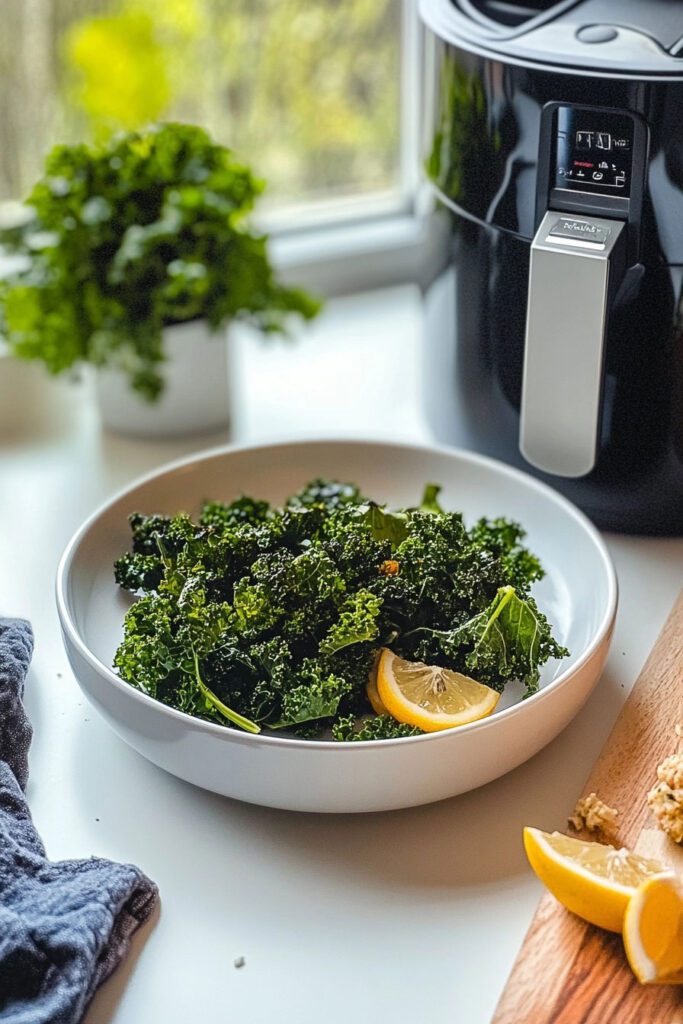
Craving a crunchy and healthy snack? Discover the amazing goodness of Air Fryer Kale Chips , a light yet nutritious treat that’ll keep you coming back for more. With just a handful of ingredients, you can whip up these deliciously crisp chips in no time. Easy to make and packed with vitamins, they’re the perfect guilt-free snack. Whether you’re looking for a quick, midday crunch or a companion to your favorite dip, Air Fryer Kale Chips have you covered.
Ingredients List
Essential Ingredients:
- ½ pound of kale (or one bunch) – You can also use a 6 oz bag of pre-washed kale for added convenience.
- 1 tablespoon olive oil – This helps to crisp up the kale to perfection.
- ⅛ teaspoon salt – Adds that perfect hint of savory flavor.
- ¼ teaspoon crushed black pepper – For a little kick, adding depth to each bite.
Optional Seasonings (Get Creative!):
- Garlic powder
- Paprika
- Chili flakes
- Nutritional yeast for that cheesy flavor
Feel free to customize the flavors to your liking! A little extra seasoning can go a long way toward taking your kale chips to the next level.
Required Kitchen Tools
Having the right tools will simplify the process and ensure evenly crisped kale chips. Here’s what you’ll need:
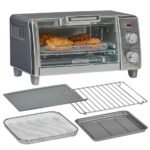
- Air Fryer : Of course, this is the star tool for this recipe. The air fryer delivers that perfect crispy texture in no time.
- Salad Spinner : A handy tool to dry off your kale after rinsing, ensuring it crisps up just right.
- Mixing Bowl : For tossing the kale with your seasonings evenly.
- Tongs : Essential for handling hot kale chips and turning them with ease.
- Wire Rack or Trivet (Optional) : If your air fryer has a fan underneath, you’ll need this to keep the lightweight kale from flying around as the air circulates.
Pro Tip:
Make sure to dry the kale as much as possible using a salad spinner or by laying them on a kitchen towel for best results. The drier the kale, the crispier your chips will be!
Preparation Steps
To achieve the perfect texture and balance of flavors with these Air Fryer Kale Chips , it’s all about prepping your kale properly and ensuring it’s dry to get that signature crispiness. Follow these simple steps to prepare your kale and set yourself up for snack-time success.
Step 1: Cut and Prepare the Kale
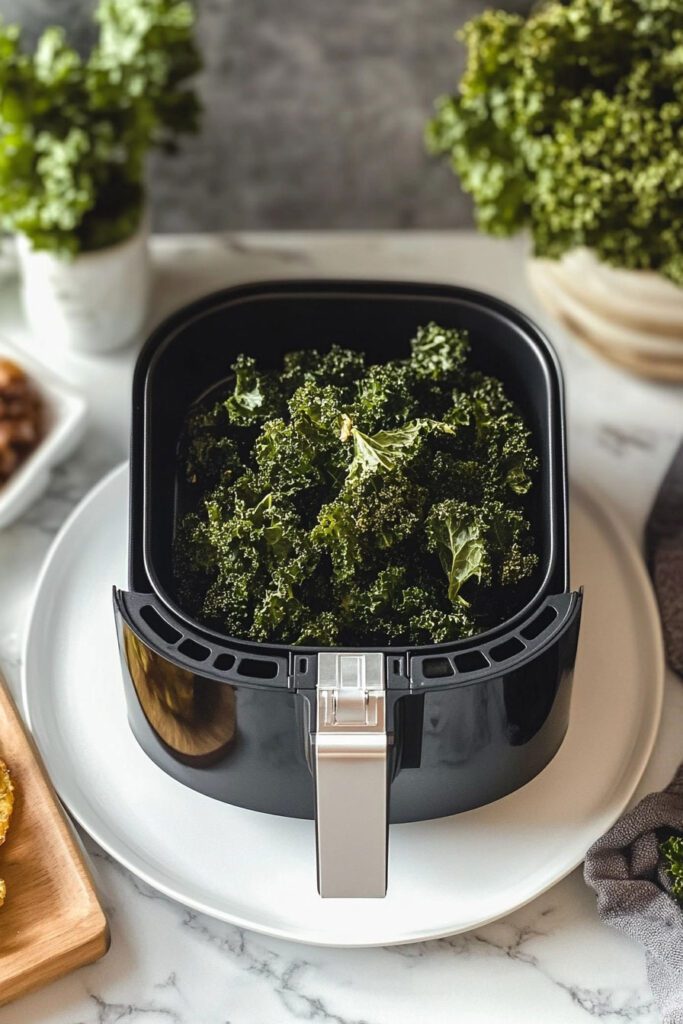
Start by separating the kale leaves from the tough stems. Here’s how I like to do it:
- Lay the kale flat on a cutting board and, using a sharp knife, cut along either side of the tough stem, discarding the stem afterward. Alternatively, fold the leaves in half and slice alongside the stem.
- Tear the leaves into small bite-sized pieces, about the size you want your chips to be. Try to keep the pieces uniform in size so they cook evenly.
Step 2: Rinse and Dry the Kale
Once your kale is cut, it’s time to give it a good wash:
- Rinse Your Kale : Thoroughly rinse the torn leaves under cold water. Kale tends to have dirt or sediment, so make sure to give them a good wash.
- Dry the Kale Thoroughly : After washing, use a salad spinner to remove excess water. If you don’t have a spinner, spread the kale pieces out over a clean kitchen towel and let them air dry. Any remaining moisture will prevent your chips from crisping up.
Step 3: Season Your Kale
Now it’s time to get your hands involved:
- Toss with Olive Oil & Seasoning : In a large bowl, add the dried kale. Drizzle 1 tablespoon of olive oil over the leaves and gently massage the leaves with your hands to ensure each piece gets an even coating. This will help make your chips crispy and flavorful.
- Add Salt and Pepper : Sprinkle ⅛ teaspoon of salt and ¼ teaspoon of crushed black pepper (or your preferred seasoning) across the kale, tossing to coat evenly. Feel free to add more spices based on your taste preferences—get creative with garlic or chili powder for some added flavor!
By prepping your kale properly, you set yourself up for crispy, flavorful chips every time.
Pro Tip:
Massage the olive oil into the kale gently—this helps break down the toughness of the leaves, making for not only tastier chips but also more digestible ones!
Cooking the Kale Chips in the Air Fryer
Now that your kale is prepped and seasoned to perfection, it’s time for the magic to happen—crispy kale goodness in the air fryer! Cooking Kale Chips in an air fryer is super quick and easy, but a few tips will help ensure they come out just right every time.
Step 1: Preheat & Arrange Kale in the Air Fryer
Before tossing your kale into the fryer:
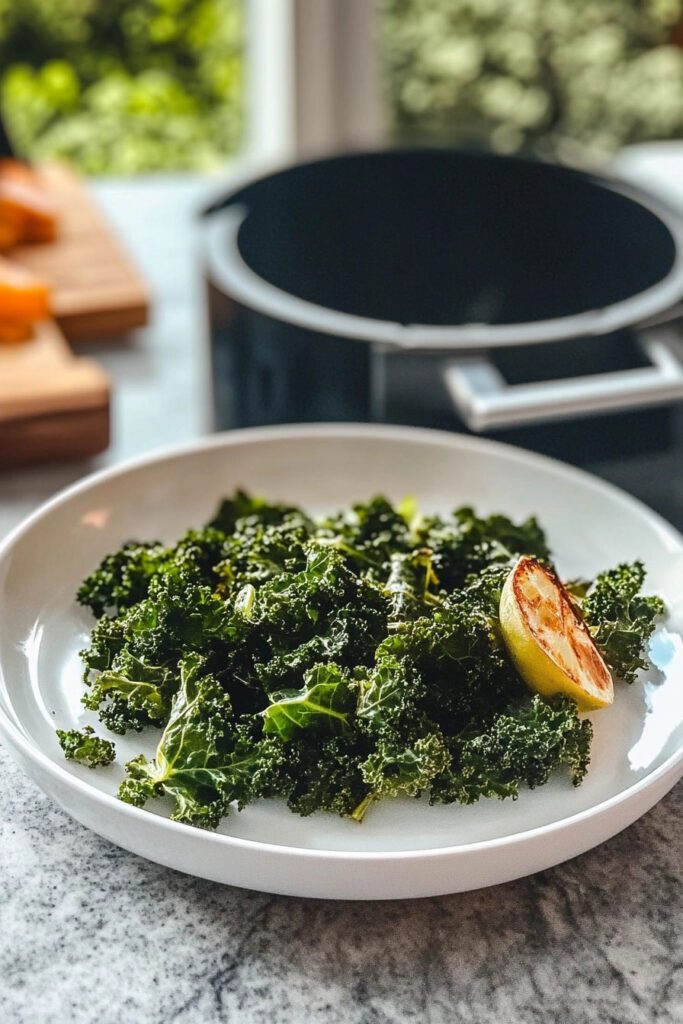
- Preheat the Air Fryer (Optional) : While many air fryers don’t require preheating, I’ve found that preheating the air fryer to 350°F gives you more consistent results. If your air fryer doesn’t have a preheat option, don’t worry—just proceed to the next step!
- Arrange the Kale in a Single Layer : Spread out the seasoned kale pieces into the air fryer basket in a single layer. Avoid overcrowding , as overlapping too much can result in some pieces getting soggy. Depending on the size of your air fryer, you may need to do this in 2-3 batches .Pro Tip : Some air fryers have a fan beneath the basket, which can cause lighter kale leaves to fly around. To prevent this, you can place a wire rack or trivet on top of the kale to weigh it down slightly—it works like a charm!
Step 2: Cook the Kale Chips
- Air Fry at 350°F : Set the fryer to 350°F and cook for 3 minutes .
- Check After 2 Minutes : Open the fryer at the 2-minute mark and take a quick peek. If the chips on the sides are already crisp, carefully remove them with tongs and leave the rest of the kale to cook for an additional minute.
- Monitor & Adjust : Kale chips can burn fast once they start to crisp up! Keep an eye on the kale during the last minute to ensure they don’t over-crisp or turn too dark. If you’re working in batches, set the cooked chips aside while you air fry the remaining kale.
Step 3: Cool Slightly and Serve
Once all the chips are crispy and done:
- Transfer the Cooked Chips to a plate or wire rack to cool slightly—they’ll continue to crisp up as they cool.
- Taste and Adjust Seasoning : If needed, sprinkle on a bit more salt, pepper, or your seasoning of choice while they’re still warm.
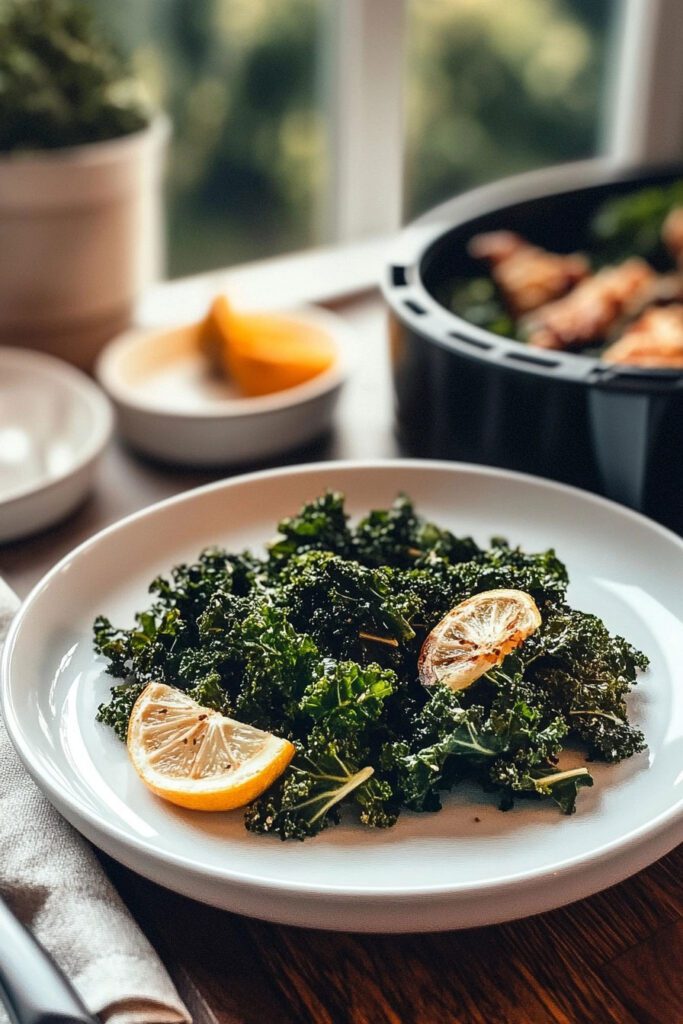
And there you have it—deliciously crunchy, homemade Air Fryer Kale Chips ready to serve!
Serving and Storage
Now that your perfectly crispy Air Fryer Kale Chips are ready, it’s time to serve them up and store any leftovers (if you can resist eating them all right away!). Whether you’re enjoying them on their own or pairing them with a dip, these kale chips are a delightfully crunchy and flavorful snack that hit the spot every time.
Serving Suggestions
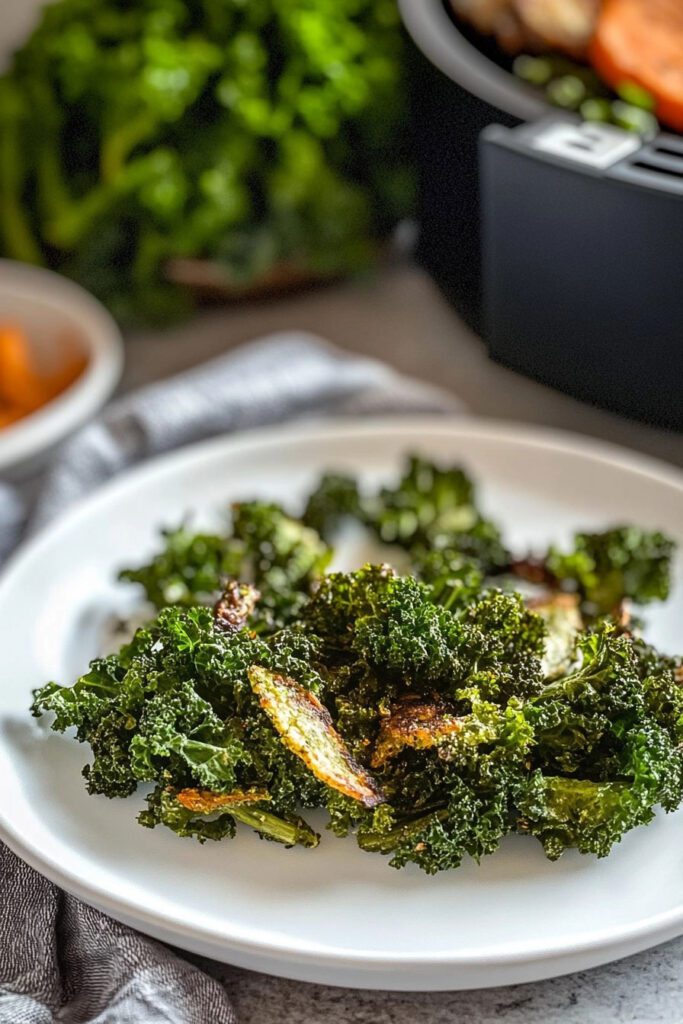
While these kale chips are undeniably tasty straight from the air fryer, here are a few ways you can elevate your snacking experience:
- Simple and Seasoned : Keep it classic by enjoying the kale chips just as they are from the air fryer—crispy, salty, and peppery. You can vary the flavor depending on the seasoning you used earlier.
- Serve with Dip : Dip your kale chips in tasty accompaniments. Here are some dip ideas:
- Hummus : A creamy, protein-rich dip that complements the crispy texture of the kale chips.
- Guacamole : Add a zesty, fresh element with a scoop of homemade guac.
- Greek Yogurt Dip : A light and tangy yogurt dip with herbs like dill or parsley is perfect for snacking.
- Toss on a Salad : Crumble the crispy kale chips over a fresh salad for extra crunch and a nutritious boost!
- Use as a Topping : Sprinkle the kale chips over soups, pastas, or grain bowls—instant texture and flavor! They also make a great topping for creamy mac and cheese.
Storing the Kale Chips
If you miraculously have leftovers—or you’ve prepared a few batches—here’s how to ensure your kale chips stay crispy for as long as possible:
- Cool Completely : Before storing, make sure the kale chips are completely cooled. Any remaining warmth could lead to condensation and soggy chips.
- Store in an Airtight Container : Transfer the cooled chips into an airtight container, or even better, a paper bag. If you opt for a plastic or glass container, consider placing a piece of paper towel inside to help absorb any moisture.
- Re-crisp if Needed : If the chips lose some of their crispiness after a day or two, no worries—you can reheat them in the air fryer at 325°F for 1-2 minutes , and they’ll crisp right back up!
Shelf Life
- Kale chips taste best when eaten fresh; however, you can store them for 1-2 days at room temperature in an airtight container. I wouldn’t suggest refrigerating them, as they tend to absorb moisture and become soggy.
- If the air loses its crunchiness, the re-crisping method in the air fryer will do the trick!
Pro Tip:
To maintain their crisp texture when stored, avoid exposing the chips to humid environments and keep them away from direct sunlight.
Conclusion
There you have it—a simple, yet satisfying recipe for Air Fryer Kale Chips that’s both healthy and packed with flavor! It’s incredible how a few basic ingredients like kale, olive oil, and seasonings can transform into such a delicious snack using an air fryer. The best part? You can customize them with different seasonings to suit your taste or enjoy them with dips for an elevated snacking experience. These chips are also a great way to sneak some extra greens into your diet in the most delicious way possible.
To top it off, the recipe is quick and mess-free, making it ideal for weekday munching or weekend gatherings. So, grab your air fryer, experiment with those spice racks, and make every snack time a crunchy, flavorful success!


