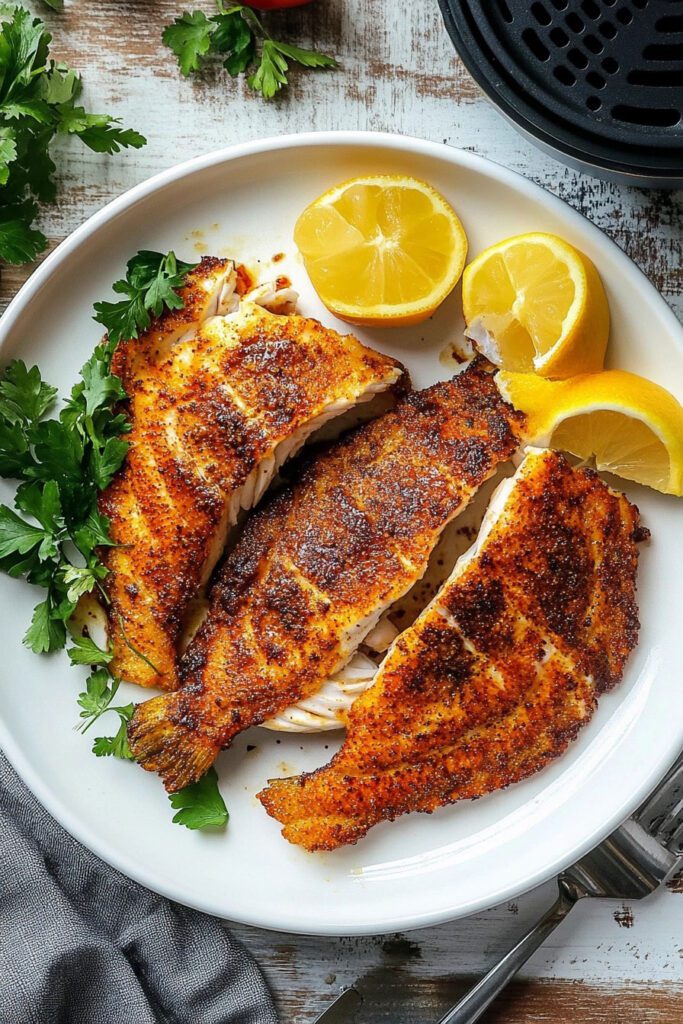
Craving a healthy, crispy dish with minimal effort? Air Fryer Tilapia is your answer! This light and flaky fish is seasoned to perfection with a zesty blackened spice rub, air fried to crispiness, and finished with a refreshing squeeze of lemon. Not only is it fast to make, but this recipe is low in calories and packed with flavor. The best part—it takes just 10 minutes in your air fryer for a protein-rich, no-fuss meal that pairs beautifully with veggies, rice, or a fresh salad.
Ingredients List
Here’s everything you’ll need to make your Air Fryer Tilapia:
- 6 tilapia fillets (4-6 oz. each)
- 2 Tablespoons olive oil (for drizzling and crisping)
- 1 lemon (for that perfect finishing touch)
- 3 Tablespoons blackened seasoning or make your own spice mix:
- 1 Tablespoon cumin
- 1 Tablespoon chili powder
- ⅓ Tablespoon paprika
- 1 ⅓ teaspoons onion powder
- 1 ⅓ teaspoons garlic powder
- ⅓ teaspoon oregano
- ⅓ teaspoon salt
- ⅙ teaspoon black pepper
Essential Kitchen Tools
Before diving into making your perfectly cooked air fryer tilapia, gather these kitchen tools to keep the process smooth:
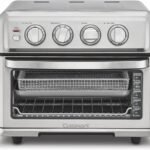
- Air Fryer : A must-have for this recipe as it cooks the tilapia perfectly crisp without needing deep-frying.
- Tongs or Spatula : Helps you safely flip and remove the fish from the air fryer.
- Measuring Spoons : To precisely measure out the seasoning mix for a consistent flavor.
- Paper Towels : Drying the fillets ensures a crispy finish on the outside.
- A Small Bowl : Quickly mix together those flavorful seasonings in one spot.
With these tools and ingredients assembled, you’re all set for a delicious and simple air-fried meal!
Preparing & Seasoning the Tilapia Fillets
Before cooking your tilapia in the air fryer, it’s important to properly prepare and season the fish. This ensures that each fillet is packed with delicious flavor that enhances its natural taste.
Step 1: Dry the Tilapia Fillets
Start by patting your tilapia fillets dry with paper towels. Drying the fish is essential for achieving a crispy, golden exterior in the air fryer. Moist tilapia will steam rather than crisp, so make sure each fillet is dry on all sides before moving forward.
Step 2: Season Generously
Next, you’ll generously sprinkle the seasoning on both sides of the fillets. Whether you’re using the pre-blended blackened seasoning or the homemade mix, be sure to coat each side evenly. Use your hands to gently rub the spices into the fish, enhancing the flavor and ensuring it sticks throughout the air frying process.
- Tip: If you want even more flavor, you can prep the tilapia ahead of time and let it sit with the seasoning for 10-15 minutes, allowing the spices to penetrate deeper into the fillets.
Step 3: Preheat the Air Fryer
While the fish is marinating (if you have time), preheat your air fryer to 400°F (204°C) . Preheating the air fryer allows it to maintain a consistent temperature during cooking, ensuring that your tilapia turns out perfectly cooked and crispy with no cold spots.
Once your air fryer is heated, it’s time to start cooking!
Cooking the Tilapia
Now that your tilapia fillets are seasoned and ready to go, it’s time to cook them to crispy perfection. Air frying makes the process quick and efficient, while still giving the tilapia that delicious crunch you’d expect from a fried dish.
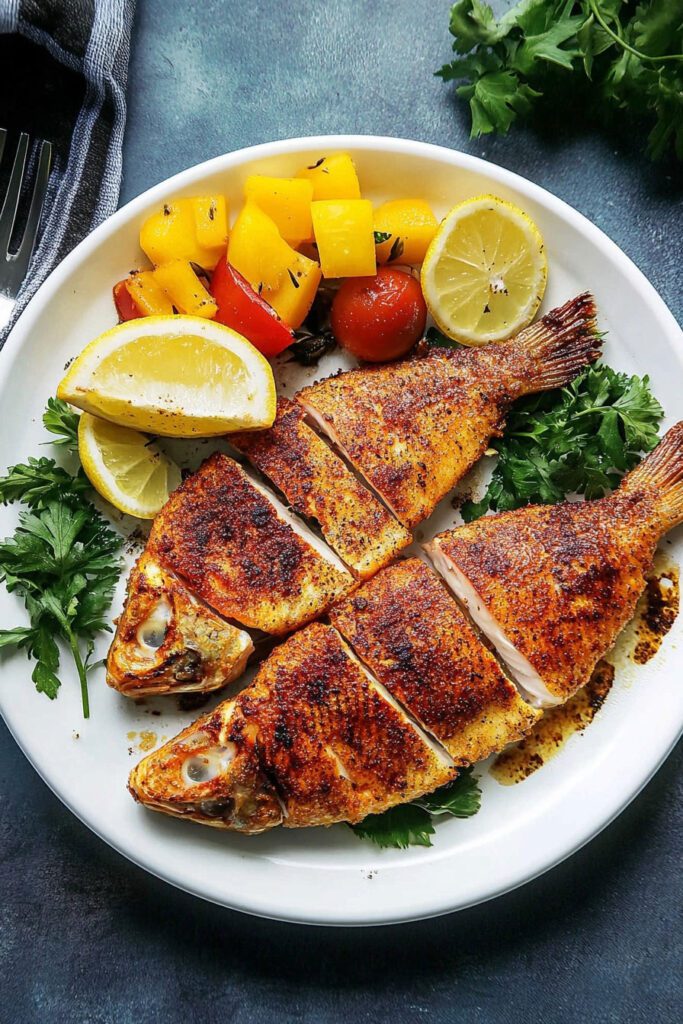
Step 1: Prepare the Air Fryer Basket
Before placing the fish in the basket, it’s important to give it a light coating of oil. This prevents the fillets from sticking and also contributes to a crispier exterior on the fish. You can either spray the basket with cooking oil spray, or drizzle a bit of olive oil and use a brush or paper towel to spread it evenly across the surface.
Step 2: Load the Tilapia Fillets
Place 1 or 2 fillets (depending on the size of your air fryer) into the basket. Make sure the fillets don’t overlap—giving them space ensures that the hot air can circulate evenly around the fish, cooking them til they’re golden brown and flaky.
- Tip: If you’re cooking more than 1 batch, avoid overcrowding the air fryer, as this could cause the fish to steam instead of crisping up.
If you like your tilapia extra crispy, drizzle (or spray) a little more olive oil directly on the top of the fillets before cooking.
Step 3: Cook the Tilapia
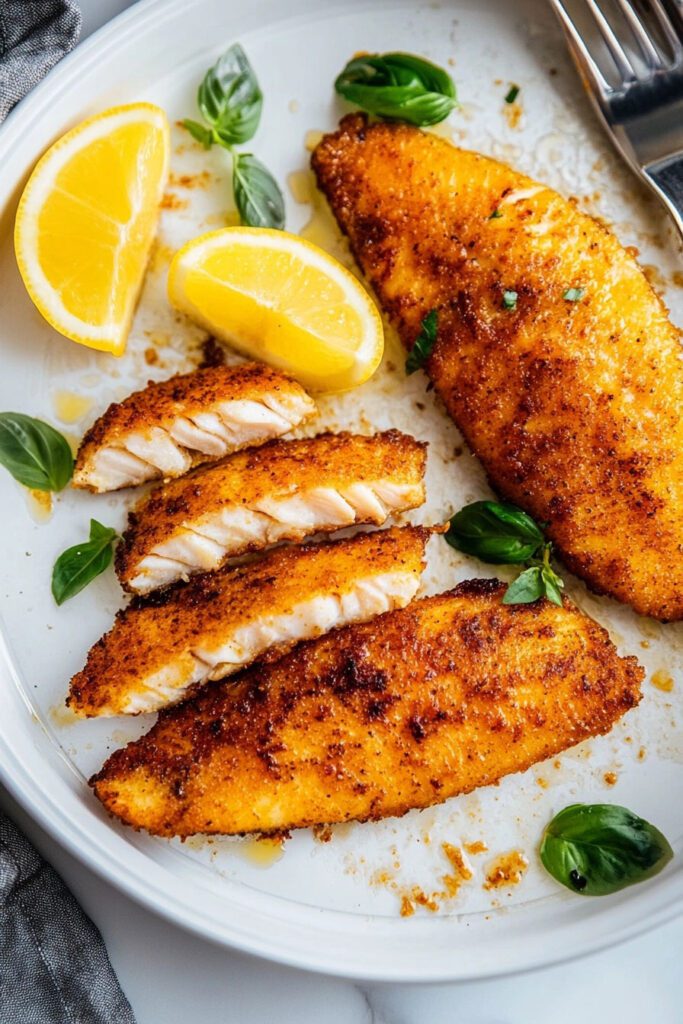
Close the air fryer and cook the fish for 7 minutes at 400°F (204°C) . After 7 minutes, check for doneness—your tilapia should be white and flaky inside with a slightly crispy, golden exterior.
- Tip: Depending on the size of your tilapia, it might need 1-2 more minutes in the fryer. You’ll know it’s ready when the flesh easily flakes with a fork.
Once the fillets are cooked through and crispy, use a spatula or tongs to carefully transfer them to a plate. Repeat in batches until all the fish is cooked.
Serving the Air Fryer Tilapia
Your tilapia is officially cooked and crispy, now it’s time to give it that fresh, zesty finishing touch everyone will love!
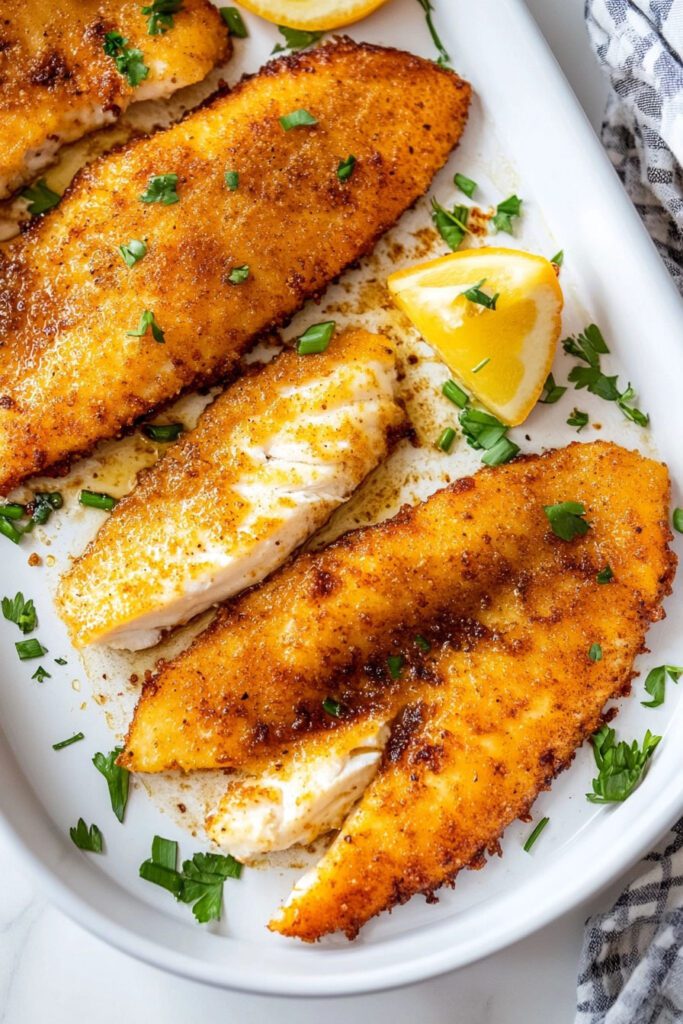
Step 1: Add Fresh Lemon Juice
Once the fillets are plated, grab your lemon and slice it in half. A light squeeze of fresh lemon juice over each fillet will bring a beautiful brightness to the dish, enhancing the flavors of the blackened spices and complementing the mild, flaky fish.
- Tip: You could also serve the tilapia with lemon wedges on the side, so your guests can squeeze on as much or as little as they prefer.
Step 2: Garnish and Pairing Ideas (Optional)
If you’re feeling extra fancy, here are a few ways you can elevate the presentation and taste of your air fryer tilapia:
- Garnish with Fresh Herbs: Sprinkle on some freshly chopped parsley, cilantro, or dill for added color and a pop of freshness.
- Pair it with a Side: Air fryer tilapia pairs wonderfully with steamed vegetables, roasted potatoes, or even a light salad. You could also serve it with quinoa, rice, or your favorite grains for a well-rounded meal.
Storing Leftovers
If you have leftover tilapia (which, let’s be honest, you might not after tasting how delicious it is!), here’s how you can keep it crisp and fresh:
Refrigerating
Place your cooled tilapia fillets in an airtight container and store them in the refrigerator for up to 3 days. When you’re ready to enjoy them again, simply reheat them in the air fryer at 350°F (175°C) for 4-5 minutes until warmed through.
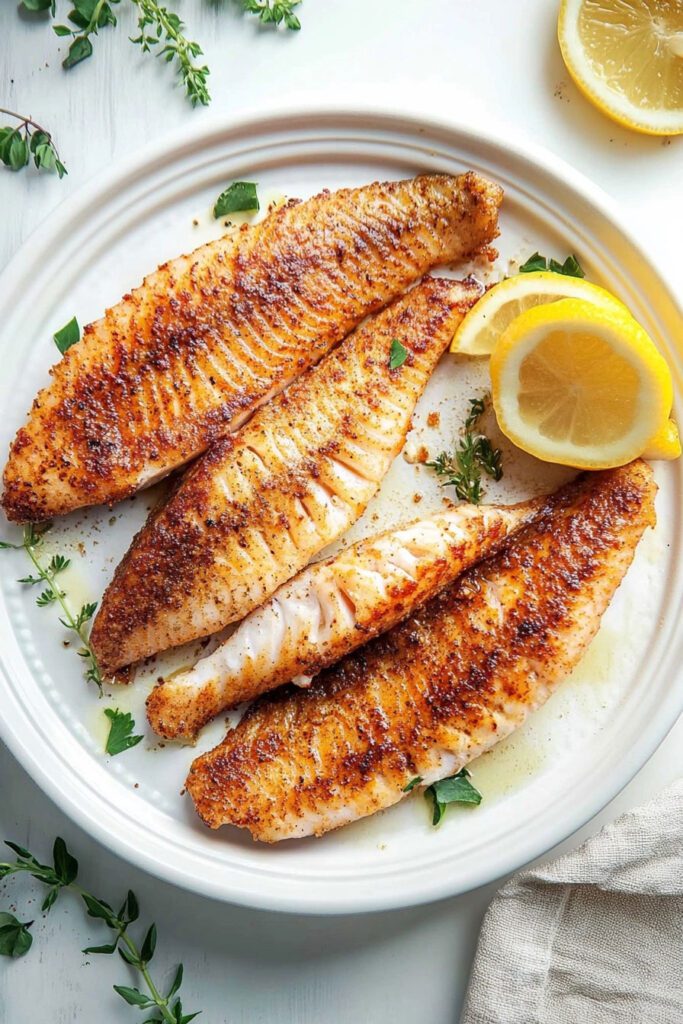
Freezing
To freeze air fryer tilapia, let the cooked fillets cool completely, place them in a freezer-safe bag, and freeze for up to 1 month. To reheat, thaw the fish in the fridge overnight and pop it back into the air fryer for about 5-6 minutes at 350°F (175°C) until it’s crispy and warm.
Conclusion
Air Fryer Tilapia is a quick, easy, and healthy way to enjoy crispy, flaky fish without the need for deep-frying. From the flavorful seasoning to the zesty fresh lemon juice, this recipe is designed to impress your taste buds while keeping the process simple and hassle-free. Whether you’re pairing it with vegetables, grains, or incorporating it into tacos or wraps, this air fryer tilapia is sure to become a go-to favorite in your kitchen!
Give it a try and enjoy the perfect combination of crispy and juicy every time!

