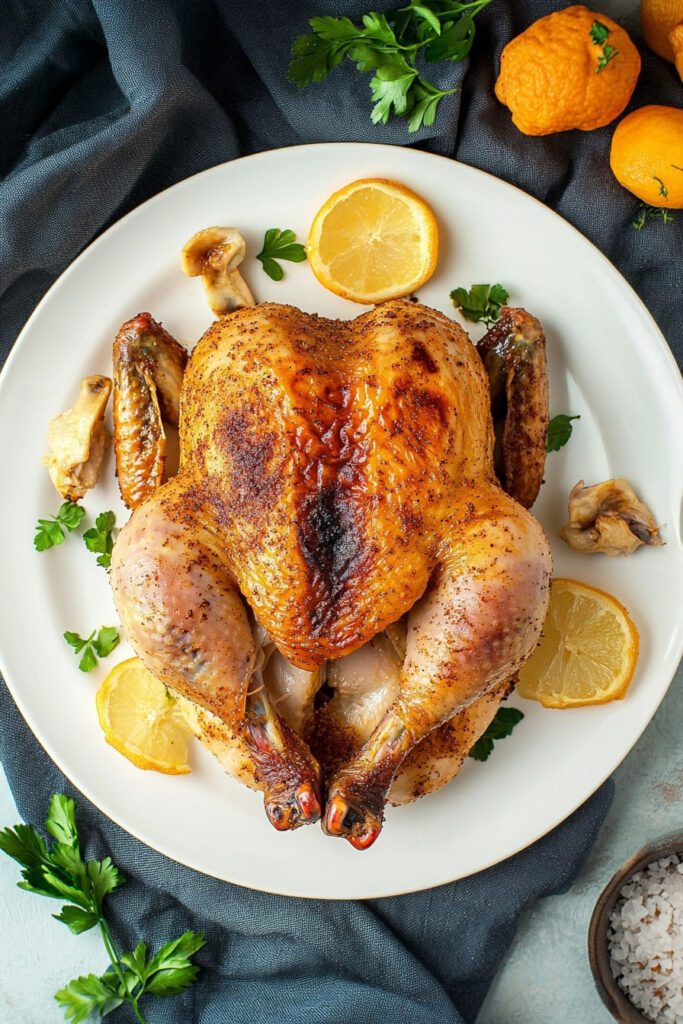
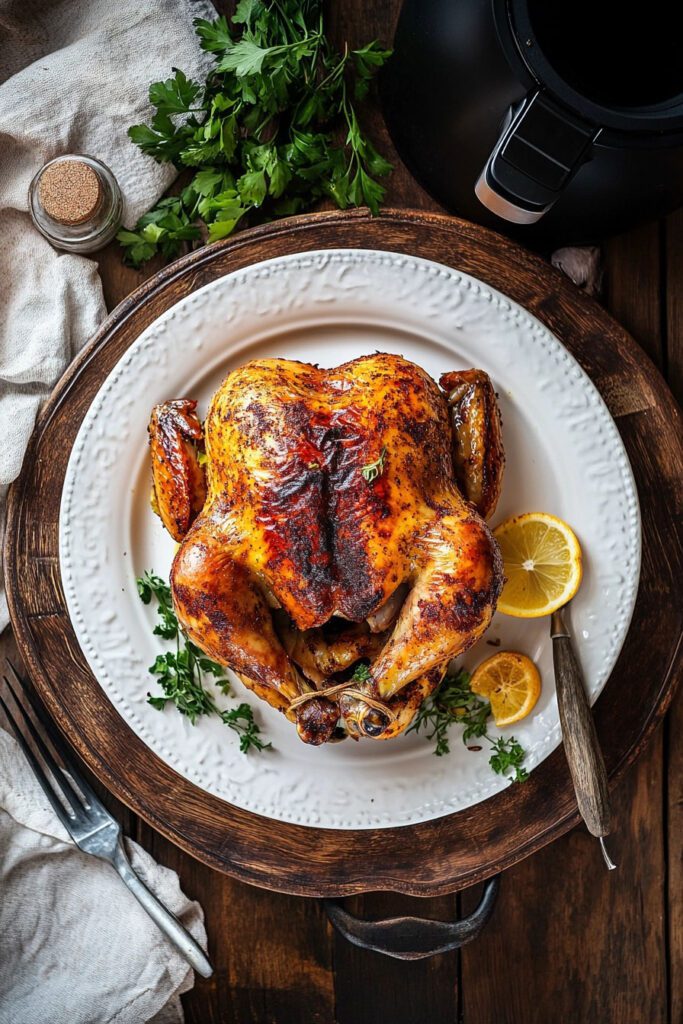
If you’ve ever wondered how to achieve that perfectly crispy, mouthwatering whole chicken with minimal effort, using an air fryer is your secret weapon. Imagine a roasted chicken that’s golden and crispy on the outside but tender and juicy on the inside, all in just an hour!
I’ve perfected this air fryer whole chicken recipe, and let me tell you, it delivers amazing results every time! Plus, it’s healthier than traditional roasting thanks to the air fryer’s magic of using less oil while still achieving a beautiful, crispy skin. Whether it’s a weeknight family dinner or a special occasion main dish, this easy air fryer recipe is sure to please.
Ingredients List:
You don’t need a long list of complex ingredients—just the right combinations of flavors and a few kitchen staples to craft a meal that will have everyone asking for seconds. Here’s what you’ll need for this simple air fryer whole chicken recipe:
Essential Ingredients
- 4 to 5-pound whole chicken – Giblets removed. The size will influence cook time, so keep that in mind.
- 1 lemon, halved – Adds fresh citrus flavor and moisture from inside the cavity.
- ½ onion – Adds a savory depth and keeps the chicken fragrant during cooking.
- 2 tablespoons olive oil – Ensures crispy skin and helps the seasonings stick.
- 2 teaspoons smoked paprika – For an earthy, smoky flavor and deep color.
- 1 teaspoon dried thyme – A classic herb that pairs well with chicken, providing a woodsy, subtle note.
- 1 teaspoon garlic powder – Increases the aroma and infuses the chicken with garlicky goodness.
- 1 teaspoon onion powder – Adds a savory umami punch.
- 1 teaspoon salt – Essential for drawing out moisture and seasoning.
- 1 teaspoon cracked black pepper – For a bit of warmth and spice, adjusting to taste preferences is always an option.
Equipment:
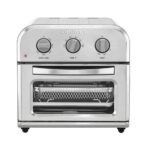
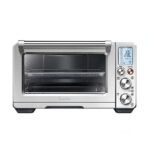
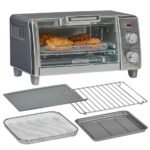
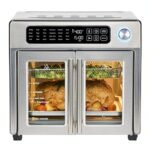
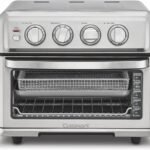
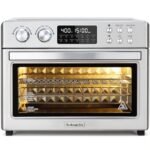
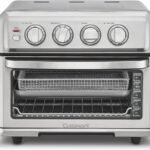
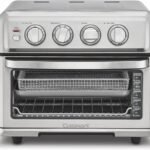
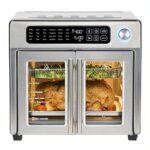
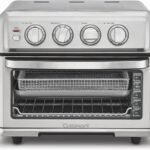
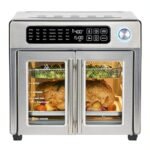
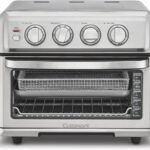
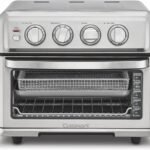
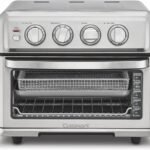
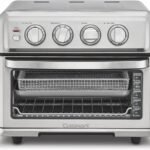
- Air Fryer
Step-by-Step Instructions for Air Fryer Whole Chicken
Now that you’ve gathered your ingredients, let’s walk through how to prepare, season, and cook your chicken to juicy perfection.
1. Prepare the Chicken for Air Frying
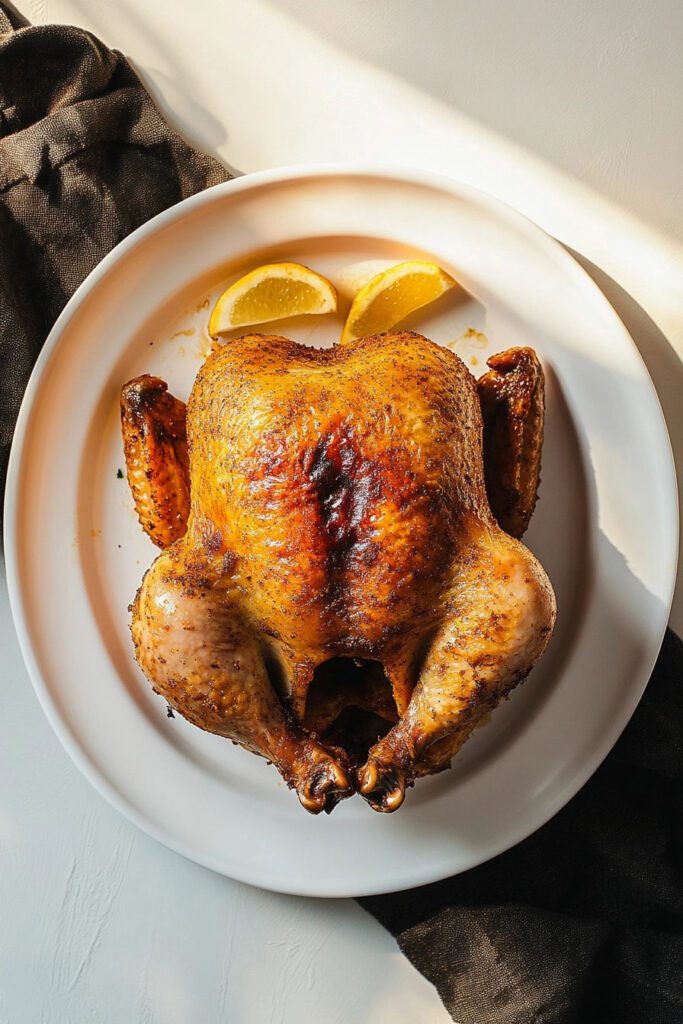
Before getting your air fryer ready, focus on prepping the chicken. First, make sure you’ve removed the giblets from inside the cavity. Pat the chicken completely dry using paper towels. This step is crucial—any moisture left on the chicken can prevent the skin from getting crispy.
Once the chicken is dry, grab your halved lemon and onion. Stuff both lemon halves and the onion into the cavity of the chicken. The lemon juices help keep the meat juicy and flavorful, while the onion adds aromatic depth. You can also tie the legs together with kitchen twine if desired, although it’s optional.
2. Oil and Season the Chicken
Now it’s time to give your chicken some love with a good rub of olive oil and seasonings. Drizzle the olive oil over the entire chicken, making sure to coat both the outside and as much of it inside the cavity as you can reach.
In a small bowl, combine the smoked paprika, dried thyme, garlic powder, onion powder, salt, and pepper. Stir everything together, making sure the seasonings are well mixed. While some herbs can get lost inside the air fryer, these flavors are bold enough to work their magic.
Generously sprinkle the seasoning mix all over the chicken, rubbing it in with your hands. Don’t forget the underside of the chicken and inside the cavity! The skin should be thoroughly coated for the best flavor.
Cook the Chicken in the Air Fryer
1. Preheat and Arrange
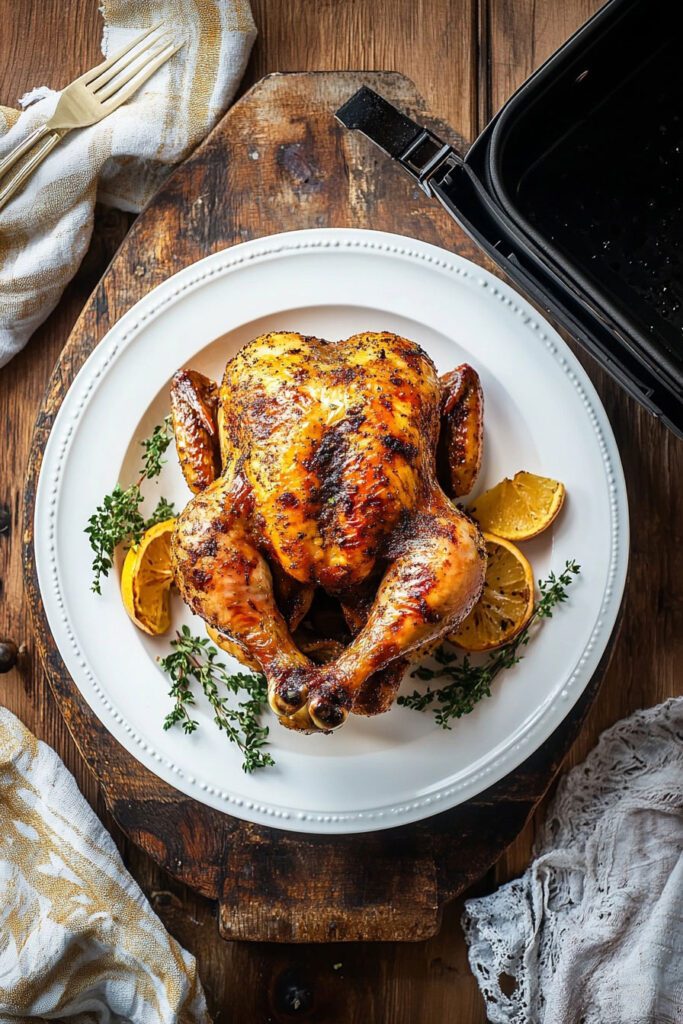
It’s time to get cooking! Preheat your air fryer to 360°F (if your air fryer model requires preheating). Once the air fryer is ready, place the chicken breast-side down . This allows the dark meat (legs and thighs) to cook more thoroughly during the first portion of cooking, while the breast stays juicy.
Depending on the size of your chicken and your air fryer, you may need to adjust it slightly to ensure it fits snugly in the basket. If it’s a tight fit, no worries—just make sure there is proper air circulation around the chicken.
2. Air Fry the Chicken at Two Stages
First, air fry the chicken breast-side down for 30 minutes at 360°F . After 30 minutes, carefully flip the chicken over so the breast side is on top. This allows the top (which is now nice and crisp) to stay crunchy while the breast meat cooks through gently, preventing it from becoming dry.
Continue air frying for another 30 minutes at 360°F . Keep an eye on it during the last 10 minutes of cooking. Air fryer times can vary slightly, so it’s important to regularly check for doneness.
3. Check for Doneness
You’ll know the chicken is done when the thickest part of the chicken breast reaches an internal temperature of 165°F . I highly recommend using a meat thermometer to ensure safety and avoid overcooking. Insert the thermometer into the thickest part of the breast (but not touching the bone) to check for the perfect temperature.
If you find it’s not quite there yet, continue cooking in 5-minute increments, checking the temperature after each round. But don’t worry—it should cook through within that recommended time.
Rest, Carve, and Serve the Chicken
1. Let the Chicken Rest
Once your chicken has reached the perfect 165°F internal temperature, carefully remove it from the air fryer using tongs or a spatula (avoid piercing the meat to retain the juices). Place the chicken on a cutting board and let it rest for 10 minutes before carving. This step is key! Allowing the chicken to rest helps the juices redistribute throughout the meat, ensuring every bite is as moist and flavorful as possible.
2. Carve the Chicken
Once the resting time is up, it’s time to carve and serve. Start by removing the legs and thighs by cutting between the joint that connects them to the body. Then, move on to slicing the breast meat. You’ll find that the chicken is tender and pulls apart easily. The crispy skin should add a pleasant crunch in every bite.
If you’re looking to make the carving job even easier, using a sharp carving knife is highly recommended. Serve the sliced chicken on a platter alongside any of your favorite sides, and you’re ready to enjoy a delicious homemade meal.
3. Serving Suggestions
Looking for some side dish inspiration to complement your air fryer chicken? Classic choices like roasted potatoes, steamed veggies, or a simple garden salad work beautifully. You could also serve it with a side of mashed potatoes and gravy for a cozy, comfort-food meal.
Don’t forget about using the leftover lemon and onion from inside the cavity—it’s packed with flavor! Squeeze the roasted lemon over the chicken for extra brightness, or mince the onion into your favorite gravy or pan sauce for an added depth of flavor.
Conclusion
There you have it—a juicy, flavorful, and crispy Air Fryer Whole Chicken that’s sure to become one of your favorite go-to meals. From prepping and seasoning to cooking and carving, it’s a pretty straightforward process that delivers incredible results in less time and with less oil than traditional roasting methods.
The versatility of this recipe means you can make it your own. Switch up the seasonings to your liking, or add additional herbs to the cavity for even more flavor infusion. Pair your chicken with your favorite sides, and you’ve got yourself a complete, satisfying meal that’s perfect for family dinners, meal prep, or entertaining guests.
Enjoy your cooking adventure, and get ready to impress everyone with this impressive yet easy air fryer recipe!

