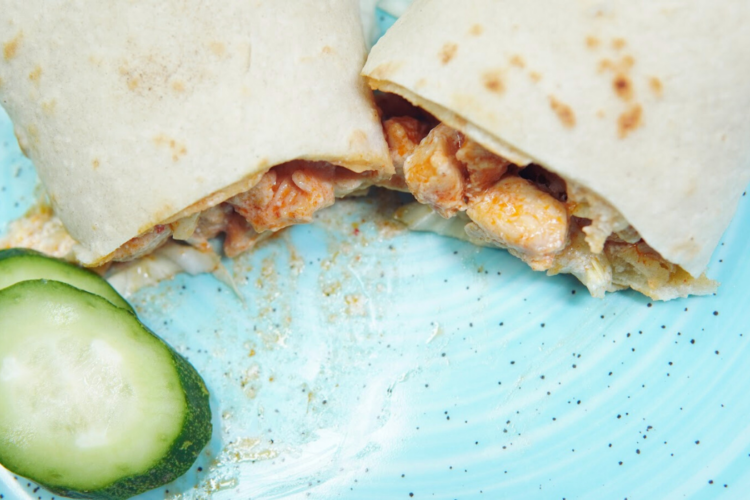
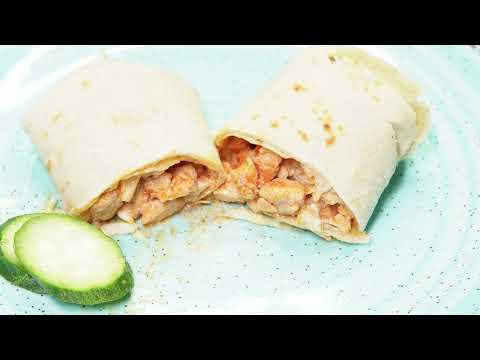
Craving a spicy and delicious meal that’s easy to make and perfect for any time of day? Look no further than a Buffalo Chicken Wrap! This wrap is packed with tender cooked chicken, spicy buffalo sauce, crisp lettuce, and creamy ranch or blue cheese dressing, all wrapped up in a soft tortilla. It’s the perfect combination of flavors and textures that will leave you wanting more. Let’s dive into this mouthwatering recipe!
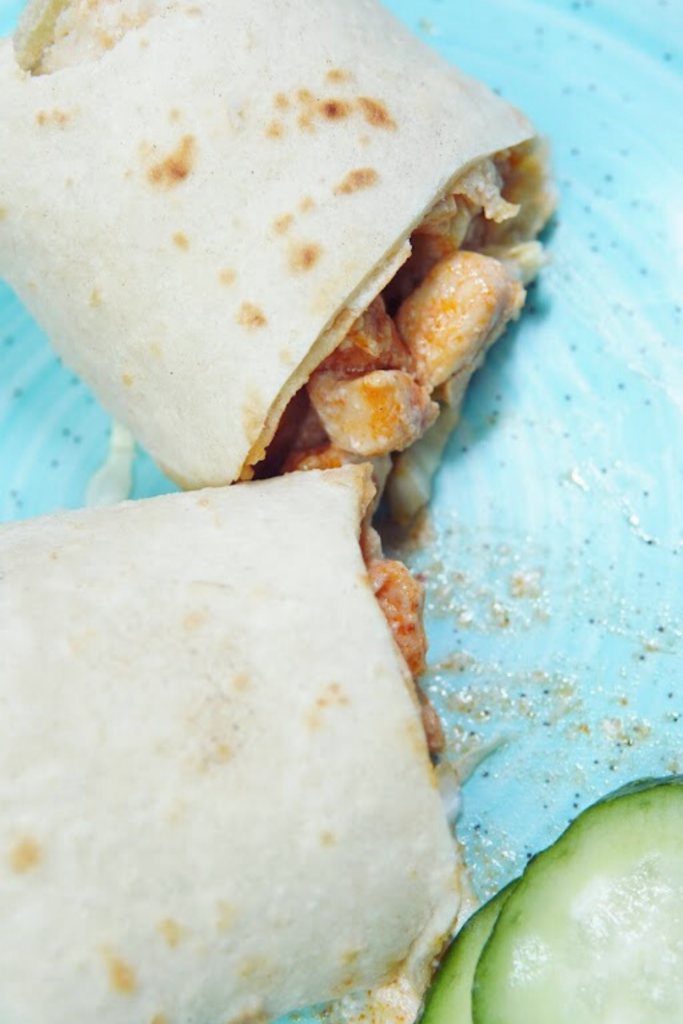
Ingredients List
Main Ingredients
- Cooked chicken
- Buffalo sauce (or 1/3 cup hot sauce + 2 tablespoons melted butter)
- Shredded lettuce (Bangla Badha Copi)
- Ranch or blue cheese dressing (Bangla Meyonize)
- Tortillas
Optional Fillings
- Tomato
- Onion
- Shredded cheese
Required Kitchen Tools
To prepare a Buffalo Chicken Wrap, you’ll need the following kitchen tools:
- Mixing Bowl: To toss the chicken with buffalo sauce.
- Spatula or Spoon: For mixing and spreading the ingredients.
- Cutting Board and Knife: For chopping optional fillings like tomato and onion.
- Tongs or Fork: To handle the cooked chicken.
- Microwave or Pan: To warm the tortillas.
Having these tools on hand will make the preparation process smooth and efficient.
Preparing the Buffalo Chicken
Mixing the Chicken and Sauce
Start by placing the cooked chicken in a mixing bowl. If you don’t have buffalo sauce on hand, you can easily make your own by combining 1/3 cup hot sauce with 2 tablespoons of melted butter. Pour the buffalo sauce over the chicken and toss until the chicken is evenly coated. This step is crucial to ensure every bite of your wrap is packed with that delicious buffalo flavor.
Heating the Tortillas
Before assembling the wraps, it’s important to warm the tortillas. You can do this in a microwave or a pan over medium heat. Warming the tortillas makes them more pliable and easier to wrap without tearing.
Assembling the Wraps
Layering the Ingredients
Now that your buffalo chicken is ready and the tortillas are warm, it’s time to assemble your wraps. Lay a tortilla flat on a clean surface or cutting board. Start by spreading a generous amount of ranch or blue cheese dressing (Bangla Meyonize) over the center of the tortilla. This will add a creamy and tangy base that complements the spicy buffalo chicken perfectly.
Adding the Buffalo Chicken
Next, place a portion of the buffalo chicken mixture onto the tortilla, directly on top of the dressing. Make sure to distribute the chicken evenly so that each bite is full of flavor. The amount of chicken you use can vary depending on your preference, but a good rule of thumb is to use about 1/2 to 3/4 cup of chicken per wrap.
Adding the Lettuce and Optional Fillings
Top the buffalo chicken with a handful of shredded lettuce (Bangla Badha Copi) for a fresh and crunchy texture. If you’re using optional fillings, now is the time to add them. Sliced tomatoes, onions, and shredded cheese are great additions that can enhance the flavor and add more variety to your wrap.
Wrapping the Tortilla
Folding the Wrap
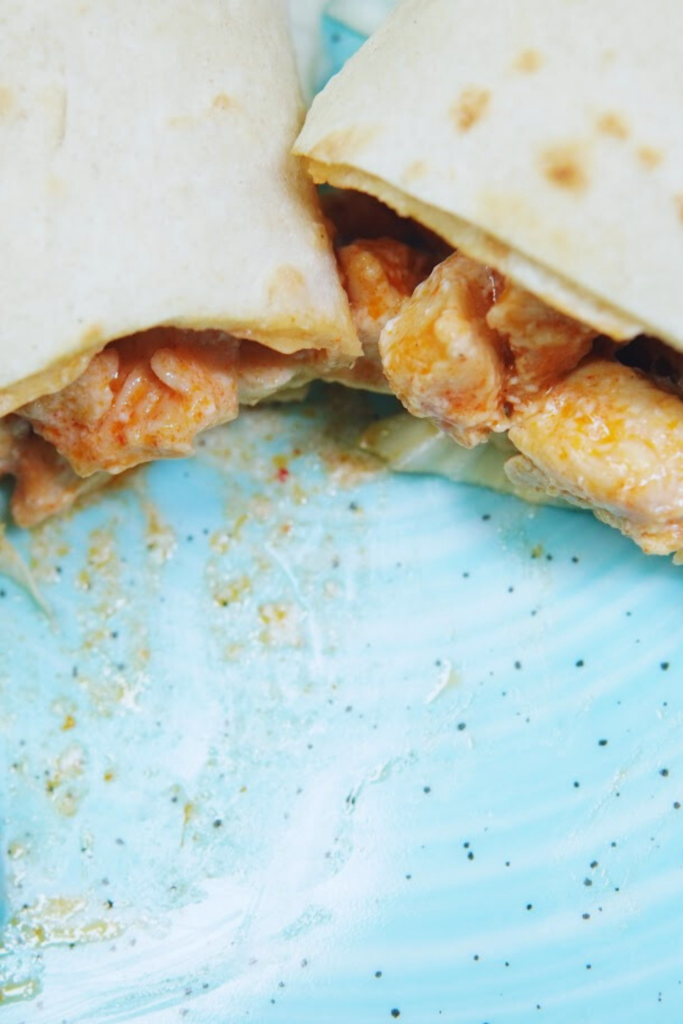
With all your delicious ingredients layered on the tortilla, it’s time to wrap it up. Follow these steps for a perfectly wrapped Buffalo Chicken Wrap:
- Fold the Sides: Start by folding the left and right sides of the tortilla towards the center. This helps keep the fillings secure inside the wrap.
- Fold the Bottom: Next, fold the bottom of the tortilla up over the fillings, tucking it tightly to ensure everything stays in place.
- Roll the Wrap: Continue to roll the tortilla upwards, keeping it tight and secure as you go. By the time you reach the top, you should have a neatly wrapped Buffalo Chicken Wrap.
Securing the Wrap
To prevent the wrap from unrolling, you can secure it with a toothpick or wrap it in a piece of parchment paper or aluminum foil. This makes it easier to handle and keeps everything neatly in place, especially if you’re on the go.
Repeating the Process
Repeat the assembling and wrapping process for each tortilla, ensuring you have enough ingredients to make multiple wraps if desired. This recipe is versatile and can be easily scaled up or down depending on the number of servings you need.
Serving and Storing the Wraps
Serving the Buffalo Chicken Wraps
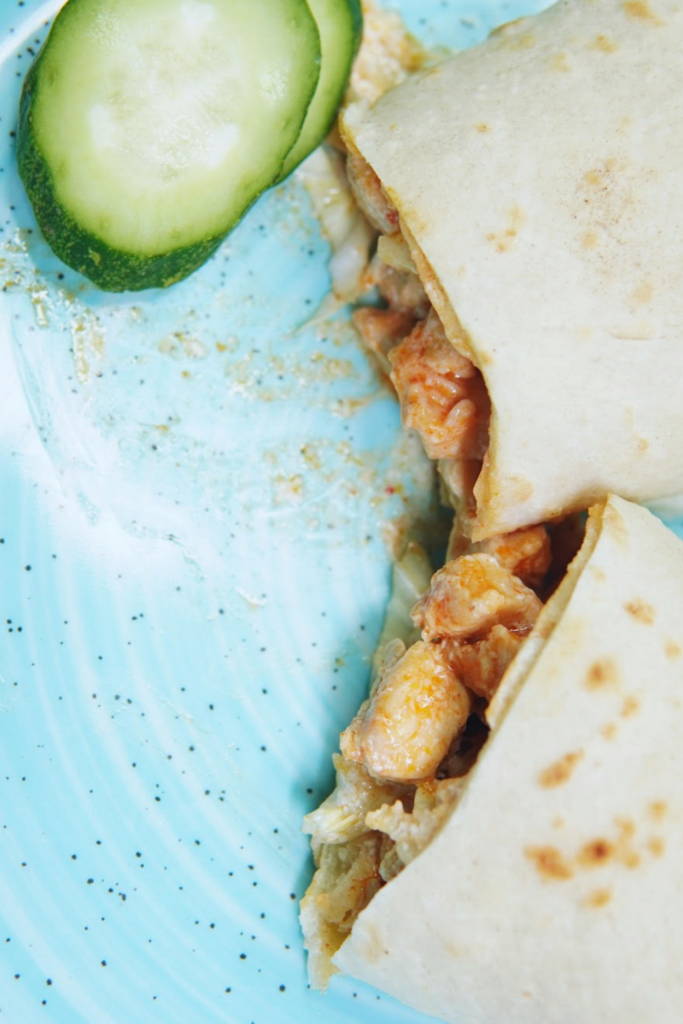
Your Buffalo Chicken Wraps are now ready to be enjoyed! Serve them immediately while the tortilla is still warm and the ingredients are fresh. These wraps make a perfect meal for lunch, dinner, or even a hearty snack. Pair them with some extra ranch or blue cheese dressing on the side for dipping, along with some fresh veggies or a side salad to complete your meal.
Storing Leftovers
If you have any leftover wraps or ingredients, storing them properly will help maintain their freshness:
- Wraps: If you have assembled wraps that you need to store, wrap them tightly in plastic wrap or aluminum foil and place them in an airtight container. Store in the refrigerator for up to 2 days. Reheat them in a microwave or a pan before serving to restore their warmth and texture.
- Ingredients: Store any leftover buffalo chicken in an airtight container in the refrigerator for up to 3 days. The shredded lettuce and other fresh fillings should be stored separately in sealed containers to prevent them from getting soggy.
Customizing Your Wraps
Feel free to get creative with your Buffalo Chicken Wraps! You can add different toppings and fillings based on your preferences. Avocado slices, bell peppers, or a sprinkle of fresh herbs can add new dimensions of flavor and texture. Experimenting with different ingredients can make each wrap unique and keep the recipe exciting every time you make it.
Conclusion
Buffalo Chicken Wraps are a simple yet flavorful meal that’s perfect for any occasion. By following this recipe, you can easily create a delicious wrap that combines spicy buffalo chicken, creamy dressing, and fresh veggies all in one bite. Enjoy the satisfying blend of flavors and the convenience of this versatile dish. Happy cooking!

