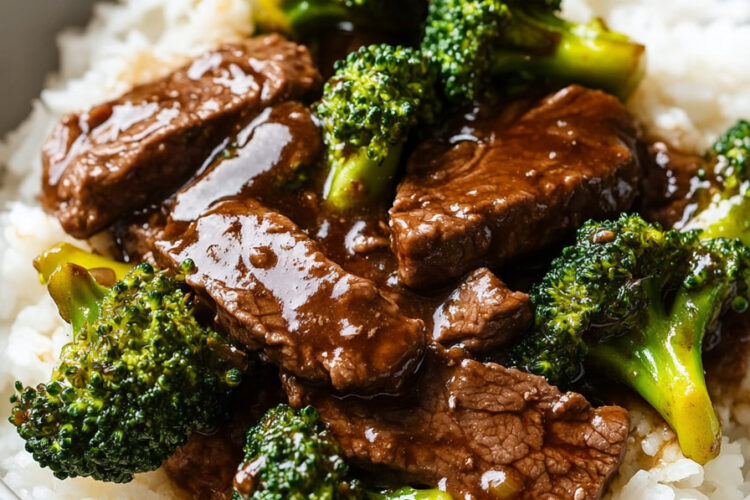
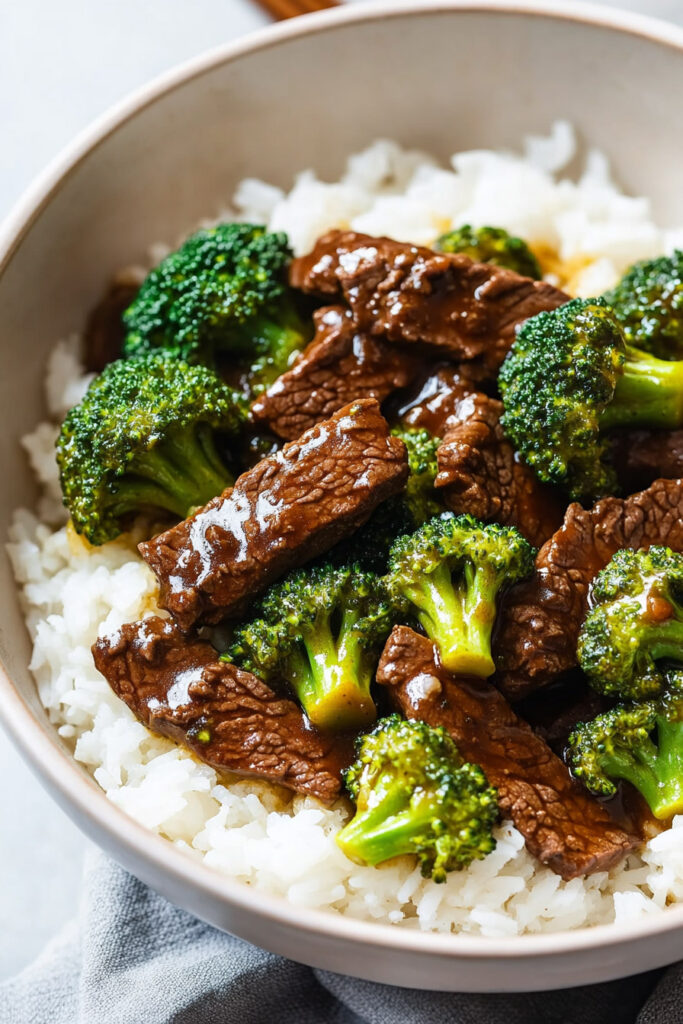
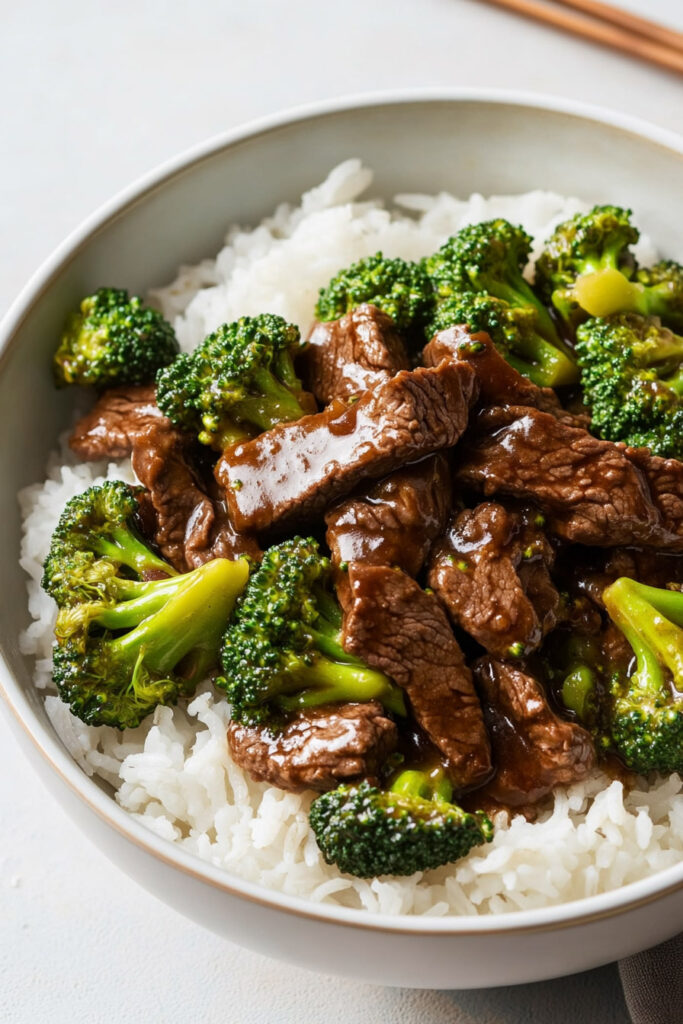
Mongolian Beef. Just saying it makes your mouth water, doesn’t it? Tender beef, a sweet-and-savory sauce, and that hint of umami that makes the whole thing irresistible. Usually, this dish is a takeout favorite, but today, I’ve got something even better—a healthier, homemade version that’s gluten-free and works for AIP (Autoimmune Protocol), Paleo, and Keto diets. Trust me, it’s just as delicious as the original, and you won’t feel like you’re missing out. Perfect for weeknights or when you want to wow your dinner guests.
Curious how I pulled it off? Simple swaps. I replaced soy sauce with coconut aminos and used arrowroot starch instead of cornstarch. No funky ingredients. Just wholesome, allergy-friendly options that keep all the flavor. Ready to cook? Let’s do it!
Recipe Snapshot
Quick Facts:
- Prep Time: 15 minutes
- Cook Time: 30 minutes
- Total Time: 45 minutes
Makes:
4 servings—perfect for dinner with friends or meal prep for the week. Need more? Just double the recipe. (Pro tip: Cook the beef in batches for the best results.)
Skill Level:
Easy. If you can handle a little multitasking, you’re good to go!
What You’ll Need
Basic Tools:
- A large skillet or wok
- A sharp knife
- Mixing bowls
- A wooden spoon or spatula
- Whisk
- Optional: Tongs (super handy for beef!)
No skillet? Use a heavy-bottomed pan or even a Dutch oven.
Ingredients:
For the Sauce:
- 1/3 cup coconut aminos (soy-free, but packed with flavor!)
- 1/4 cup beef broth (adds richness).
- 1 tbsp rice vinegar (or apple cider vinegar for AIP).
- 3 garlic cloves, minced.
- A thumb-sized piece of ginger, grated.
- 2 tsp coconut sugar (skip for strict keto).
- Salt and pepper to taste.
- 2 tsp arrowroot starch (for that silky sauce texture).
For the Stir-fry:
- 3–4 tbsp avocado oil (divided).
- 1½ cups broccoli florets (fresh or frozen).
- 1.5 lbs flank steak (thinly sliced against the grain—this is key for tender beef).
- 2 tbsp arrowroot starch (to coat the beef).
- 3 green onions, sliced (for garnish).
Step-by-Step: How to Make It
Here’s the plan—nothing fancy, just good food made simple.
1. Whip Up the Sauce
Mix all the sauce ingredients: coconut aminos, beef broth, vinegar, garlic, ginger, coconut sugar, salt, and the arrowroot starch. Whisk until smooth. Give it a taste—want it sweeter? Add a pinch more coconut sugar. More tangy? A splash of vinegar will do the trick. Set it aside.
2. Cook the Broccoli
Heat 1–2 tablespoons of avocado oil in a skillet over medium heat. Toss in the broccoli with a pinch of salt. Cook for about 6–7 minutes, stirring occasionally, until the edges are a little golden, but the broccoli is still bright green. Done? Scoop it out onto a plate.
3. Prep the Beef
Season the steak with salt and pepper. Slice it super thin against the grain for maximum tenderness. Toss the slices in arrowroot starch for a light coating.
Now heat the skillet again with 2 tablespoons of avocado oil. Once it’s hot (but not smoking), add the beef in a single layer. Cook in batches—this part is important. Crowding the pan will steam the beef, and we want it crispy! Sear each side for about 2–3 minutes until golden brown. Transfer to a clean plate.
Pro Tip: High heat = crispy beef. Don’t rush it.
4. Make the Sauce
Lower the heat to medium. Pour your prepared sauce into the skillet, scraping up any tasty browned bits stuck to the pan (hello, flavor!). Let it simmer and thicken—about 3–4 minutes.
5. Bring It All Together
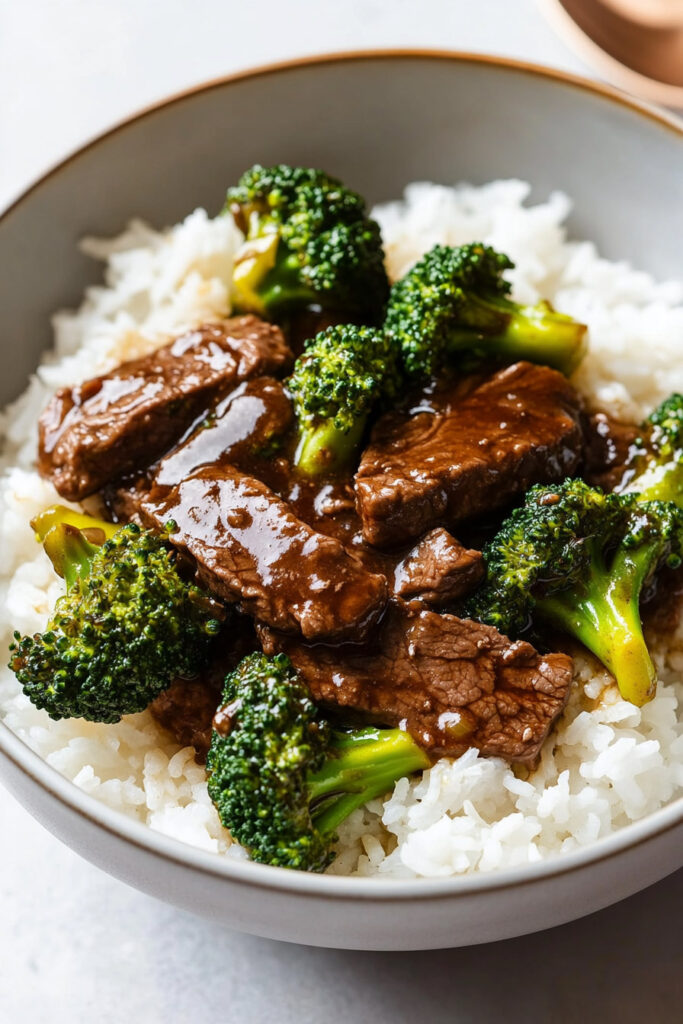
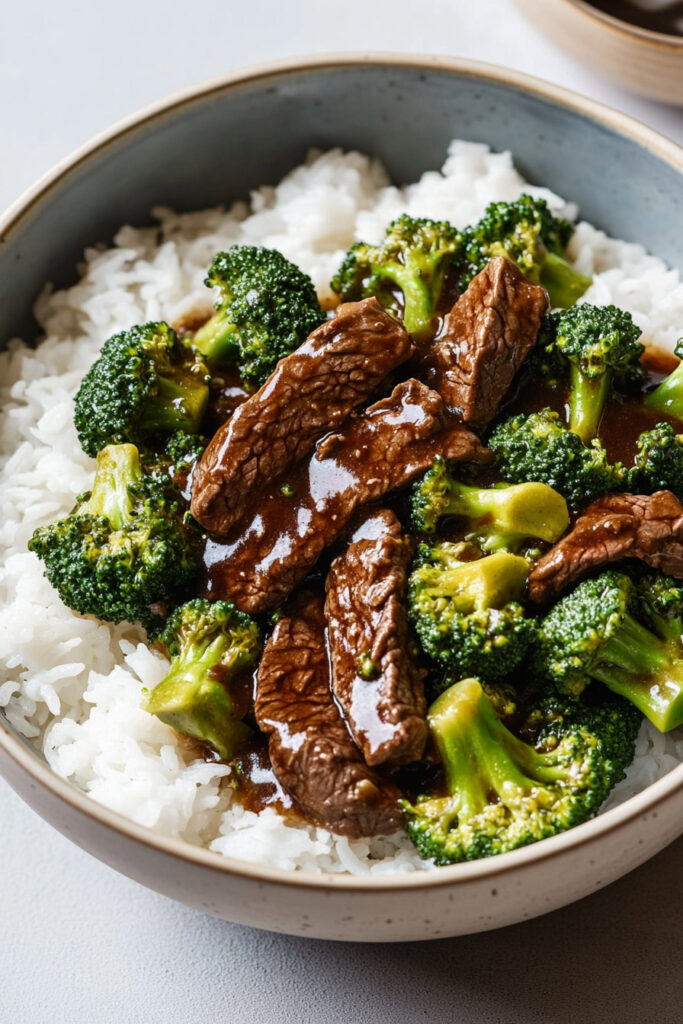
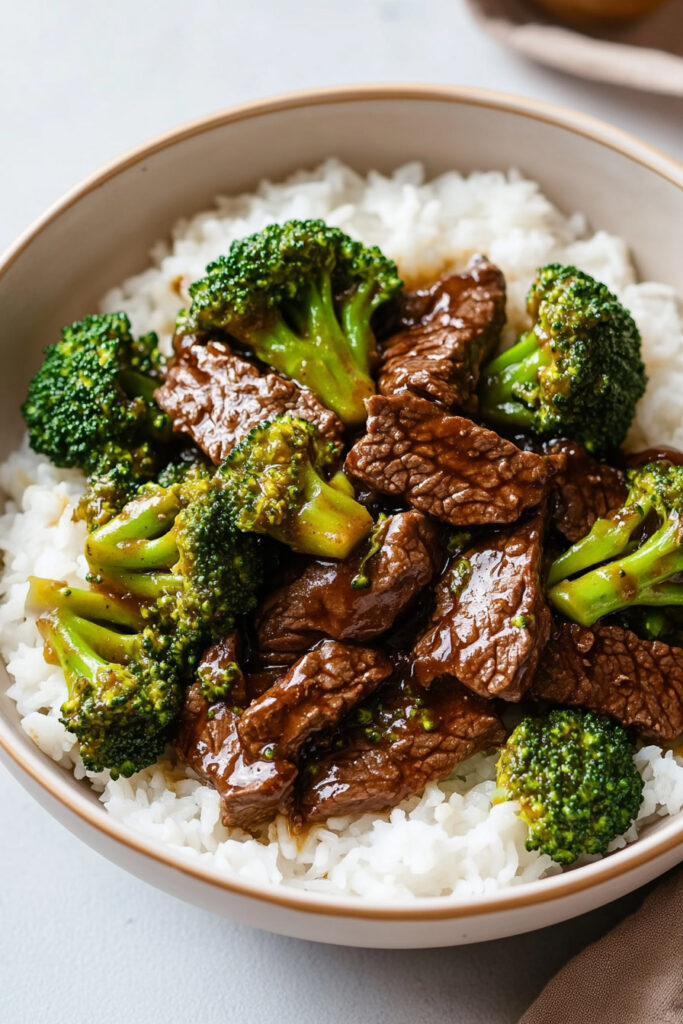
Turn the heat down to low. Toss the cooked beef and broccoli back into the skillet. Stir until every bite is coated in that glossy, dreamy sauce. Sprinkle green onions on top for the final touch.
Make It Yours
Here’s how you can tweak the recipe to fit your style:
- Strict Keto? Skip the coconut sugar or use a keto-friendly sweetener.
- Allergens? Apple cider vinegar works for AIP folks.
- Spicy? Add red pepper flakes or a splash of chili oil at the end.
Want something fancy? Garnish with toasted sesame seeds (if not AIP) for a nutty kick.
Serving and Storing Tips
Serving Idea:
This dish is amazing over steamed rice, but if you’re keeping it low-carb, go with cauliflower rice or zucchini noodles.
Leftovers:
Got extras? Store them in an airtight container in the fridge for up to 3 days. Reheat gently on the stove with a splash of water or broth to prevent drying.
Freezing:
Cooked beef (minus the broccoli) freezes like a charm. Just thaw in the fridge overnight and reheat when you’re ready.
And there you have it—a healthier version of Mongolian Beef that’s every bit as satisfying as the real thing. Whether it’s for meal prep or a quick weeknight dinner, this recipe will become one you’ll want to make again and again. Let me know how it turns out—I’d love to hear your take!
PrintGluten-Free Mongolian Beef (AIP, Paleo, Keto)
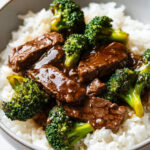
This Gluten-Free Mongolian Beef is a healthier take on the classic Chinese-American dish. Tender slices of beef are coated in a savory, slightly sweet sauce and paired with crisp-tender broccoli. It’s perfect for weeknight dinners or meal prep and is tailored to fit AIP, Paleo, and Keto diets without sacrificing flavor.
- Prep Time: 15 minutes
- Cook Time: 30 minutes
- Total Time: 45 minutes
- Yield: 4 1x
- Category: Main Course
- Cuisine: Asian-Inspired
Ingredients
For the Sauce:
- 1/3 cup coconut aminos
- 1/4 tbsp beef broth
- 1 tbsp rice vinegar (or apple cider vinegar for AIP)
- 3 cloves garlic, minced
- 1 thumb-sized piece of ginger, grated
- 2 tsp coconut sugar (omit for strict keto)
- Salt and pepper, to taste
- 2 tsp arrowroot starch
For the Stir-Fry:
- 3–4 tbsp avocado oil, divided
- 1 1/2 cups broccoli florets
- 1 tsp sea salt, divided
- 1/2 tsp black pepper (omit for AIP)
- 1.5 lbs flank steak, sliced into bite-sized pieces against the grain
- 2 tbsp arrowroot starch (for coating beef)
- 3 green onions, sliced into 1” strips
Instructions
1. Make the Sauce:
In a bowl, whisk together coconut aminos, beef broth, rice vinegar (or apple cider vinegar), garlic, ginger, coconut sugar, salt, pepper, and arrowroot starch. Set aside.
2. Cook the Broccoli:
Heat 1–2 tbsp avocado oil in a large skillet over medium heat. Add broccoli with a pinch of salt and pepper. Sauté for 6–7 minutes until fork-tender but still vibrant green. Remove and set aside.
3. Prepare the Beef:
Season both sides of the flank steak with sea salt and black pepper (if using). Slice into bite-sized pieces against the grain. Toss with arrowroot starch in a bowl until evenly coated.
4. Sear the Beef:
In the same skillet, heat another 2 tbsp avocado oil over medium-high heat. Add beef in batches to avoid overcrowding and sear for 2–3 minutes per side until golden brown and crispy. Remove cooked beef and set aside.
5. Cook the Sauce:
Pour the prepared sauce into the skillet and scrape up browned bits from the bottom of the pan with a wooden spoon. Simmer for 3–4 minutes until slightly thickened.
6. Combine & Serve:
Lower the heat and return the seared beef and cooked broccoli to the skillet. Toss everything in the thickened sauce until fully coated. Add green onions as garnish and serve immediately over steamed rice or cauliflower rice.
Notes
Serving Suggestions:
- Pair with steamed white rice (non-Paleo) or cauliflower rice for a low-carb option.
- Garnish with extra green onions or sesame seeds (if not AIP).
Tips & Tricks:
- Slice beef thinly against the grain for maximum tenderness.
- Cook beef in batches to avoid overcrowding, which ensures a crispy sear.
- Taste your sauce before cooking to adjust sweetness or tanginess as needed.
Storage & Reheating:
- Store leftovers in an airtight container in the fridge for up to 3 days.
- Reheat gently on low heat in a skillet with a splash of water or broth to loosen up the sauce.
- For freezing: Freeze cooked beef without broccoli for up to 2 months. Thaw overnight before reheating.