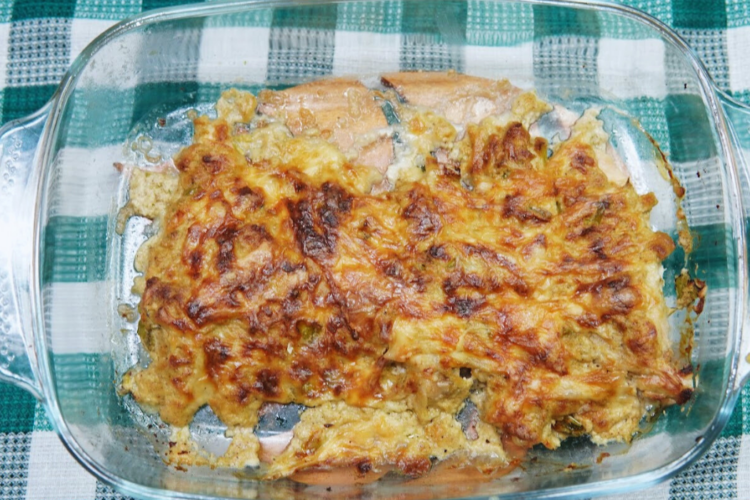
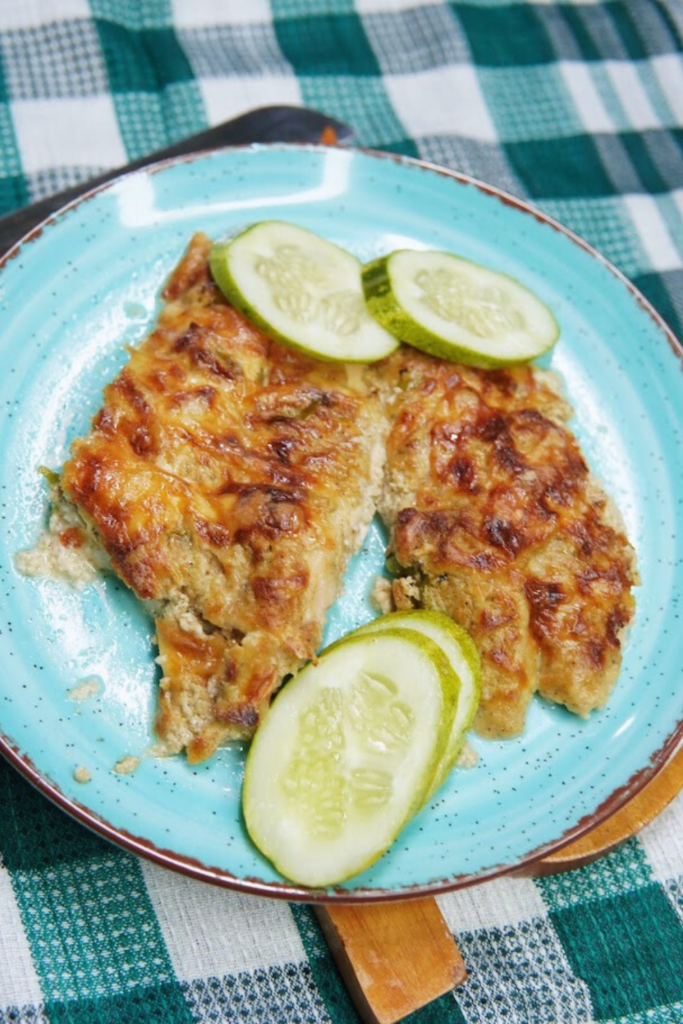
Looking for a savory and delicious meal that’s sure to please your taste buds? Green Chile Chicken is the perfect dish! This recipe combines tender chicken breasts with a creamy, cheesy filling that’s infused with the bold flavors of green chiles, garlic, and cumin. It’s easy to make and perfect for any night of the week.
Ingredients List
Chicken and Filling Ingredients
- 3-4 boneless, skinless chicken breasts, trimmed
- 1 8 oz package cream cheese, softened
- 1 4 oz can chopped green chiles (I prefer Old El Paso)
- 1 cup Monterey Jack cheese, shredded
- 1/2 tsp garlic powder
- 1/4 tsp cumin
- 1/4 tsp salt
- 1/4 tsp pepper
Required Kitchen Tools
When preparing Green Chile Chicken, having the right kitchen tools can make the process smoother and more enjoyable. Here are the essential tools you will need:
- Sharp Knife and Cutting Board: For trimming the chicken breasts.
- Mixing Bowls: For preparing the cheese filling and seasoning.
- Baking Dish: To bake the stuffed chicken breasts.
- Meat Mallet: For flattening the chicken breasts.
- Toothpicks or Kitchen Twine: To secure the stuffed chicken breasts.
Having these tools on hand will set you up for a successful Green Chile Chicken cooking experience.
Preparation Steps
Preparing the Chicken
- Trim the Chicken Breasts:
Start by trimming any excess fat from the chicken breasts. This ensures that they cook evenly and have a clean, appealing appearance. - Flatten the Chicken Breasts:
Place each chicken breast between two sheets of plastic wrap. Using a meat mallet, gently pound the chicken to an even thickness of about 1/4 inch. This makes it easier to roll and cook the chicken evenly.
Preparing the Filling
- Mix the Cream Cheese and Chiles:
In a mixing bowl, combine the softened cream cheese and chopped green chiles. Mix until well blended. - Add the Seasonings:
Add the shredded Monterey Jack cheese, garlic powder, cumin, salt, and pepper to the cream cheese mixture. Stir until all the ingredients are evenly distributed.
Stuffing and Rolling the Chicken
Stuffing and rolling the chicken breasts properly ensures that the filling stays inside while baking and the flavors meld together perfectly. Follow these steps for a delicious and well-presented dish.
Stuffing the Chicken
- Add the Cheese Filling:
Place a generous spoonful of the cheese filling mixture in the center of each flattened chicken breast. Spread it evenly, leaving a small border around the edges to prevent the filling from oozing out during baking. - Roll the Chicken Breasts:
Starting from one end, carefully roll each chicken breast over the filling, tucking in the sides as you go to create a neat roll. - Secure the Chicken:
Use toothpicks or kitchen twine to secure the rolled chicken breasts, ensuring the filling stays inside during cooking. This step is crucial to maintaining the shape and preventing any leaks.
Preparing for Baking
- Preheat the Oven:
Preheat your oven to 375°F (190°C) while you finish preparing the chicken. - Arrange in Baking Dish:
Place the stuffed and rolled chicken breasts in a baking dish. Ensure they are evenly spaced and not overlapping to allow for even cooking. - Season the Top (Optional):
For an extra layer of flavor, you can lightly season the top of the chicken breasts with additional salt, pepper, and a sprinkle of cumin.
Baking and Serving the Green Chile Chicken
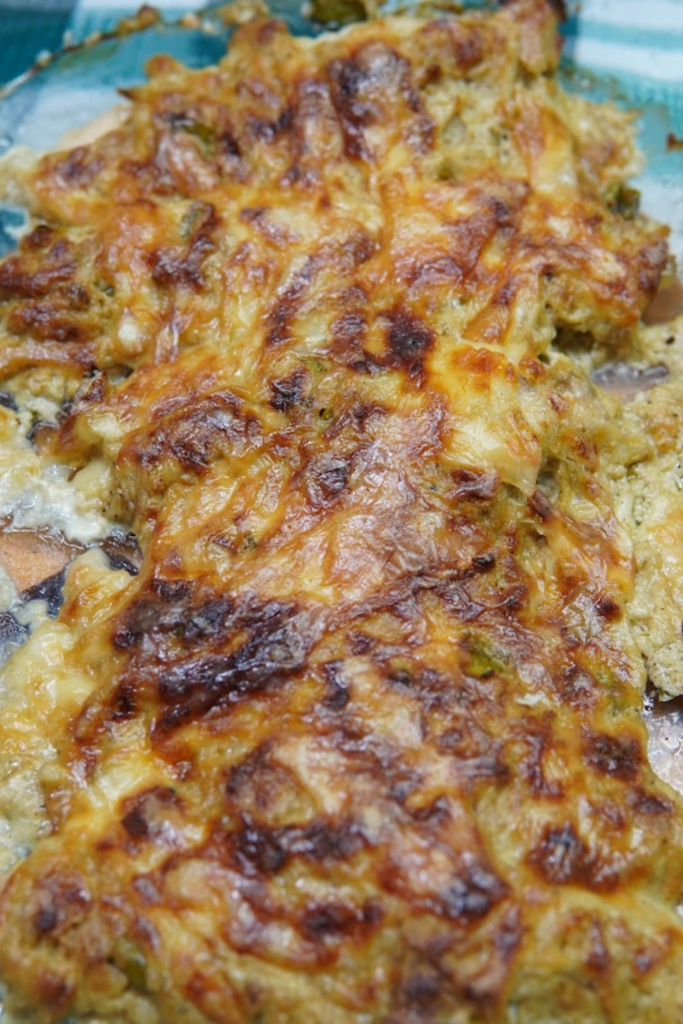
Baking the chicken ensures it is cooked through and the cheese filling is melted to perfection. Follow these steps to complete the dish and present it beautifully.
Baking the Chicken
- Bake the Chicken:
Place the baking dish with the stuffed chicken breasts in the preheated oven. Bake for 25-30 minutes, or until the internal temperature of the chicken reaches 165°F (74°C) using an instant-read thermometer. This ensures the chicken is fully cooked and the filling is hot and bubbly. - Remove Toothpicks or Twine:
Once the chicken is cooked, carefully remove the toothpicks or kitchen twine before serving. This makes the dish easier to eat and more presentable.
Serving the Chicken
- Plate the Chicken:
Transfer the chicken breasts to individual serving plates or a large serving platter. Make sure to include some of the melted cheese that may have oozed out during baking for extra flavor. - Garnish (Optional):
For a touch of color and added flavor, garnish the chicken with freshly chopped cilantro or green onions.
Serving Suggestions
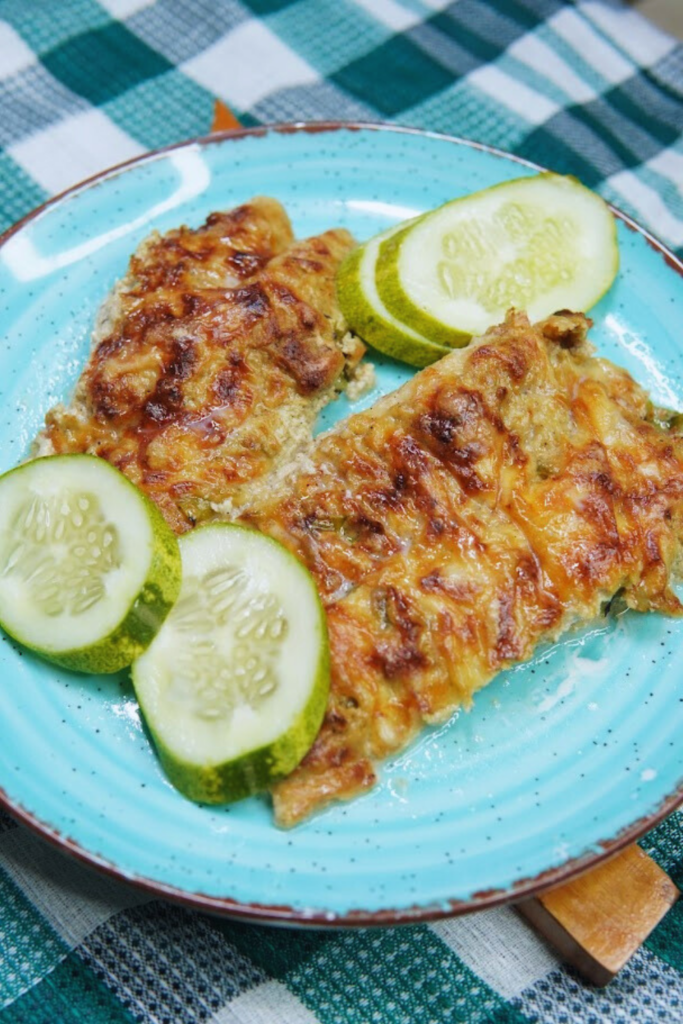
Green Chile Chicken pairs wonderfully with a variety of side dishes. Here are a few ideas to complete your meal:
- Mexican Rice:
Serve with a side of Mexican rice to complement the flavors of the green chiles and cheese. - Refried Beans:
Add a scoop of refried beans for a hearty and satisfying accompaniment. - Steamed or Grilled Vegetables:
Steamed or grilled vegetables, such as zucchini, bell peppers, or corn, make a healthy and colorful side.
Storing Leftovers
- Cool the Chicken:
Allow any leftovers to cool completely at room temperature before storing. This helps prevent condensation and sogginess. - Refrigerate:
Place the chicken in an airtight container. They can be stored in the refrigerator for up to 3 days. - Freezing (Optional):
For longer storage, you can freeze the chicken. Place them in a freezer-safe container, removing as much air as possible. They can be frozen for up to 2 months.
Reheating Instructions
- Reheating in the Oven:
Preheat your oven to 350°F (175°C). Place the chicken in an oven-safe dish and cover with aluminum foil. Bake for 15-20 minutes or until heated through. - Reheating in the Microwave:
Place the chicken on a microwave-safe plate and cover with a microwave-safe cover or damp paper towel. Heat on medium power in 1-minute increments until warmed through, checking frequently to avoid overcooking.
Tips for Maintaining Quality
- Avoid Overheating:
Overheating can cause the chicken to become dry and the cheese filling to lose its creamy texture. Reheat gently for the best results. - Use Fresh Garnishes:
Add fresh garnishes like chopped herbs after reheating to restore some of the fresh flavors and visual appeal.
Conclusion
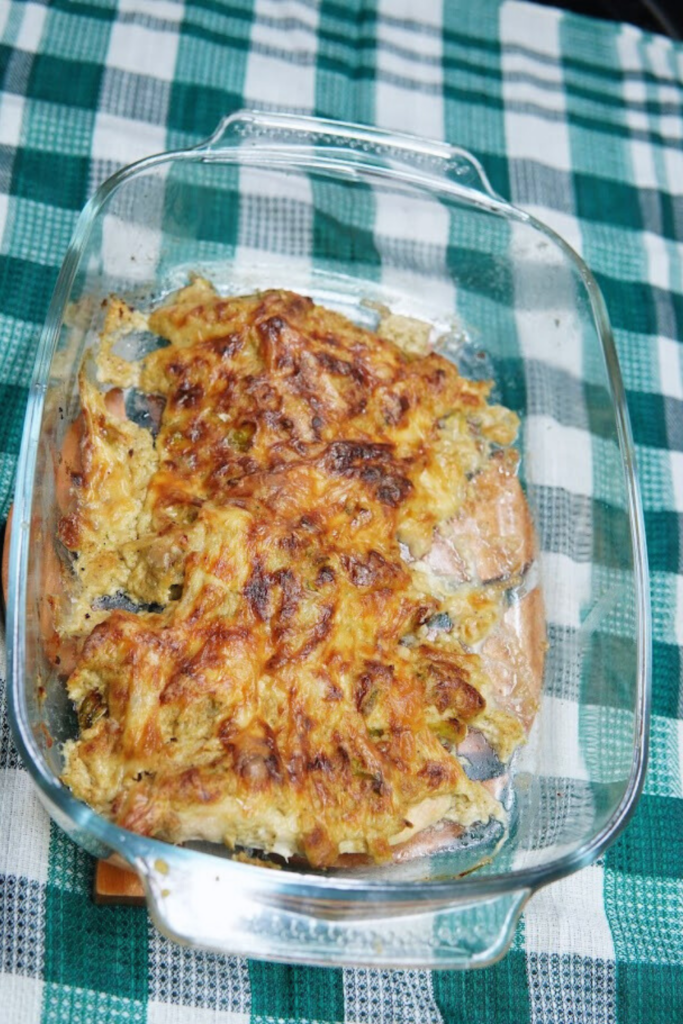
Green Chile Chicken is a delicious and impressive dish that’s sure to become a favorite in your household. With its tender chicken and creamy, cheesy filling, it’s perfect for any occasion. By following the detailed steps and tips provided, you can easily recreate this flavorful recipe in your own kitchen.
Remember, the key to a great Green Chile Chicken lies in the quality of the ingredients and the care taken during preparation and cooking. Enjoy your homemade creation and don’t hesitate to experiment with different cheeses or seasonings to make the recipe your own. Happy cooking!

