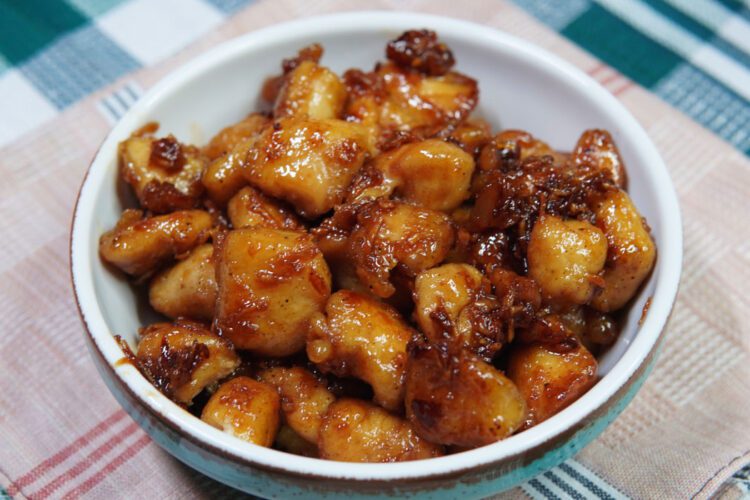
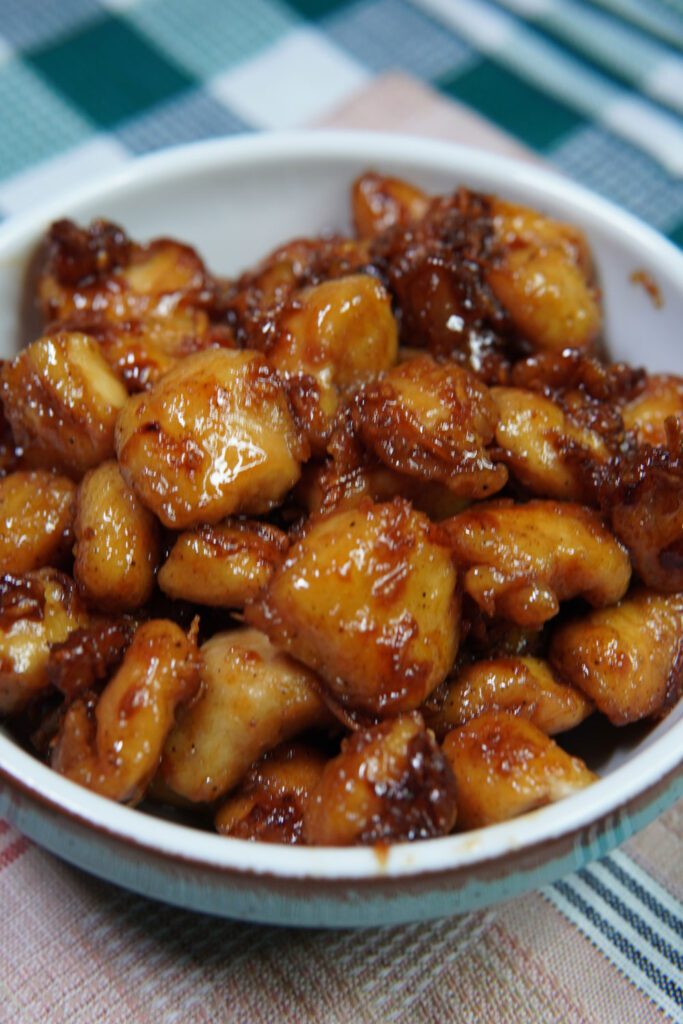
Craving a sweet and savory dish that’s sure to delight your taste buds? Honey Butter Chicken is the perfect recipe that combines crispy, golden chicken with a luscious honey butter sauce. This dish is easy to prepare and packed with flavor, making it a fantastic choice for dinner or a special occasion. Whether you’re using chicken thighs or tenders, the juicy meat and rich sauce will have everyone asking for seconds. Let’s get started on making this mouthwatering Honey Butter Chicken!
Ingredients List
Chicken Ingredients
- 800 g boneless chicken thighs or chicken tenders
- ⅔ cup flour
- 1 teaspoon kosher salt
- ½ teaspoon black pepper
- 1 teaspoon garlic powder
- 3 tablespoons olive oil, canola oil, or vegetable oil
Honey Butter Sauce Ingredients
- ⅓ cup honey
- 100 g unsalted butter
- 2 cloves garlic, minced
- 2 tablespoons light soy sauce
Required Kitchen Tools
When preparing Honey Butter Chicken, having the right kitchen tools can make the process easier and more efficient. Here are the essential tools you will need:
- Large Skillet or Frying Pan: To cook the chicken evenly and make the honey butter sauce.
- Mixing Bowl: For coating the chicken with flour and seasonings.
- Whisk or Spoon: To mix the honey butter sauce ingredients.
- Tongs: For turning the chicken pieces while cooking.
- Measuring Cups and Spoons: For accurately measuring ingredients like flour, honey, and butter.
Preparing the Chicken
The first step in making Honey Butter Chicken is to prepare and season the chicken. This step is crucial to achieving the perfect flavor and texture.
Coating the Chicken
Start by patting the chicken thighs or tenders dry with paper towels. This helps the flour coating stick better. In a mixing bowl, combine the flour, kosher salt, black pepper, and garlic powder. Mix well to ensure the seasonings are evenly distributed. Add the chicken pieces to the bowl and toss them in the flour mixture until they are fully coated. This coating will give the chicken a crispy texture when cooked.
Heating the Oil
Heat a large skillet or frying pan over medium-high heat. Add the olive oil (or your choice of canola or vegetable oil) to the pan. Allow the oil to heat up for about 2-3 minutes, or until it shimmers slightly. This ensures that the chicken will start cooking immediately and develop a golden crust.
Cooking the Chicken
With the chicken pieces coated and the oil heated, it’s time to cook the chicken until it’s golden brown and crispy. This step ensures that the chicken is juicy on the inside and crispy on the outside.
Searing the Chicken
Carefully place the coated chicken pieces into the hot skillet, making sure not to overcrowd the pan. Cook the chicken in batches if necessary. Let the chicken sear for about 4-5 minutes on each side, or until a golden brown crust forms. Use tongs to turn the chicken pieces, ensuring they cook evenly. The goal is to achieve a nice crispy texture while the chicken remains juicy and tender inside.
Checking for Doneness
Continue cooking the chicken until it reaches an internal temperature of 165°F (74°C). If you’re using chicken thighs, they may take a little longer than chicken tenders. Once the chicken is cooked through and golden brown, remove it from the skillet and place it on a plate lined with paper towels to drain any excess oil. This step will keep the chicken crispy and ready to absorb the delicious honey butter sauce.
Preparing the Honey Butter Sauce
Now that the chicken is cooked to golden perfection, it’s time to prepare the honey butter sauce. This sweet and savory sauce is the star of the dish, adding richness and flavor that complements the crispy chicken.
Making the Sauce
In the same skillet where you cooked the chicken, reduce the heat to medium. Add the unsalted butter to the skillet and let it melt completely. Once the butter is melted, add the minced garlic. Sauté the garlic for about 1-2 minutes until it becomes fragrant but not browned. Be careful not to burn the garlic, as this can create a bitter taste.
Combining the Ingredients
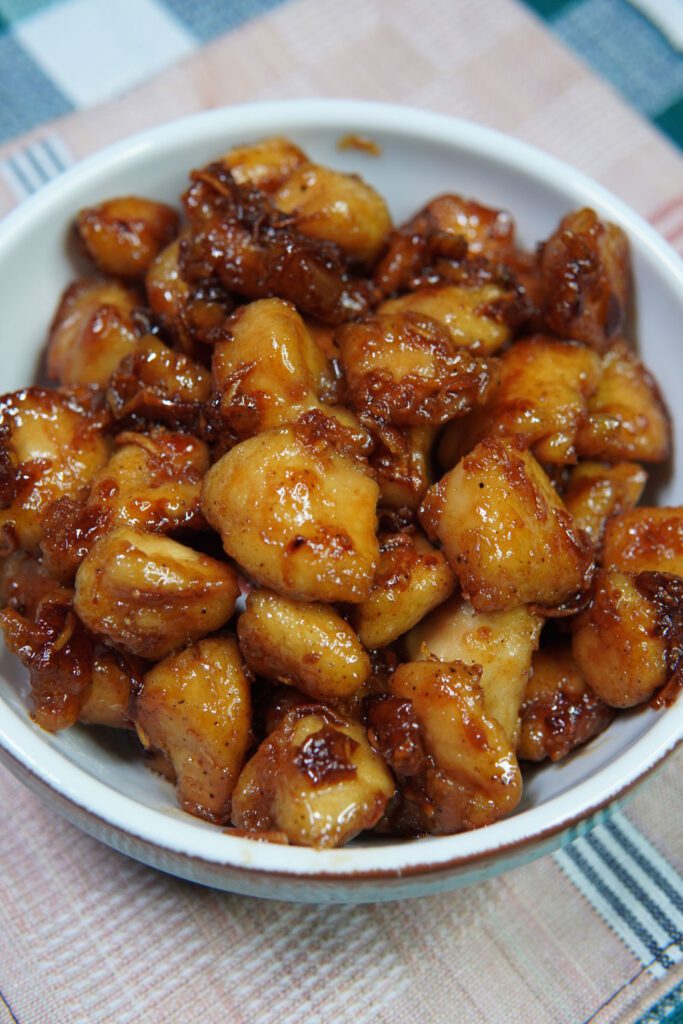
Add the honey and light soy sauce to the skillet, stirring continuously to combine with the butter and garlic. Let the sauce simmer for 2-3 minutes, allowing it to thicken slightly. The honey will caramelize and the flavors will meld together, creating a rich, sticky glaze. Stir the sauce frequently to prevent it from burning or sticking to the bottom of the pan.
Coating the Chicken and Serving
With the honey butter sauce ready, it’s time to bring everything together. This final step will ensure your Honey Butter Chicken is fully coated in the rich, flavorful sauce and ready to be enjoyed.
Coating the Chicken
Return the cooked chicken pieces to the skillet, placing them directly into the simmering honey butter sauce. Use tongs to turn the chicken pieces, ensuring they are evenly coated with the sauce. Allow the chicken to simmer in the sauce for an additional 2-3 minutes. This helps the chicken absorb the sweet and savory flavors, creating a deliciously sticky glaze. If the sauce thickens too much, you can add a tablespoon of water to loosen it slightly.
Serving the Honey Butter Chicken
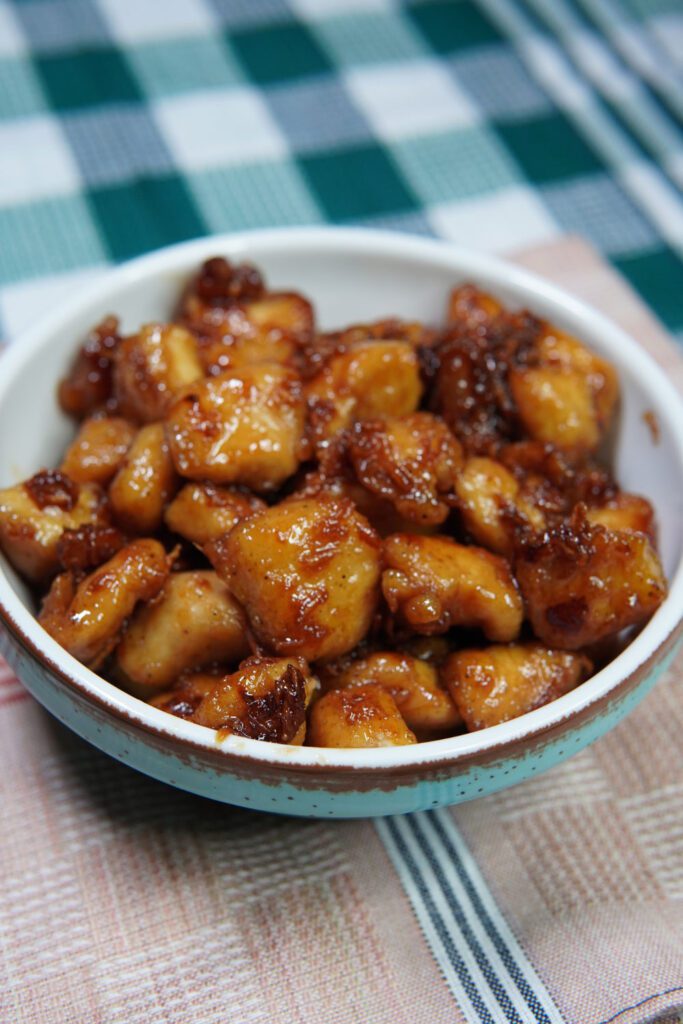
Once the chicken is fully coated and the sauce has thickened to your liking, remove the skillet from the heat. Transfer the Honey Butter Chicken to a serving platter, making sure to drizzle any remaining sauce over the top for extra flavor. This dish pairs beautifully with steamed rice, roasted vegetables, or a fresh salad. The sweet and savory combination of honey and butter, along with the garlic and soy sauce, creates a mouthwatering meal that’s sure to impress.
Conclusion
Honey Butter Chicken is a simple yet incredibly flavorful dish that’s perfect for any occasion. The crispy chicken combined with the rich, sticky honey butter sauce creates a satisfying meal that’s both comforting and indulgent. Whether you’re cooking for your family or hosting a dinner party, this recipe is sure to be a hit. So, gather your ingredients, heat up that skillet, and enjoy the deliciousness of homemade Honey Butter Chicken!

