If you love flawless makeup, your Beauty Blender is your best friend. But keeping it clean without a microwave can feel tricky.
You might wonder if there’s a simple way to get rid of stubborn makeup and bacteria without extra gadgets. The truth is, you don’t need a microwave to refresh your sponge and keep it safe to use. In this guide, you’ll discover easy, effective steps to clean your Beauty Blender at home using common items.
Say goodbye to grime and hello to a fresh, soft sponge every time. Ready to learn how? Let’s dive in!
You May Like

- Deep clean makeup brush cleaner – Gently removes makeup, oil, and…
- Gentle, sulfate-free formula – Plant-based brush and sponge shampoo…
- Works on brushes and sponges – Ideal for synthetic and natural bristles,…
- Fragrance-free and vegan – Dermatologist-tested formula is free of…
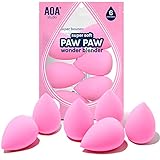
- ❣️Made from Latex free makeup blender sponge.
- ❣️Makeup sponges for BB cream, cosmetic foundation, concealer, powder,…
- ❣️Super Soft feeling wonder blender.
- ❣️It’s unique shape allows the blender to be used for many different…

- Includes: (2) Real Techniques Miracle Complexion Sponges to seamlessly…
- Best-selling makeup sponge can be used with your all your favorite liquid…
- Foundation sponge made from micro-fine pores to help create an even base…
- Apply product using our 3-point precision application technique: Use the…

- Travel-friendly cleanser perfect for spot cleaning beautyblenders and…
- Paraben free, sulphate free, vegan
- Subtle notes of calming lavender help uplift and destress as you cleanse…
- Super-concentrated blend of sustainable palm oils, nourishing aloe and…

- EcoTools Blurring Blender Makeup Sponge helps you achieve a soft, filtered…
- Use the Blurring Blender with your all your favorite liquid, cream, and…
- Beauty sponge features a 2-sided design for custom, buildable coverage and…
- Makeup blender sponge is made with cloud coverage memory foam that works to…
Credit: www.seventeen.com
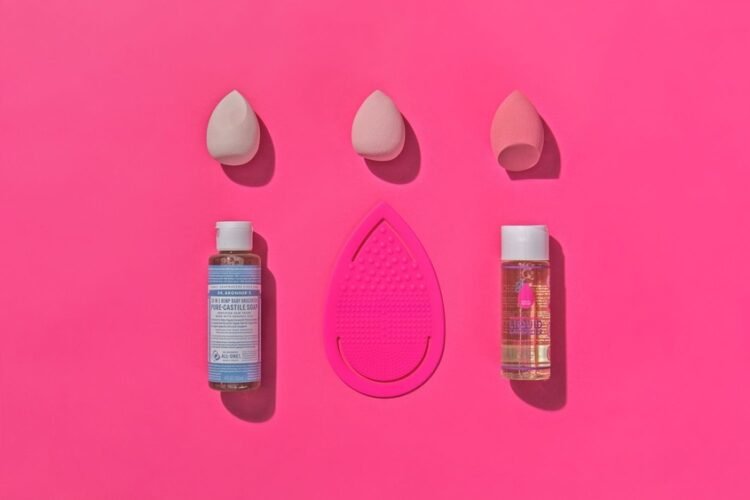
Cleaning Essentials
Keeping your Beauty Blender clean is not just about hygiene—it also extends the life of your sponge and improves your makeup application. Knowing the essentials for cleaning without a microwave helps you maintain your tool effectively, even if you don’t have one at hand. Let’s break down what you really need to get your Beauty Blender spotless and fresh.
Choosing The Right Cleanser
Your choice of cleanser can make or break the cleaning process. You want something gentle yet effective enough to remove makeup residue and oils without damaging the sponge.
Mild liquid soaps, baby shampoo, or specialized beauty sponge cleansers work well. Avoid harsh detergents that can break down the material.
Interestingly, some users swear by adding a drop of olive oil to the cleanser—it helps break down stubborn makeup while keeping the sponge soft. Have you ever tried that trick?
Tools For Effective Cleaning
Cleaning by hand is possible, but certain tools can make the process quicker and more thorough. A textured silicone cleaning mat or a brush designed for sponges helps break up makeup buildup inside the pores.
Simply rub your Beauty Blender gently on the mat with cleanser and warm water. This motion loosens trapped particles without tearing the sponge.
Of course, your fingers remain the most accessible tool. Use them to massage the cleanser deep into the sponge and squeeze out impurities. Which method fits your routine best?
Credit: www.youtube.com
Quick Cleaning Steps
Keeping your Beauty Blender clean is essential for flawless makeup and healthy skin. Quick cleaning steps help remove makeup residue and bacteria without any special tools. These steps are simple and effective for everyday use.
Wet The Beauty Blender
Start by soaking the Beauty Blender in warm water. Make sure it is fully damp but not dripping. This softens the sponge and opens its pores.
Apply Gentle Soap
Put a small amount of gentle soap on the sponge. Baby shampoo, mild liquid soap, or bar soap works well. Avoid harsh detergents that can damage the sponge.
Massage And Lather
Use your fingers to gently massage the soap into the sponge. Work in circular motions to create a rich lather. Focus on stained areas for deeper cleaning.
Rinse Thoroughly
Rinse the Beauty Blender under warm running water. Squeeze it gently to remove all soap and makeup. Repeat rinsing until the water runs clear and no suds remain.
Air Dry Properly
Place the sponge in a clean, open area to air dry. Avoid closed containers or damp spaces. Let it dry completely before the next use to prevent mold growth.
Deep Cleaning Methods
Deep cleaning your Beauty Blender removes stubborn makeup and bacteria. It keeps the sponge fresh and extends its life. These methods do not require a microwave but still offer thorough cleaning. You can choose simple household ingredients to achieve great results. Follow these easy steps to maintain a clean and healthy sponge.
Soaking Technique With Soap And Baking Soda
Fill a bowl with warm water. Add a few drops of gentle soap. Mix in a teaspoon of baking soda. Submerge the Beauty Blender completely. Let it soak for 30 minutes. Baking soda helps break down oils and dirt. After soaking, squeeze the sponge gently. Rinse it under warm water until clear. Repeat if the sponge still looks dirty. This method cleans deep without harsh chemicals.
Using Olive Or Baby Oil For Nourishment
Apply a small amount of olive or baby oil. Rub the oil gently into the Beauty Blender. The oil softens and nourishes the sponge material. It also helps break down makeup buildup. After massaging, wash the sponge with soap and warm water. Rinse well to remove all oil residue. This step keeps the sponge smooth and prevents cracking. Use this method once every few weeks for best care.

Credit: beautybrainsblush.com
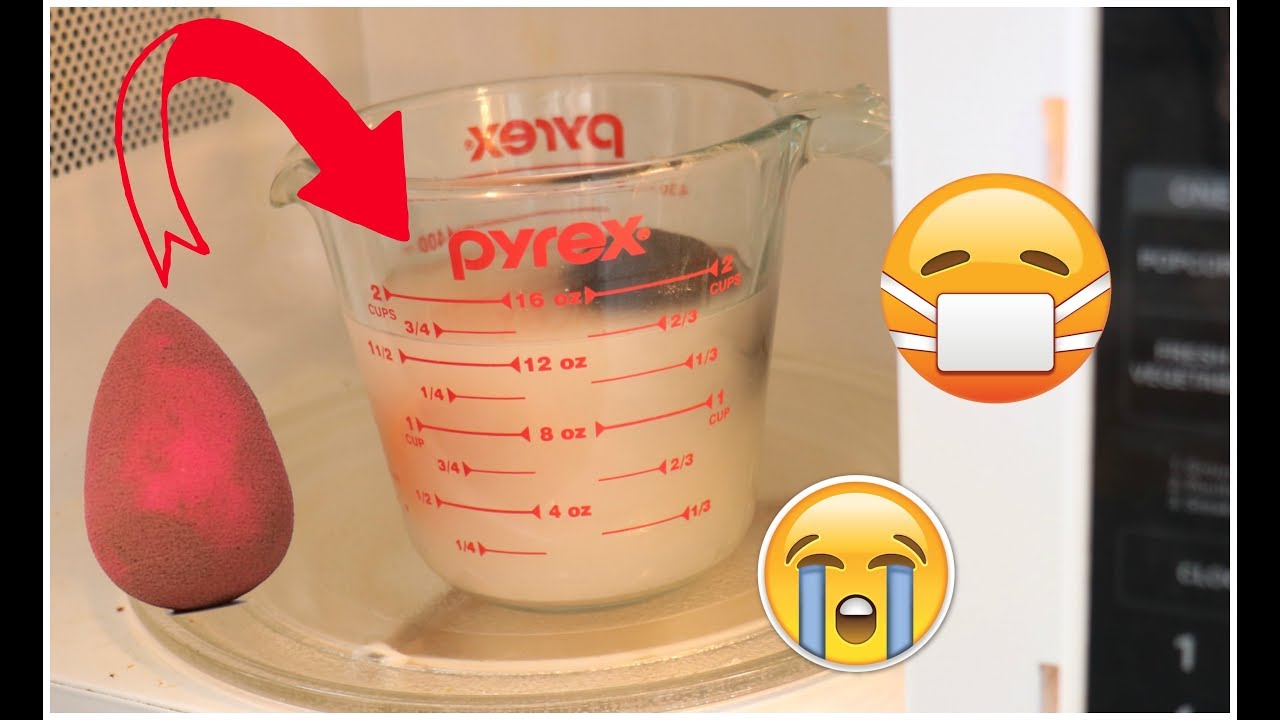
Avoiding Microwave Use
Cleaning your Beauty Blender without using a microwave is a smart choice. Microwaving can seem like a quick fix, but it may cause more harm than good. Choosing safer methods protects your sponge and keeps it clean.
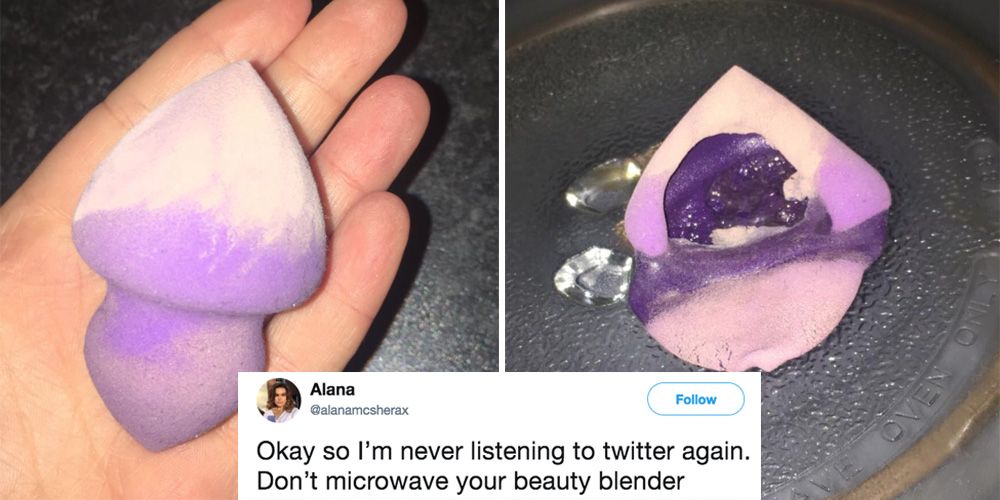
Risks Of Microwave Cleaning
Microwaving a damp Beauty Blender can lead to uneven heating. Hot spots may burn or melt the sponge material. This damages the texture and reduces its lifespan.
Microwaves do not always kill all bacteria or germs. Some microbes survive the heat, making the sponge unsafe to use. There is also a risk of water boiling and causing steam burns when removing the sponge.
Safe Alternatives To Sanitize
Use gentle cleansers like baby shampoo or mild soap. Wet the sponge and lather the cleanser deeply. Massage the sponge to remove makeup and dirt.
Rinse thoroughly with warm water until it runs clear. Let the Beauty Blender air dry in a clean space. For extra sanitation, soak it in warm soapy water for 10 minutes.
Another option is to use a brush cleaner designed for makeup tools. These products kill germs without harsh heat. Regular cleaning keeps your sponge fresh and extends its use.
Maintaining Sponge Hygiene
Keeping your beauty blender clean is important for healthy skin and flawless makeup. A dirty sponge can hold bacteria, oils, and old makeup. This buildup can cause breakouts and skin irritation. Proper hygiene extends the life of your sponge and keeps your skin safe. Simple cleaning habits help maintain its softness and effectiveness.
Cleaning Frequency Tips
Clean your beauty blender after every use. This stops makeup from building up inside the sponge. At least once a week, give it a deep clean using gentle soap or baby shampoo. Avoid harsh cleaners that can damage the sponge. Frequent cleaning keeps the sponge fresh and ready for flawless application.
Proper Drying To Prevent Mold
Always dry your beauty blender fully after cleaning. Squeeze out extra water gently without twisting. Place it in a well-ventilated area to air dry. Avoid damp, closed spaces where mold can grow. Drying completely stops bacteria and mold from developing inside the sponge.
Handling Wear And Tear
Inspect your beauty blender regularly for tears and cracks. Small rips can trap dirt and bacteria. Replace your sponge every 3 to 6 months depending on use. Using a damaged sponge may harm your skin and ruin makeup application. Treat your sponge gently to avoid early wear and tear.
Extra Tips And Tricks
Cleaning your Beauty Blender without a microwave is simple with the right tips. These extra tricks help keep your sponge fresh and extend its life. They make cleaning easier and more effective.
Using Textured Mats For Better Cleaning
Textured mats help remove makeup from deep inside the sponge. Rub the Beauty Blender gently on the mat while applying soap. The texture loosens dirt and makeup quickly. This method cleans better than fingers alone.
Removing Stubborn Stains
For tough stains, try using a small amount of olive oil before soap. Olive oil breaks down heavy makeup and grime. Massage it into the sponge, then wash with soap and water. Repeat if needed for very stubborn spots.
Storage Suggestions
Store your Beauty Blender in a clean, dry place. Avoid closed containers that trap moisture and cause mold. Use a breathable case or leave it on a clean surface to air dry. Proper storage keeps it fresh and ready for use.
Frequently Asked Questions
How To Clean A Beauty Blender Without A Microwave?
Wet the beauty blender with warm water. Apply gentle soap or baby shampoo. Massage and lather thoroughly. Rinse under warm water until clear. Squeeze out excess water and air dry completely. For deep cleaning, soak in warm soapy water before rinsing.
Avoid microwaving to protect the sponge.
How Do I Clean My Beauty Blender At Home?
Wet your beauty blender, apply gentle cleanser, massage softly, rinse under warm water until clear, then air dry completely.
Can I Use Dawn Dish Soap To Clean My Beauty Blender?
Yes, you can use Dawn dish soap to clean your Beauty Blender. It effectively removes makeup and oils. Wet the sponge, apply a small amount of Dawn, gently massage, rinse thoroughly with warm water, and let it air dry. This method keeps your Beauty Blender clean and fresh.
How Do You Clean The Inside Of A Blender?
Rinse blender jar with warm water. Add dish soap and fill halfway with water. Blend on low for 30 seconds. Rinse thoroughly and dry upside down. Repeat if needed for stubborn residue.
Conclusion
Cleaning your Beauty Blender without a microwave is simple and effective. Use gentle soap and warm water to remove makeup and dirt. Massage the sponge well, then rinse until water runs clear. Squeeze out excess water and let it dry fully.
Regular cleaning keeps your sponge fresh and safe for your skin. This easy method saves time and keeps your beauty tools clean. Try it often for the best results and longer sponge life.