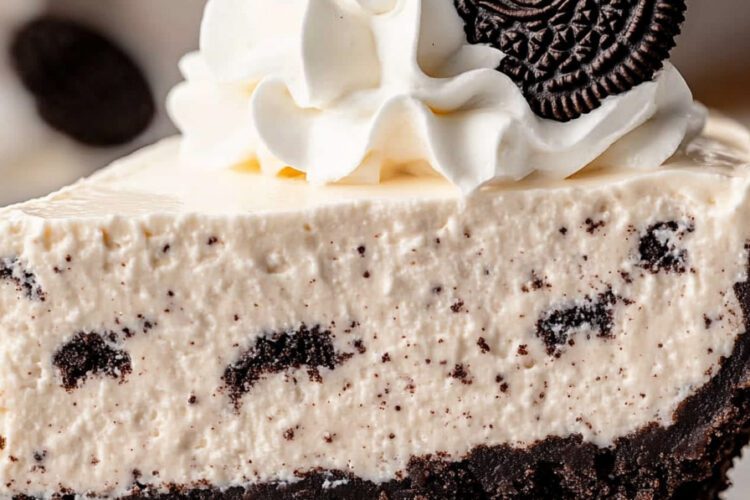
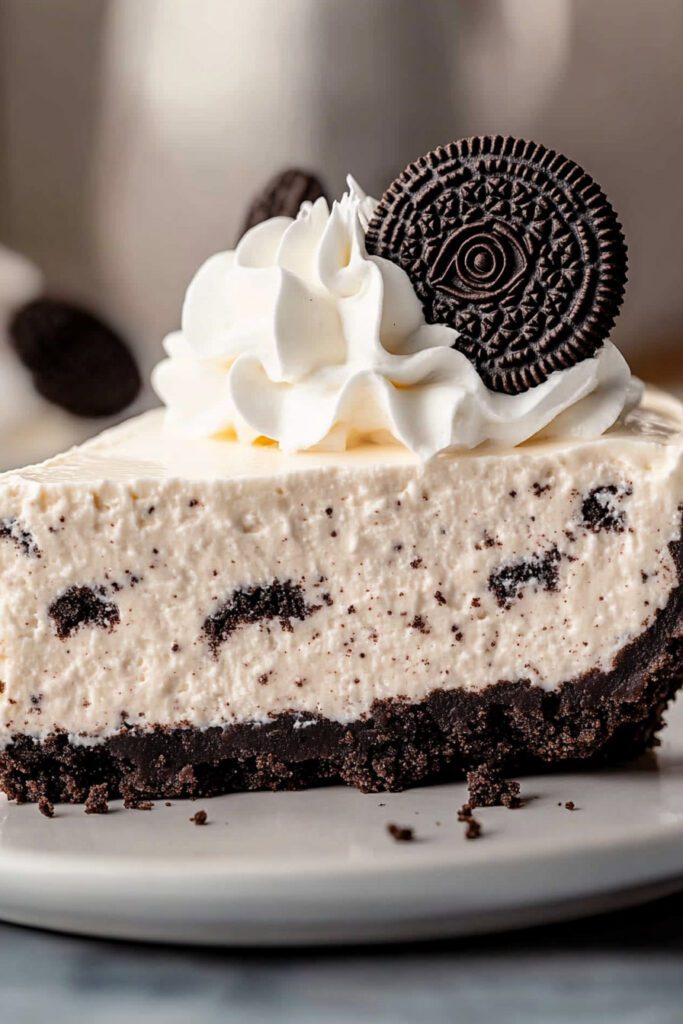
Craving a dessert that’s indulgent, creamy, and packed with the irresistible flavor of Oreos? Look no further than this No Bake Oreo Cheesecake recipe. Perfect for any occasion, this easy-to-make dessert combines a buttery Oreo crust with a velvety cheesecake filling, all topped with even more Oreos. The best part? You don’t need to turn on the oven! Let’s dive into how you can create this show-stopping dessert in your own kitchen.
Ingredients List
Oreo Cookie Crust
- 22 Double-Stuffed Oreo Cookies (about 2 cups of crumbs)
- 2 tablespoons granulated sugar
- 4 tablespoons salted butter, melted
Oreo Cheesecake Filling
- 1 ½ cups heavy whipping cream
- 1 ½ cups powdered sugar (divided)
- 16 oz cream cheese (two 8 oz packages), softened
- 2 tablespoons full-fat sour cream
- 2 teaspoons vanilla extract
- Pinch of sea salt
- 18 Oreo cookies, coarsely chopped
Topping
- Homemade whipped cream (optional)
- Extra Oreos for garnish
Required Kitchen Tools
To make the process smooth and hassle-free, ensure you have the following tools on hand:
- Springform Pan: Essential for creating that classic cheesecake shape.
- Food Processor or Rolling Pin: For crushing Oreos into fine crumbs.
- Hand or Stand Mixer: To whip the cream and blend the filling to perfection.
- Measuring Cups and Spoons: For precise ingredient measurements.
- Spatula: To evenly spread the filling and crust.
Preparing the Oreo Crust
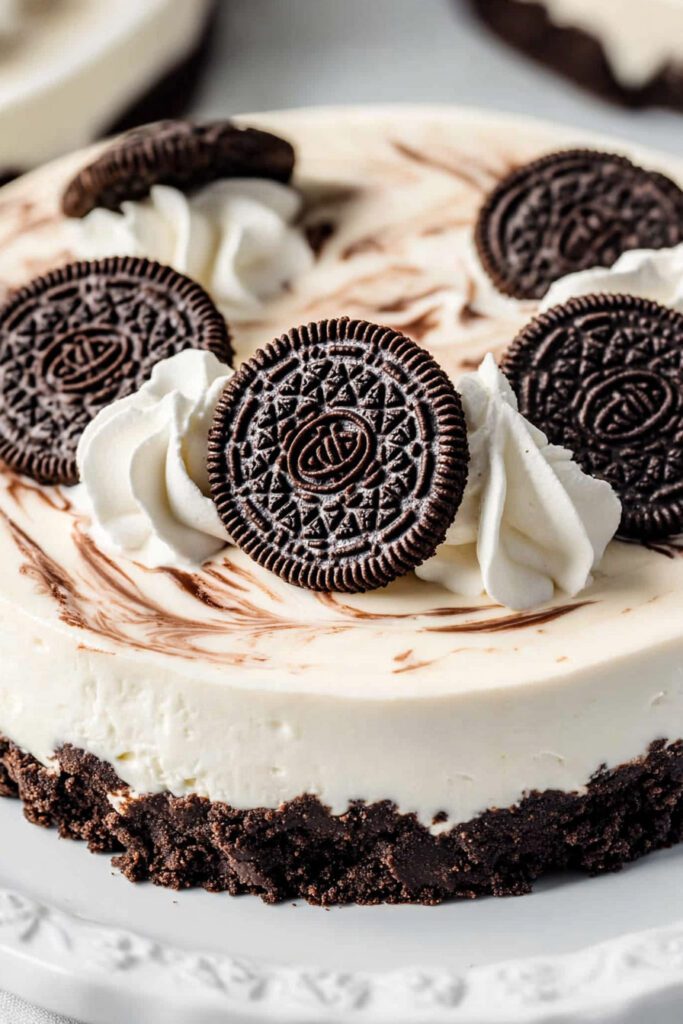
The foundation of any great cheesecake is its crust. Here’s how to make a buttery and flavorful Oreo cookie crust:
- Line Your Pan: Trace the bottom of a 9-inch springform pan on parchment paper, cut it out, and place it at the base of the pan.
- Crush the Oreos: Use a food processor to pulse the Oreos into fine crumbs. Alternatively, place them in a Ziploc bag and crush them with a rolling pin.
- Mix Ingredients: In a bowl, combine Oreo crumbs with melted butter and granulated sugar. Stir until evenly combined and clumpy.
- Press Into Pan: Pour the mixture into your prepared pan and press it firmly into an even layer at the bottom and halfway up the sides using a flat-bottomed measuring cup or spatula.
- Chill: Place the crust in the freezer while you prepare the filling.
Making the No Bake Oreo Cheesecake Filling
The heart of this dessert lies in its creamy, dreamy filling. This no-bake cheesecake filling is light, fluffy, and packed with Oreo goodness. Let’s get started:
Step 1: Prepare the Whipped Cream
- Whip the Cream: In the bowl of a stand mixer fitted with a whisk attachment (or using a hand mixer), beat 1 ½ cups of heavy whipping cream and ½ cup of powdered sugar on medium-high speed until stiff peaks form. This means the cream should hold its shape when you lift the whisk.
- Chill: Place the whipped cream in the refrigerator to keep it cold while you prepare the rest of the filling.
Step 2: Beat the Cream Cheese
- Soften Cream Cheese: Ensure your cream cheese is at room temperature for smooth blending.
- Mix Ingredients: In a large mixing bowl, beat 16 oz of cream cheese and 1 cup of powdered sugar until smooth and creamy. Use medium speed to avoid over-whipping.
- Add Flavor: Mix in 2 tablespoons of sour cream, 2 teaspoons of vanilla extract, and a pinch of sea salt until fully combined.
Step 3: Combine Whipped Cream and Cream Cheese Mixture
- Fold Gently: Remove the whipped cream from the refrigerator and gently fold it into the cream cheese mixture using a spatula. Be careful not to deflate the whipped cream; this step ensures your filling stays light and airy.
- Add Oreos: Coarsely chop about 18 Oreo cookies and fold them into the cheesecake mixture, ensuring they are evenly distributed.
Assembling and Chilling the Cheesecake
Now that the crust is ready and the filling is perfectly whipped, it’s time to bring everything together. This step ensures your cheesecake sets beautifully and looks as good as it tastes.
Step 1: Assemble the Cheesecake
- Spread the Filling: Remove the chilled Oreo crust from the freezer. Scoop the prepared cheesecake filling onto the crust. Use an offset spatula or the back of a spoon to spread it evenly into a smooth layer.
- Level It Out: Take your time to ensure the top is flat and even for a professional finish.
Step 2: Chill to Set
- Cover and Chill: Cover the springform pan tightly with plastic wrap or aluminum foil to prevent any fridge odors from seeping into your cheesecake.
- Refrigerate: Allow the cheesecake to chill in the refrigerator for at least 6 hours, but overnight is ideal for best results. This gives the filling enough time to firm up and develop its full flavor.
Decorating and Serving
Decorating the Cheesecake
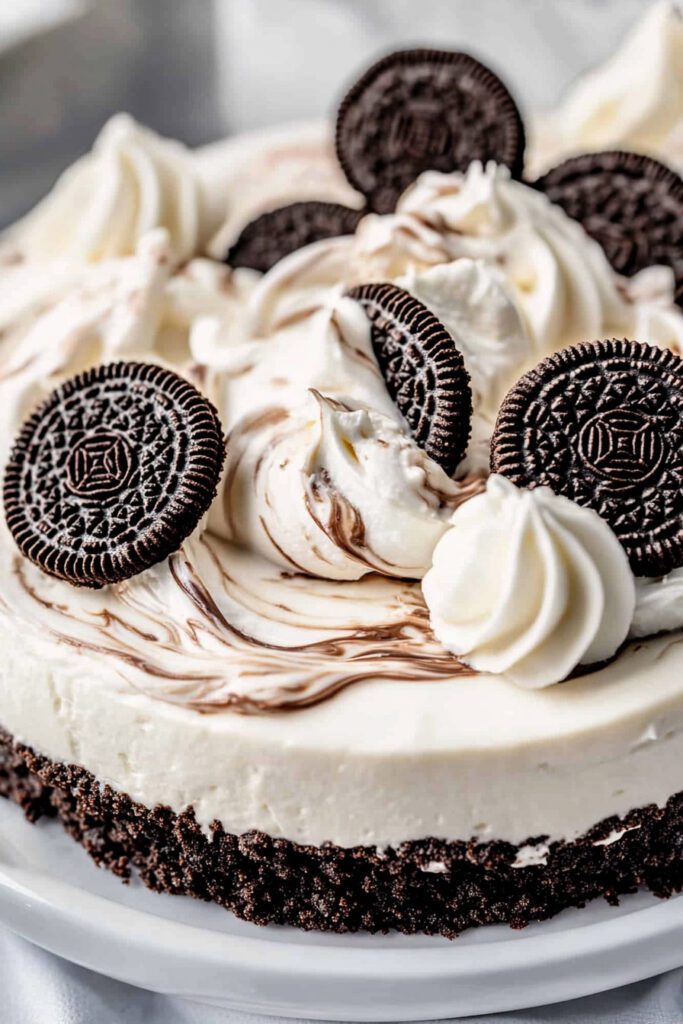
Once your cheesecake has set, it’s time to make it look as irresistible as it tastes. Here are some simple yet stunning decoration ideas:
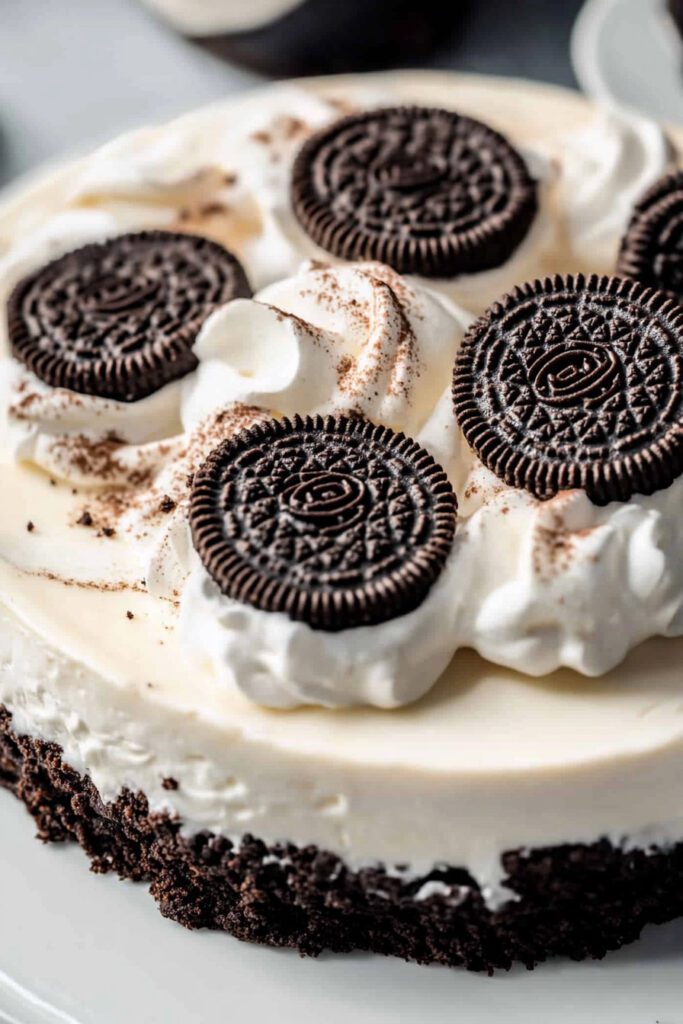
- Whipped Cream Topping: Pipe or dollop homemade whipped cream around the edges of the cheesecake for a classic look.
- Extra Oreos: Add whole or crushed Oreos on top for a decorative and delicious garnish.
- Drizzle Chocolate Sauce: For an extra indulgent touch, drizzle some chocolate sauce over the top.
- Creative Layers: Create a ring of crushed Oreos around the edge or sprinkle them in the center for added texture.
Serving Suggestions
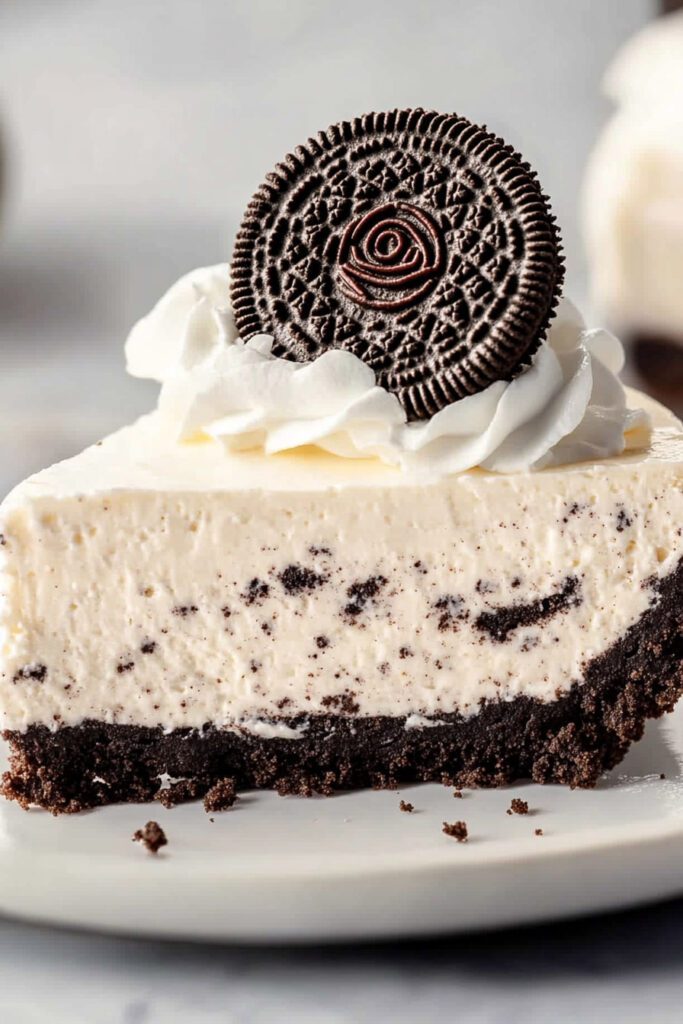
- Slice and Serve: Use a sharp knife to cut clean slices. For best results, wipe the knife with a damp cloth between cuts.
- Pairings: Serve with a glass of cold milk or a cup of coffee to complement the rich flavors.
- Occasions: This no-bake Oreo cheesecake is perfect for birthdays, holidays, or any time you want to impress your guests with minimal effort.
Frequently Asked Questions (FAQs)
1. Can I use a pre-made Oreo crust?
Yes! If you’re short on time, a store-bought Oreo crust works just as well. However, making your own crust adds a personal touch and allows for thicker layers.
2. How long does this cheesecake last?
Store your no-bake Oreo cheesecake in an airtight container in the refrigerator for up to 5 days. For longer storage, freeze it (wrapped tightly) for up to 2 months.
3. Can I substitute any ingredients?
- Heavy Whipping Cream: Unfortunately, there’s no substitute for heavy whipping cream in this recipe.
- Sour Cream: Full-fat Greek yogurt can be used as an alternative.
- Vanilla Extract: Vanilla bean paste or seeds from one vanilla bean work beautifully.
4. Why isn’t my cheesecake setting properly?
Ensure you’ve chilled it long enough—at least 6 hours or overnight is best. Also, make sure you’ve whipped the cream to stiff peaks before folding it into the filling.
5. Can I make this cheesecake gluten-free?
Yes! Use gluten-free Oreo cookies or similar alternatives for both the crust and filling mix-ins.
Conclusion
This no-bake Oreo cheesecake is proof that you don’t need an oven to create a decadent dessert that everyone will love. With its buttery Oreo crust, creamy filling, and rich topping, it’s guaranteed to be a crowd-pleaser at any gathering. Plus, its simplicity makes it perfect even for beginners in the kitchen.
Whether you’re serving it at a party or indulging in a slice all by yourself, this dessert is bound to become one of your go-to recipes. So grab your ingredients and start whipping up this delightful treat today!

