Flatbreads have a history that spans centuries. People have been making them since ancient Mesopotamia, and today, we still can’t get enough. Why? Because they’re super versatile. Whether you need a wrap, a side for soup, or something to curb your bread cravings, flatbreads do it all.
This AIP-friendly flatbread? It’s here to save the day. It’s grain-free, nut-free, and dairy-free—perfect for anyone following the Autoimmune Protocol. Plus, it’s sturdy enough to hold your favorite fillings and soft enough to enjoy with a hearty stew. Think of it as a little slice of tradition, made just for your modern diet.
What to Know Before You Start
How Much Time You’ll Need
- Prep Time: 5 minutes
- Cook Time: 20 minutes
- Total: 25 minutes
How Many Does It Make?
This recipe gives you 4 flatbreads. Need more? Just double or triple the ingredients. (Tip: The cooking time for each flatbread stays the same, no matter how many you’re making.)
Is It Easy?
Yep, totally beginner-friendly. Even if you’re new in the kitchen, this step-by-step guide makes it easy to follow.
What Tools Do You Need?
Here’s what you’ll need to get started:
- A nonstick skillet or small crepe pan
- Mixing bowl
- Whisk or fork
- Measuring cups and spoons
- A spatula
No nonstick pan? No problem. Use a well-seasoned cast iron skillet and add a little extra oil.
Can You Make It Ahead?
Absolutely. These freeze like a dream. Just layer the flatbreads with parchment paper, toss them into an airtight container, and store them in the freezer for up to 3 months.
What You’ll Need
Ingredients
- 1 (13.5 oz) can full-fat coconut milk (or 1.5 cups homemade coconut/tigernut milk)
- 3/4 cup cassava flour (or tigernut flour for a nutty twist)
- 3/4 cup tapioca flour (or arrowroot powder)
- A pinch of sea salt
Swaps and Tips
- Coconut Milk: Want something nuttier? Use tigernut milk! Prefer homemade? That works too.
- Cassava Flour: Tigernut flour will give a sweeter flavor, but you might need to mix it more to avoid lumps.
- Tapioca Flour: No tapioca starch? Use arrowroot powder. It works just as well.
Quick Note: Shake that can of coconut milk before you open it. It tends to separate, and you want it nice and smooth.
How to Make It
Flatbreads are all about feeling your way through the process. Let’s take this step by step:
1. Heat Your Pan
Start by preheating a small nonstick skillet over medium heat. The key? Make sure it’s hot before adding the batter—this helps prevent sticking.
2. Mix the Batter
In a mixing bowl, combine the coconut milk, cassava flour, tapioca flour, and a pinch of sea salt. Whisk it all together until smooth. The batter should be thin like pancake batter. Too thick? Add a splash of milk. Too thin? Sprinkle in a bit more cassava flour.
Pro Tip: If you’re using tigernut flour, sift it first to avoid pesky clumps.
3. Cook the Flatbread
Pour enough batter into the pan to cover the bottom, about 1/8–1/4 inch thick. Swirl the pan to spread the batter evenly.
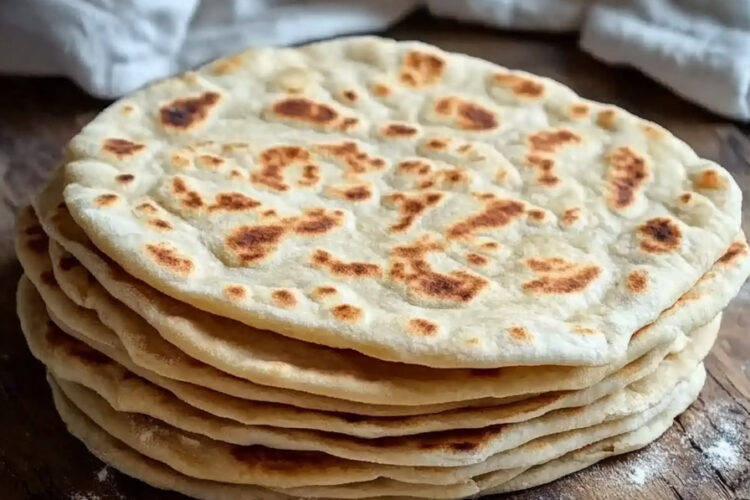
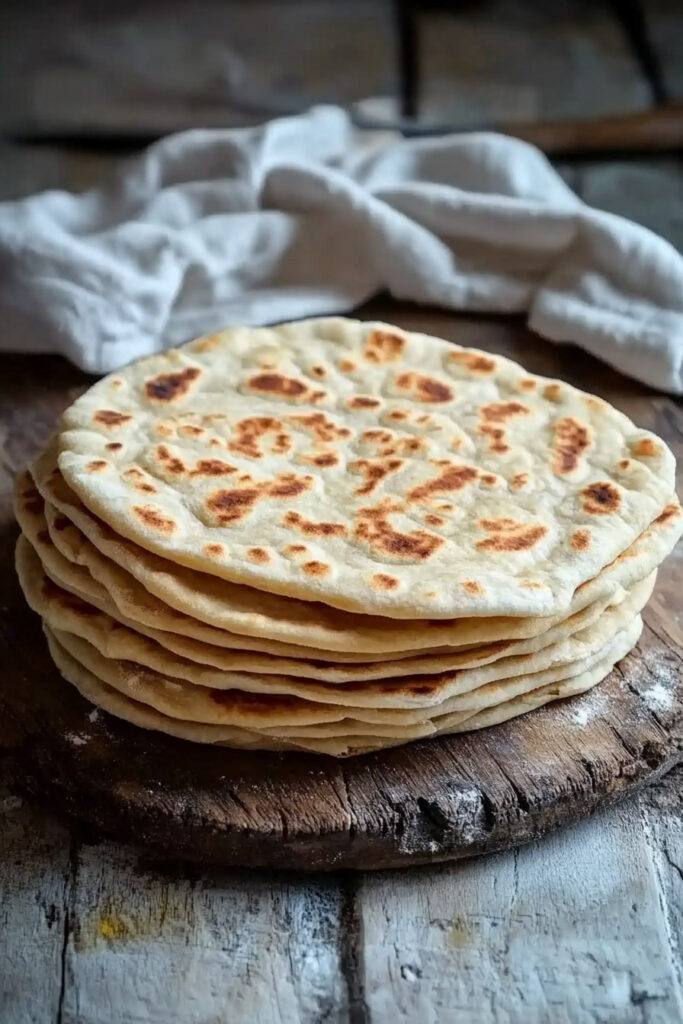
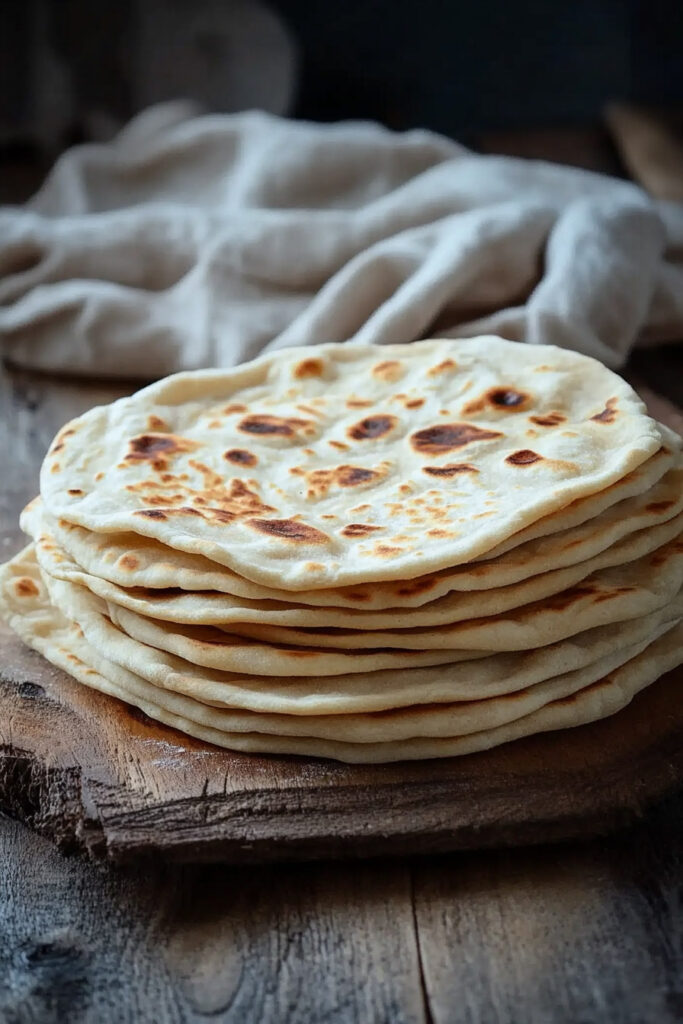
Cook for 3–4 minutes. You’ll know it’s ready to flip when bubbles form and the edges lift slightly. Carefully flip and cook for another 3–4 minutes on the other side.
Need a visual? Look for golden spots. If it’s still gummy after flipping, lower the heat and cook a bit longer.
Quick Tip: Don’t rush the flip! Wait until the surface looks dry before turning it over.
4. Adjust As You Go
As you cook, your pan might get too hot. Turn down the heat if the flatbreads start browning too fast.
Ways to Customize

Diet-Friendly Tweaks
- Vegan? Make sure your coconut milk doesn’t include animal-based additives.
- Low-FODMAP? Use arrowroot powder instead of tapioca starch.
Flavor Boosts
- Add dried herbs like rosemary or oregano for extra flavor.
- Mix in garlic powder or nutritional yeast for a savory twist.
Everyday vs Fancy
- Everyday: Keep it simple for quick meals.
- Fancy: Brush your flatbreads with olive oil and sprinkle with flaky sea salt or sesame seeds.
Seasonal Spins
- Fall: Add a pinch of cinnamon or nutmeg to the batter.
- Summer: Throw in fresh chopped herbs like dill or basil.
How to Serve & Save
Serving Ideas
Flatbreads pair with just about everything:
- Use them as wraps for roasted veggies or shredded chicken.
- Serve alongside soups, stews, or curries.
- Dip them into AIP-friendly sauces like guacamole or tahini.
Storing Leftovers
Keep extra flatbreads in an airtight container in the fridge for up to 3 days. Layer parchment paper between them to stop sticking.
Reheating Tips
- Skillet: Heat on low for 1–2 minutes per side.
- Microwave: Warm up in 10–15 seconds.
- Oven: Crisp them up at 350°F for 5 minutes.
Freezing Instructions
Once the flatbreads are completely cool, layer them with parchment paper and store them in a freezer-safe bag or container. They’ll stay fresh for up to 3 months. To use, let them thaw at room temperature and reheat as needed.
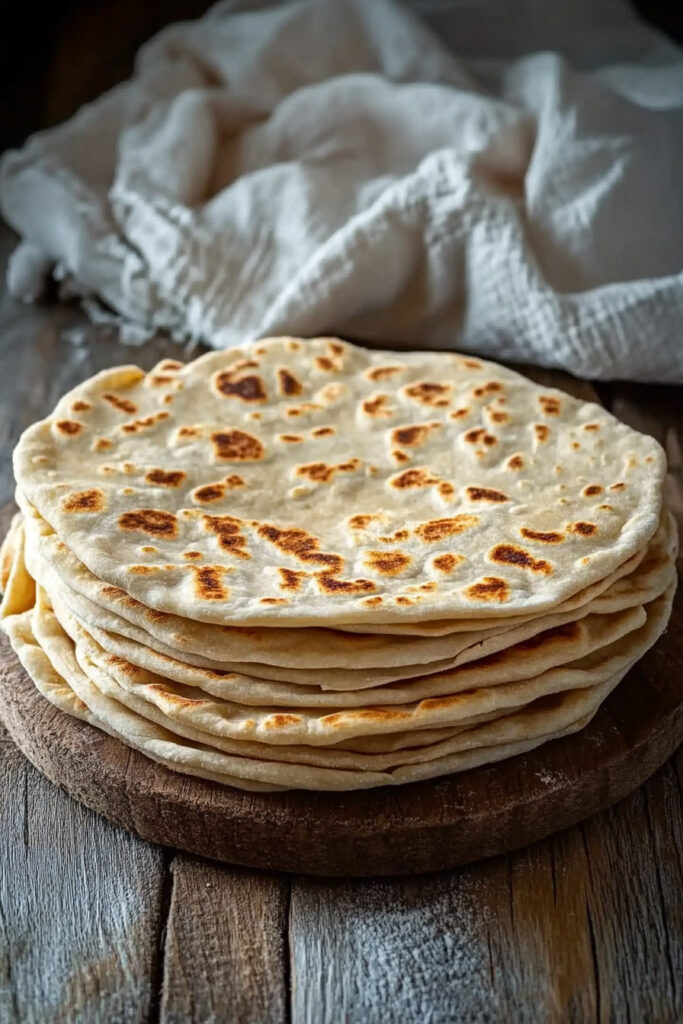
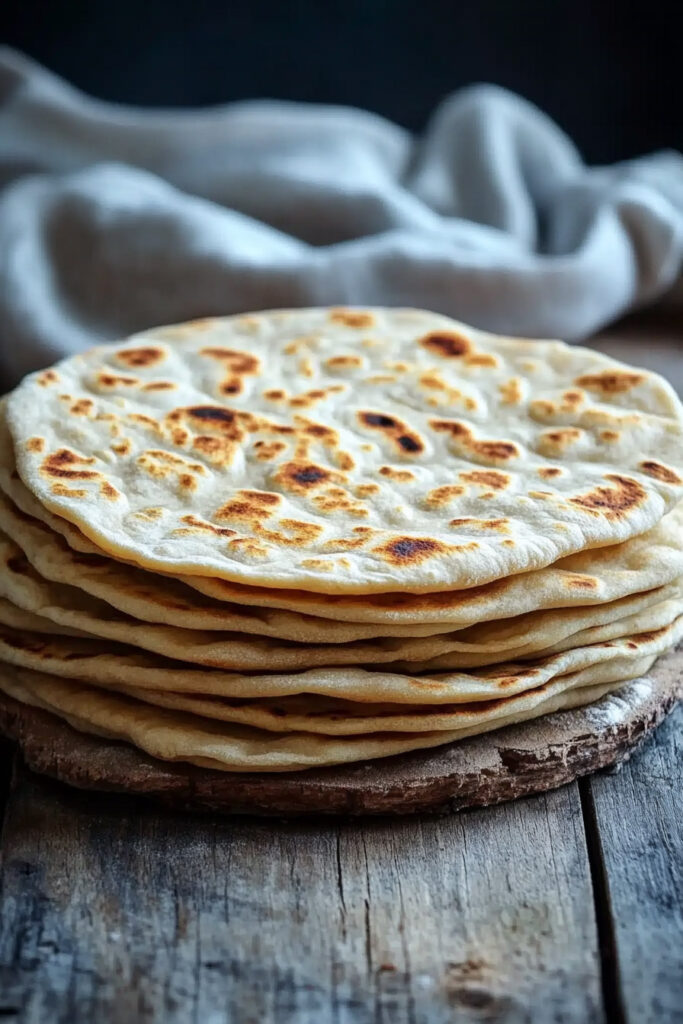
And there you have it—a simple, tasty way to make flatbread that fits into your AIP lifestyle. Whether you’re eating them fresh off the skillet or thawing a batch from the freezer, these flatbreads are sure to become a go-to in your kitchen. Happy cooking!
PrintAIP Flatbread Recipe
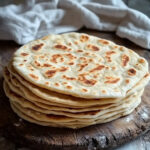
This AIP flatbread is a simple, grain-free alternative that’s perfect for wraps, sandwiches, or as a side dish. Made with cassava and tapioca flours, it’s soft yet sturdy, and comes together in just 25 minutes. Whether you’re following the Autoimmune Protocol or just want a healthier flatbread option, this recipe is a must-try!
- Prep Time: 5 minutes
- Cook Time: 20 minutes
- Total Time: 25 minutes
- Yield: Makes 4 flatbreads 1x
- Category: Bread
- Cuisine: AIP/Grain-Free
Ingredients
- 1 (13.5 oz) can full-fat coconut milk (or 1.5 cups homemade coconut/tigernut milk)
- 3/4 cup cassava flour (or tigernut flour)
- 3/4 cup tapioca flour (or arrowroot powder)
- A pinch of sea salt
Instructions
Preheat a small nonstick skillet over medium heat. A hot pan ensures even cooking and prevents sticking.
In a mixing bowl, whisk together the coconut milk, cassava flour, tapioca flour, and sea salt until smooth. The batter should be runny but not watery—similar to pancake batter. Adjust with a splash of water or milk if needed.
Pro Tip: If using tigernut flour, sift it first to avoid clumps.
Pour enough batter into the preheated pan to cover the bottom plus an additional 1/8–1/4 inch thickness. Swirl the pan gently to spread it evenly.
Cook for 3–4 minutes on one side until bubbles form and the edges lift slightly. Flip carefully with a spatula and cook for another 3–4 minutes on the other side.
Visual Cue: The flatbread should have golden spots but not burn. If it’s gummy inside after flipping, cook longer over lower heat.
Continue cooking the remaining batter, adjusting the heat as needed. The pan will get hotter as you go, so reduce heat slightly if flatbreads start browning too quickly.
Notes
Serving Suggestions
- Use as wraps for shredded chicken or roasted veggies.
- Pair with soups, stews, or AIP-friendly dips like guacamole.
Tips & Tricks
- Avoid stainless steel pans to prevent sticking; nonstick or cast iron works best.
- Batter consistency is key—adjust with liquid if too thick.
- Wait until the top looks dry before flipping to avoid tearing.
Storage & Reheating
- Store in an airtight container in the fridge for up to 3 days.
- Reheat in a skillet over low heat for 1–2 minutes per side or microwave briefly (10–15 seconds).
- To freeze: Layer cooled flatbreads with parchment paper and store in a freezer-safe bag for up to 3 months. Thaw at room temperature before reheating.