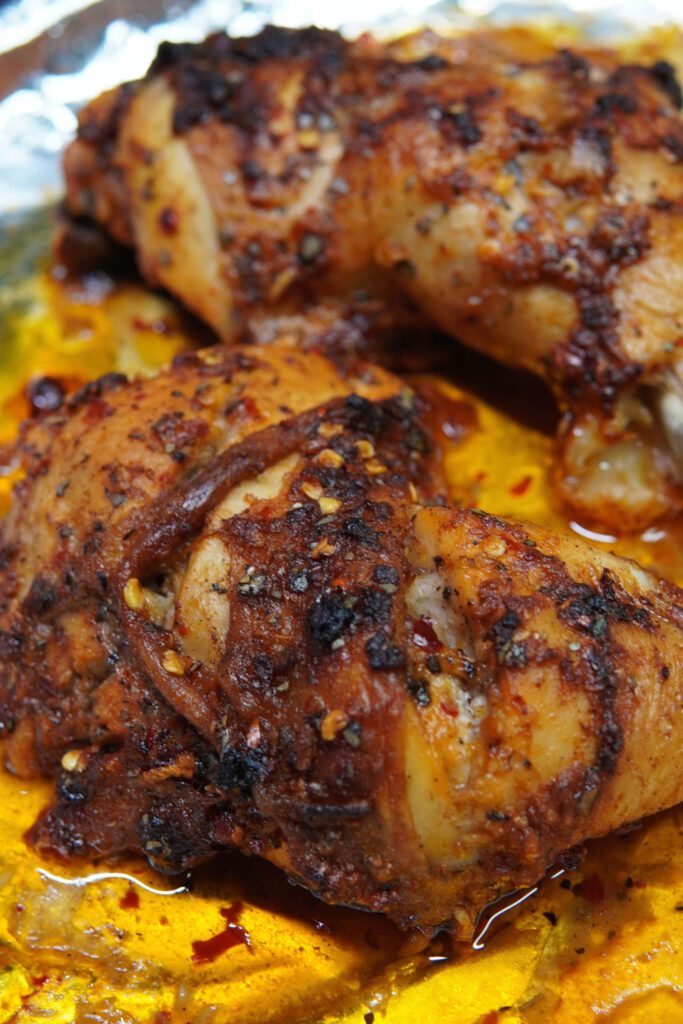
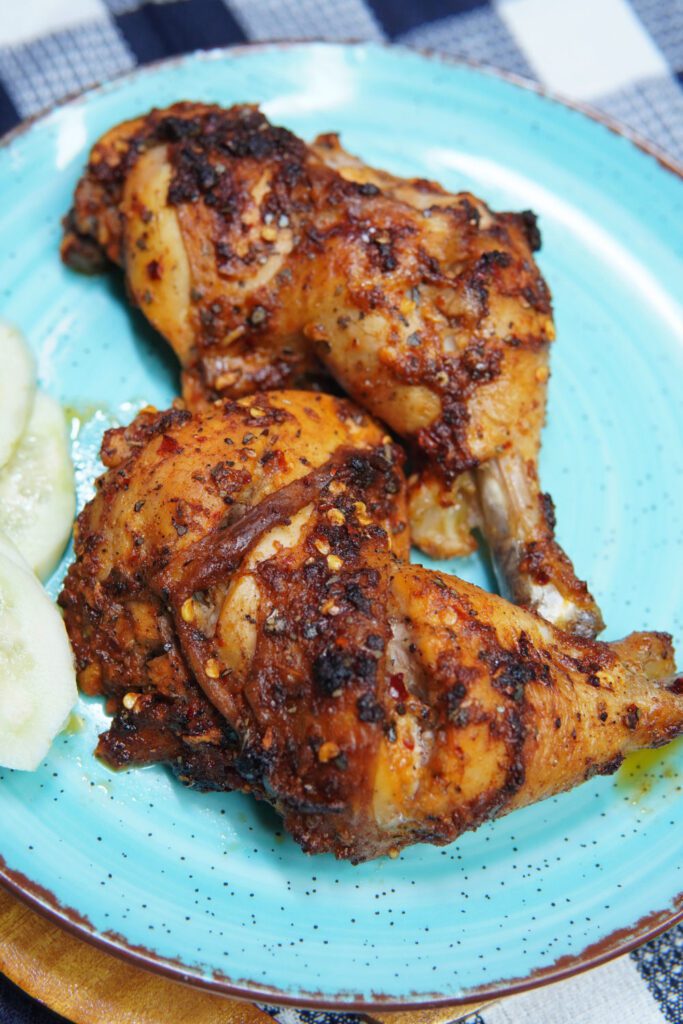
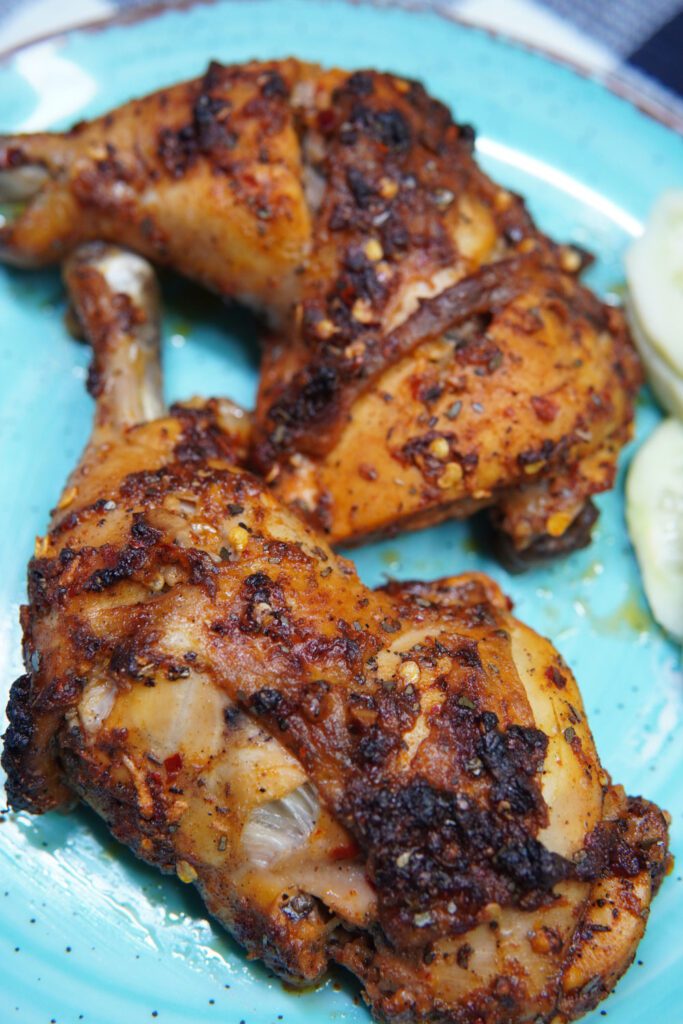
Craving a taste of Portugal? Dive into the world of PERI PERI Chicken, a flavorful Portuguese treat that’s sure to satisfy your spicy cravings. This tangy, spicy dish boasts succulent chicken marinated to perfection and grilled until juicy and tender. Whether you’re a fan of mild heat or you love a fiery kick, PERI PERI Chicken can be customized to suit your taste.

Ingredients List
Marinade Ingredients
- 2 tablespoons olive oil
- 2 teaspoons chili flakes (or to taste)
- 4 cloves garlic, crushed or grated
- Juice of 2 limes
- 2 teaspoons smoked paprika
- 2 teaspoons oregano
- ½ teaspoon salt (or to taste)
- Black pepper to taste
- 4 large boneless, skinless chicken breasts
Required Kitchen Tools
When preparing PERI PERI Chicken, having the right kitchen tools can make the process smoother and more enjoyable. Here are the essential tools you will need:
- Mixing Bowl: To combine all the marinade ingredients.
- Whisk or Spoon: For mixing the marinade.
- Ziplock Bags or Containers: For marinating the chicken.
- Grill or Grill Pan: To cook the marinated chicken breasts to perfection.
- Tongs: For handling the chicken on the grill.
- Meat Thermometer: To ensure the chicken is cooked through.
Having these tools on hand will set you up for a successful PERI PERI Chicken cooking experience.
Marinade Preparation
Preparing the marinade for PERI PERI Chicken is a crucial step in achieving the perfect balance of flavors. Follow the steps below to mix the ingredients and marinate the chicken properly.
Mixing the Ingredients
To start the marinade preparation, combine the olive oil, chili flakes, crushed garlic, lime juice, smoked paprika, oregano, salt, and black pepper in a large mixing bowl. Whisk these ingredients together until well combined. The mixture should be aromatic and vibrant in color, indicating that all the spices are well distributed.
Marinating the Chicken
After mixing the marinade ingredients, it’s time to marinate the chicken breasts. Place the chicken breasts in a ziplock bag or a shallow container. Pour the marinade over the chicken, ensuring each piece is well coated. Seal the bag or cover the container and refrigerate for at least 2 hours, or overnight for best results. This allows the flavors to penetrate the chicken, making it tender and flavorful.
Cooking the Chicken
Cooking the marinated PERI PERI Chicken is where the magic happens. Follow these steps to grill the chicken to juicy, flavorful perfection.

Preparing the Grill
Before grilling the chicken, preheat your grill or grill pan to medium-high heat. If you’re using an outdoor grill, ensure it’s clean and lightly oiled to prevent the chicken from sticking. If using a grill pan, lightly oil the surface and heat it over medium-high heat until it’s hot.
Grilling the Chicken
Remove the marinated chicken breasts from the refrigerator and let them sit at room temperature for about 10 minutes. This helps them cook more evenly. Place the chicken breasts on the preheated grill or grill pan. Grill the chicken for about 6-8 minutes per side, or until they are cooked through and have nice grill marks. Use tongs to flip the chicken halfway through cooking.
Checking for Doneness
To ensure the chicken is cooked properly, use a meat thermometer to check the internal temperature. The chicken should reach an internal temperature of 165°F (75°C). If you don’t have a thermometer, you can cut into the thickest part of the chicken to make sure the juices run clear and the meat is no longer pink.
Serving the PERI PERI Chicken
Once the chicken is perfectly grilled, it’s time to serve it up and enjoy the delicious flavors. Follow these steps for a beautiful presentation and additional flavor enhancements.
Resting the Chicken
After grilling, let the chicken rest for about 5 minutes before slicing. This allows the juices to redistribute throughout the meat, ensuring each bite is juicy and flavorful.
Slicing and Plating
Slice the chicken breasts against the grain into thick strips. This not only makes for a beautiful presentation but also ensures the chicken remains tender. Arrange the sliced chicken on a serving platter.
Suggested Accompaniments
PERI PERI Chicken pairs wonderfully with a variety of side dishes. Here are some suggestions to complement the spicy and tangy flavors:
- Peri Peri Sauce: Serve extra peri peri sauce on the side for those who love an extra kick.
- Grilled Vegetables: Bell peppers, zucchini, and onions make a colorful and healthy side.
- Rice or Quinoa: A simple rice or quinoa dish can balance the bold flavors of the chicken.
- Salad: A fresh green salad with a light vinaigrette provides a refreshing contrast.
Garnishing
To add a final touch, garnish the sliced PERI PERI Chicken with fresh herbs like cilantro or parsley. You can also sprinkle some extra chili flakes for added heat.

Storing and Reheating
Proper storage and reheating techniques ensure that your PERI PERI Chicken retains its delicious flavor and texture even after the initial meal. Follow these steps to store and reheat your chicken properly.
Storing Leftovers
If you have any leftover PERI PERI Chicken, allow it to cool completely before storing. Place the chicken in an airtight container and refrigerate. Properly stored, the chicken will last for up to 3-4 days in the refrigerator.
Freezing for Longer Storage
For longer storage, you can freeze the grilled PERI PERI Chicken. Place the cooled chicken in a freezer-safe bag or container, removing as much air as possible to prevent freezer burn. Label the container with the date, and the chicken can be frozen for up to 3 months.

Reheating Instructions
To reheat refrigerated or frozen PERI PERI Chicken while maintaining its flavor and moisture, follow these steps:
Reheating in the Oven
- Preheat Oven: Preheat your oven to 350°F (175°C).
- Prepare Chicken: Place the chicken on a baking sheet and cover it with aluminum foil to prevent it from drying out.
- Reheat: Bake for 15-20 minutes, or until the chicken is heated through. If reheating from frozen, it may take an additional 5-10 minutes.
Reheating in the Microwave
- Prepare Chicken: Place the chicken on a microwave-safe plate and cover it with a microwave-safe cover or another plate.
- Reheat: Microwave on medium power for 2-3 minutes, checking at 1-minute intervals to ensure the chicken heats evenly. If reheating from frozen, use the defrost setting first, then proceed with reheating.
Reheating on the Stovetop
- Prepare Pan: Heat a small amount of olive oil in a skillet over medium heat.
- Reheat Chicken: Add the chicken slices to the skillet and heat for 3-4 minutes on each side, or until heated through.
By following these storage and reheating instructions, you can enjoy the delicious taste of PERI PERI Chicken even after the initial meal.
Conclusion
Mastering the PERI PERI Chicken recipe opens up a world of flavorful possibilities. From the tangy, spicy marinade to the perfectly grilled chicken, each step ensures a delicious and satisfying meal. By following the detailed instructions provided, you can easily recreate the authentic taste and texture of PERI PERI Chicken in your own kitchen. Remember, the key lies in the marinade’s preparation and the proper grilling technique. Whether you enjoy it fresh off the grill or as leftovers, PERI PERI Chicken is a versatile dish that brings the vibrant flavors of Portugal to your table. So, grab your ingredients, fire up the grill, and embark on a culinary journey with this mouthwatering PERI PERI Chicken recipe. Enjoy!


